Friday, December 27, 2019

Stick It Down- Christmas card

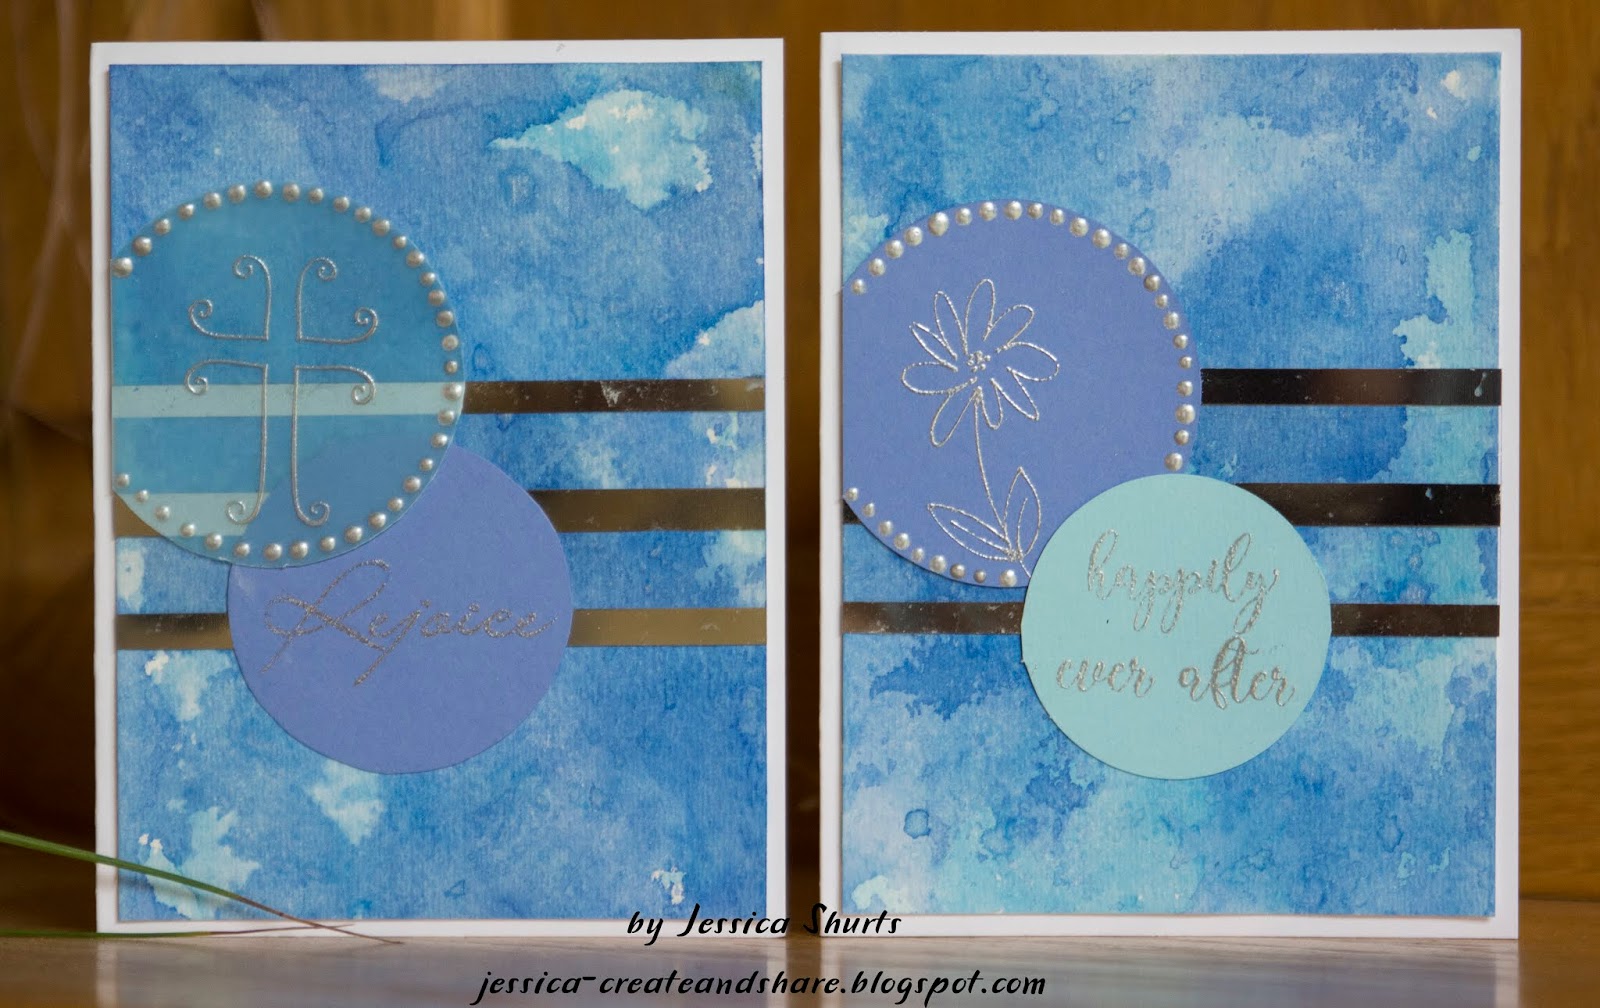
Hello, I hope you had a Merry Chrismas! I have a couple of cards to share today. It turns out, they were both to the same person, my oldest daughter!

First up is the Christmas card I made for her. I started with this month's sketch from Stick It Down:


I wanted to play a little with the Distres Resist Spray as I haven't used it much yet. I started with a heavy cardstock panel.and splatter some spray on it. once that was dry, I inked the panel with red, pink and green distress inks. I then splatter the panel again with Distress Resist Spray. Once that was dry, I inked the whole panel with Black Soot Distress Oxide ink. You can see on my background where all of the inks resisted my original splatter and where the black resisted the splatters over the colored inks. I finished off the panel with a few sprays of Perfect Pearls mist. Once all of that was dry, I stamped and heat embossed the sentiment. I added glitter riboon and some fussy cut ornaments. I finished off the ornaments with some sequins for added sparkle.

My second card was for my daughter's 13th birthday earlier this month. I started by pressing inkpads onto a plastic surface. I misted them with water and then pressed my card into the ink. While that dried, I cut the background with my Cricut and the Edge to Edge cartridge. I stamped the banner and sentiment on a piece of vellum and heat embossed them with silver powder. To color the banner, I used a water brush and gelatos. The vellum is attached with a couple of brads.

Thanks for stopping by to check out my projects. I received some new stamps and a MISTI for Christmas, so stay tuned for some projects using those!

Saturday, December 21, 2019

Last Calendar Pages of 2019

Hello! I have my last two calendar layouts of 2019 to share! Both used sketches from Sick It Down. First up, the October sketch:
I stuck really close to this sketch, besides adding a couple extra photos. I used my Cricut to cut the tags from coordinating patterned papers. Since my background was white and many of my patterned papers were on a white base, I sprayed some spray ink over the background to make the tags stand it more. The journaling tag had an image that didn't match the rest of my last, so I used some stickers to cover it up. I scared some lead stickers, brads and silver Nuvi drops around the page to finish it off.
Next is the November sketch:
I noticed a lot of pinks in my photos, so I used some Christmas patterned papers that had some pinks too. This design is great if you have lots of scraps, which is much of what I was working with here. For the rows of lights and ornaments, I once again used my Cricut. For the light bulbs, I coated the "bulb" with some glitter paste to give it some shimmer. I also fussy cut some ornaments from one of my patterned papers. I mixed those in with my due cut ornaments and used a few around my title. A free sequins in the ornaments finished things off.

Friday, December 20, 2019

You're How Old?

I have another card to share. I used a couple of challenges as inspiration for this card. First up is this sketch from Sketch Saturday:
I also used the inspiration image from The Card Concept:
I started by using a plaid background stamp with black ink. To add some red to the plaid, I used a red Sharpie and a ruler to add some stripes. The sentiment is a digital stamp that I printed on white cardstock and then matted with red and black cardstock. I used some black 3D paint to add the dotted frame. The star embellishments were made from cardstock and embossing powder. I punched each star four times from black cardstock and glued the layers together. I then pressed the star into Versamark ink and sprinkled black embossing powder over it. While the powder was still hot, I sprinkled more powder over the start and heated it again. I did this one more time to get the smooth, shiny finish.

Thursday, December 19, 2019

Snowy Anniversary

Wow, it's been a while! I have created some cards over the last few months, I just haven't taken the time to blog them. I may try to slowly share them as I have time. 

I made this card last week for my sister and her husband's anniversary. It is based on this sketch from CAS(E) This Sketch:
I started with the royal blue cardstock base. I stamped and heat embossed the snowflake images. The white snowflake was cut using my Cricut and the Tags, Bags, Boxes and More cartridge. I decided the background needed a little more, so I sprayed some Perfect Pearls mist over the background. I then splattered some white mist near the middle. The sentiment was stamped and heat embossed with white powder. I attached the white snowflake with foam adhesive.

Sunday, September 22, 2019

Daddy & Mommy

I had a little time this past week to create a layout. I used a couple of photos from when my now almost 7-year-old was born. I didn't have anything to say on this page, so I used the hospital bands and some embellishments with words to decorate the page. It took me a while to decide what to do for the title, but I ended up going pretty simple. I had originally cut an orange ampersand and covered it in glitter gel. While it was drying, I found the die cuts that I was going to use and decided a silver ampersand would pull things together better. I cut the ampersand with my Cricut and then pressed in on a Versamark inkpad. I covered it in silver embossed powder and heated it. To add a little siver to the bottom right corner, I punched a star and did the same technique as I did on the ampersand. I finished off the page with some sequins.


Saturday, September 21, 2019

Cards

Hello! I have a couple of cards that I completed for challenges that have since ended. I've just not been very good at getting things posted lately!

First up is a sympathy card I made using the inspiration from Fusion from a few weeks ago:

I played around with Distress and Distress Oxide Inks for the background of this card. I pressed the ink pads onto a plastic surface and sprayed them with water. I then pressed my watercolor paper into the inks. I let the first layer dry and then did a second layer. Once that was dry, I took an ink blending tool and a darker brown ink and blended that around the edges of the card. I finished off the panel with some gold ink splatters. I took a piece of kraft cardstock and used Distress Oxide inks to stamp some leaves onto it. Finally, I stamped and heat embossed the sentiment of yellow cardstock. I felt like that piece needed a bit more, so I took a white gel pan and made a frame around it.

Next up is the Sketch Saturday sketch from two weeks ago:

I recently got a new stamp set from Simon Says Stamp and was eager to use it. I stamped the pig and then colored it in with colored pencils. I added Glossy Accents and Stickles for some shine. A piece of patterned paper, washi tape and mini brads finished off this card.


Friday, September 13, 2019

October Calendar Page- Stick It Down Guest Designer

Hi all, I have some fun news today:


That's right, I'm the double page sketch guest designer at Stick It Down this month! Here is the sketch for the month:


I really liked the clean lines of this sketch and stuck pretty close to it. I added a few more photos by splitting some of the photo spots into two. I was too lazy to do the math to figure out what size my little squares needed to be to fit perfectly, so I used some labels to fill in the gaps. I liked the leaves peaking out on the sketch, so I used some leaf stamps and various inks to create the same effect on my layout. I used some more stamps for my title since there was lots of space for it across the top. I embellished my page with some die cuts and buttons. For my journaling, I printed it on white vellum and then used Distress inks and a blending tool on the back to make it yellow and orange to match my papers. 


Thanks for stopping by to check out my page!

Tuesday, September 10, 2019

Colorful Stamped Cards

 Hi all! I have a couple of new cards to share today! I have been played some more with the fun background stamp I recently got from Simon Says Stamp. My first card was inspired by the current sketch from CAS(E) This Sketch:


I used the background stamp to stamp and heat emboss on watercolor paper. I then used a water brush and Distress Inks to add the color. I punched the flower from orange cardstock and then used a blending tool to add ink to the edges. I used Distress Oxide ink to stamp the sentiment. I attached the flower with foam tape for dimension. I used a Wink of Stella pen to add some shimmer in spots (whch you can't really see in the photo) and Liquid Pearls for the center of my flower and some accents around the card.

I made a second card with the same stamp and inks, just some different colors. I stamped the center of the flower on blue cardstock to match my sentiment and heat embossed it. I fussy cut it from the larger design and used foam tape to add the flower and sentiment to the card front. I used a white Wink of Stella pen (which is much easier to see) to add some accents on this card. I have some vellum scraps and used one of them to dress up under my sentiment. I finished things off with some more Liquid Pearl accents.

Monday, September 9, 2019

Cards for Old Challenges

Hi all! I have a couple of cards to share that I made last week for challenges. Unfortunately both of the challenges have since ended, but I thought I would share my cards anyway.

First up is a pair of cards using the sketch from CAS(E) This Sketch:

I did the paper smooshing technique for the backgrounds of these cards. I used a few different blue Distress and Distress Oxide inks, allowing the paper to dry between layers. I layered a piece of silver striped transparency  over the backround. I stamped and heat embossed the images and sentiments onto cardstock and vellum circles to match the background. I finished off the cards with silver Nuvo drops around the circles.


Next up is a card inspired by the last Fusion challenge:


I got a new background stamp and so I stamped and heat embossed that on my background. I then blended some blue and green inks over the stamping to match the colors in the inspiration photo. I cut some pink flowers to run across the bottom of the card using my Cricut. I finished off the card with the sentiment stamped on white vellum. I used Liquid Pearls and Nuvo drops to accent the card.

Sunday, September 1, 2019

More Cards

I have a couple more cards I made over the past month to share. First up is a pair of cards that I made using alcohol inks and my Cricut. I started by making the plaid pattern on glossy cardstock with alcohol inks and the blending tool. I then found some coordinating cardstock to cut the cupcake pieces. I used my Cricut and the Doodlecharms cartridge to cut the cupcake. To give the frosting some shine and sparkle, I added a gliter glaze and pressed the yellow "sprinkles" into it. I attached the cupcake with foam adhesive and finished off the card with a stamped sentiment.


Next up is a card I made for my football loving nephew who turned 11 this year. I used the Boys Will Be Boys cartridge for this card to cut both the football and the sentiment. The white and green background paper made me think of the lines on a football field. I inked the edges to make it stand out against the card base. I attached the sentiment with regular adhesive and used craft foam to pop up the football. 


Saturday, August 31, 2019

Baby Card- CAS(E) this Sketch

Hello all! I have a card to share today! I made this one a few weeks ago using the sketch from CAS(E) this Sketch for the week:


I wanted to try something a little different for the background of this card. It is a sheet of Whitewash Co'ordinations cardstock. I began by using a stencil and blending tool and blended the large dots using Distress Oxide inks. I then ran it through an embossing folder with the smaller dot pattern. I took a sanding block and sanded off the raised areas to reveal the yellow. I really like how this technique turned out and I will be trying it again with other pattern! I stamped the moon and stars on a piece of vellum and used gelatos and a water brush on the back of the vellum to color it. I finished off the card with some sequins and stars.

Friday, August 30, 2019

September Calendar Page

Hello all! I have my September calendar page ready to share with you! I started with the current two page sketch from Stick It Down:


I pulled out some October Afternoon papers because the softer colors worked well with the softer colors of my photos. I stuck pretty close to the sketch, even using hearts for embellishment. I used my Cricut to cut the title. I didn't do a lot of embellishing since there are so many photos, but I used some chipboard heats, stickers, a wood veneer banner and a piece of ribbon. I finished things off with silver Nuvo drops.


Monday, July 29, 2019

August Calandar Page- Stick It Down

Hello! I haven't blogged in a while, but that doesn't mean I haven't been creating! I hope to get some posts up in the next few days with all that I've made over the past month. I'm starting today with my calendar page for August. I started with the current double page sketch from Stick It Down:

I started by pulling a bunch of coordinating patterned papers and cutting circles. I attached those and decided it needed a bit more on the background, so I used a stencil and Distress Stains and added the smaller polka dots. I then attached my photos. I wanted to frame my page, so I used my sewing machine and stitched around the layout. 

Sunday, July 28, 2019

Alcohol Ink Background cards

I am sharing my last cards from July. (I started this post a while ago and am just now coming back to complete it.) For these cards, I was inspired by this video by Jennifer McGuire. I used a ruler and some scrap felt to apply the alcohol inks to my backgrounds. 

First up is a baptism card. I ended up making two cards like this. I cut the cross using my Cricut and the New Testament cartridge. There was a thin outline that was cut from the blue, but it was too hard to get the spacing right, so I tossed that and outlined the cross with glitter glue. I finished off the card with a stamped sentiment.


For my next card, I had had the panel with the butterfly stamped for a while. For the alcohol in part, I had seen the color and then dabbed the ruler over the colors to make the spots. I really liked how they made a tie dye effect. I attached the alcohol ink panel. I used alcohol lift ink and the other part of the alcohol ink piece to stamp the sentiment. I finished the card with some green Nuvo drops and white liquid pearls.

For my last card, I made tighter waves with the alcohol inks. Since I wanted the background to shine in this card, I cut a basic white sentiment and attached it with foam tape. I used some premade flowers and punched a few flowers from coordinating paper. I finished off the card with a strip of glitter ribbon.

Hooray! Birthday Card

Hello! I have another card to share today. For this card, I started with a scrap from another card that I made about a year ago. The inked piece on the bottom half of the card inspired me to make this fun card for my nephew. I stamped the cute swimmer boy, colored him and fussy cut him out. I then found the patterned paper for the rest of my front panel. I adhered the inked piece. And then I attached the boy with adhesive foam. The sentiment was stamped and heat embossed. I finished off the card with blue liquid pearl and glossy accent water splatters.


Museum Musing

Hello again! Today I am sharing a layout I made last week. I didn't end up completing any challenges with this one, I just played with some new products I bought recently and combined them with some older items from my stash. I started with the fun Jillibean Soup patterned papers and my photos. I pulled out a sheet of stickers and used a couple of purple ones that matches my daughters' clothing in the photos. For the title, I used some of pre cut alphas and then backed them with pink patterned paper to make them stand out more. I finished off the title with some rub ons. My embellishment clusters are made up of flowers, enamel hearts, stickers, rub ons, and sequins. 

Masculine Birthday Card- Fusion

Hello again! Today I have a card to share. I used the inspiration from a few weeks ago on Fusion:

The image made me think of this patterned paper in my stash, so I started with that. For the stamped triangles, I used some banner stamps. I finished the card front of with a piece of orange twine.

Tuesday, July 9, 2019

Sweet Pea- Sketch Saturday

Hello! I have a new card to share for a new family member! My new neice was born almost 2 weeks ago. I used this sketch from Sketch Saturday for my card:

I used all scraps for this card. I started withe patterned paper for the background panel and chose coordinating papers and inks. I stamped the image and then colored it with water color pencils. I blended the coloring with a water pen and a Wink of Stella pen on the pink parts. I inked the edges to make it stand out a bit more against the background. I finished it off with some green Nuvo Crystal Drops. I used foam tape to add it to my card to give the twine a little space.

Saturday, June 29, 2019

Masculine Birthday Cards- CAS(E) This Sketch

Hello again! I have three masculine cards to share. I was inspired by last week's sketch from CAS(E) this Sketch:


If you have been following me for a while, you know that ALL THE PEOPLE  in our families have birthdays between mid June and mid July. I had built up a pretty good stash early in the year by making multiples of cards, but I needed a card this week for my father-in-law's birthday. I figured I would make a couple extra since I have two brothers-in-law with birthdays coming up (realized later that it is THREE brothers-in-law with birthdays). I started by using an embossing folder on copper metallic paper for my backgrounds. Then I found cooridinating scraps of patterned paper to add to the card. I stamped the sentiment and finished each card off with a gromlet.


Friday, June 28, 2019

July Calendar Page- Stick It Down

Hello! I have my calendar page to share, two days early! I started with this sketch from Stick It Down:


I pulled my red and blue scraps for this layout and just started from the corners attaching them. I used some washi tape to fill in as needed. Then I attached my photos and stamped my title with paint. I embellished the page with stars that I cut and punched. I also used some wood veneer stars. I filled in the opening with beads and glitter glue to add some interest. 


Thanks for stopping by to check out my layout!

Thursday, June 27, 2019

Summer Cleaning

Hello! I have a little different post today. As you know from my profile, I have 5 kids ranging in age from 12 down to 1. Over the last year, I have struggled to keep up with the cleaning around my house, even hiring someone to help me during this past school year. As we neared the end of the school year, I decided to try to get the older four kids (age 6-12) involved in the cleaning process. I created a schedule with 5 jobs each day, one for each of them and one for me:


I printed the chart and covered it with clear contact paper so we can write on it with dry erase markers.

We are three weeks in and it is going really well! (Full disclosure: my 6-year-old did not do his job today.) Each day they choose their job and all of the jobs need to be done before anyone watches TV. Not only have the jobs been getting done, by the time they are done, the kids decide to do something other than watch TV most days! It has relieved some of the stress of cleaning the house for me because I can focus on one job and do it really well knowing that the kids are doing a sufficient job in the other areas and I will eventually get a chance to do a deep clean when it is my turn to do the other jobs. 

I hope that this may be helpful for other moms out there looking for ways to get their kids involved helping around the house!

Monday, June 24, 2019

Curious Addy

Hello! I had the chance to do some scrapping over the weekend and I completed a layout! I was inspired by the current challenge at Scrap Our Stash:


I chose the right side. I flipped the photo layout and added another photo. I used a polka dot and star paper for the circle behind my title. I included a date using numbers at the end of my journaling. This layout is a combination of new papers, some Shimelle stickers, some very old flowers and a few other odds and ends. I cut the word "Curious" with my Cricut and completed the title with letter stickers.