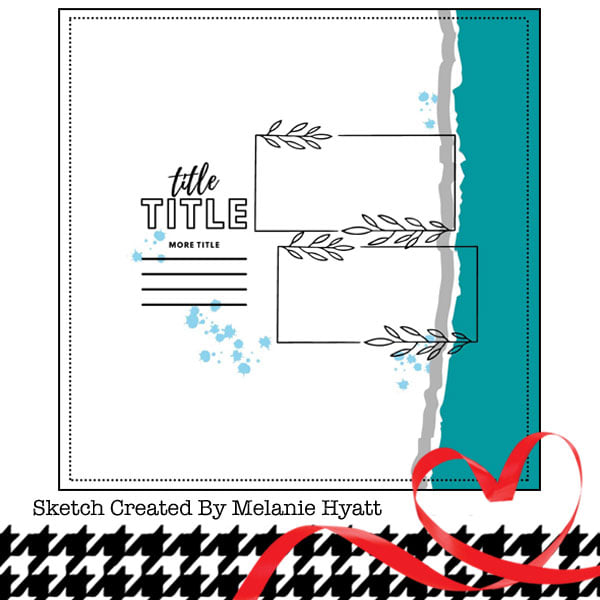
Hello all! I have a few more layouts to share using the Paper Issues sketches from January. I love a good sketch and there are so many good ones!
I used the above sketch to make this layout. I moved things around a little- moved the title to the top left, journaling to the center, a couple more photos. I pulled the green background paper from my stash where it has been for MANY years. I trimmed it a bit so the black cardstock made a nice frame around it. I found a 3x3 card to go in the center of my layout and pulled colors from there for the rest of my embellishments. I also used that card for my journaling. I added lines of stitching between my photos with my sewing machine. My Cricut cut the circle, banner and title. I fussy cut a few words from patterned paper for embellishments, I also used a die cut, epoxy flair, chipboard pieces and puffy stickers to embellish the layout.
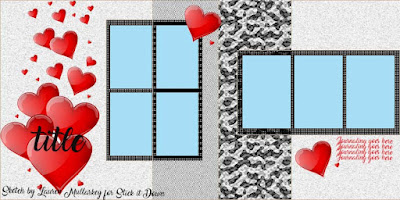
Next up is a sketch that I used for the left hand page of a two page layout.
I tied the two pages together by having the top layer of patterned paper spill over to the second page. I had a bunch of 3x4 action shots from the party. I decided to make a collage of the photos, matting each one with a different patterned paper. I put the center photo on foam to give a little dimension. To add interest to the left hand page, I stamped some flowers. I used my Cricut to cut the title from silver cardstock and patterned paper. I finished off the layout with some chipboard pieces, a flower, and Nuvo drops in pink.

I've had this colored core cardstock in my stash for a long time and decided to use it on this layout because it matched my daughter's jacket in the photos. I wanted to make use of the colored core, so I tore the edges of the paper and used my scoring board to created the lines in the background and then sanded the lines to make them stand out. I adhered that cardstock to a plain piece of black cardstock. Rather than splattering ink on my background, I used some splatter stamps and white pigment ink. My Cricut went to work cutting the word "Ariel" and the little shell in the bottom right corner. I used a few stickers and gold iridescent stars to embellish the layout.

I used this sketch for another Halloween layout, this time for my younger daughter. I ended up using a collection that was not specifically for Halloween. I fussy cut the flowers from a sheet of patterned paper. I used my Cricut to cut some large leaf outlines and my title. I added a few candy corn stickers and a bunch of sequins to embellish my layout.
I used this sketch for another two pager and another Halloween layout. I cut a pumpkin for the circle element and filled some of the open spaces with patterned paper. The second page of my layout was pretty simple since I had lots of costume photos I wanted to include. I used my Cricut again for the word "Party". The word "halloween" was a sticker from a Halloween collection. I used a few other stickers and some sequins to embellish my layout.