Thursday, March 31, 2022

Be My Valentine- Layout with a Pocket

Hello! I was putting my son's baby book in order because I thought I was finally done (he's 9!) and found these Valentines from his first Valentine's Day, so I whipped up a quick page to include them in his book. 

I used all scraps from previous projects. I started with the row of red hearts, which were already fussy cut! I found the black and white cross paper and adhered the hearts to the top edge. I then used gold polka dot washi tape to create a pocket. I found this cute photo of my kids and double matted it to add to the layout. I finished the layout off with a title I cut using the Cricut.


 I am entering this in the Use Your Stuff White + One Color challenge.

Thursday, March 24, 2022

My First Birthday

Hello again! I have another new layout to share. I used one of the Paper Issues sketches for this one:


I've had the blue paint stroke patterned paper scrap sitting in my stash for a bit, waiting for the right opportunity to use it. I sawt his sketch and came up with the idea to make the same concept with orange for the bottom half. I am really happy with how the background turned out. I then layered my photos over the background and used a branding strip for the stripe across the top and cut a strip from a coordinating paper for across the bottom. When I was looking for papers to cut the title from, I came across a scrap of orange Hambly transparency and decided to use that on my layout since it matched so well! I cut the title with my Cricut and found a few die cuts and stickers to embellish the page. I finished things off with some sequins.


Wednesday, March 23, 2022

Winter Wonderland

Hi all! I have a new layout to share! This one came together pretty quickly. I started with the patterned paper scraps and photos. I liked the 4x6 card for my title. I decided I wanted a little interest behind my main photo, so I did the smooshing technique with Iced Spruce and Faded Jeans Distress Oxides. I also wanted to use a snowflake punch on here, but it is meant for the middle of the page, so I layered some vellum under the photo and used the punch on that. That allowed the mixed media to peek through and added some interest. I found a journaling block and placed that next to my title. I also have a spiral book of journaling and layering pieces, which is where I found the scalloped snowflake piece that I added behing my title. A few stickers and brads finished up my layout. 


 I am entering this in the Lasting Memories punches, dies and ephemera challenge. I used both a border punch and the snowflake punch on this layout.

Sunday, March 20, 2022

April Calendar Page

Hello, I have my April calendar page finished a couple of weeks early! I started with this sketch from Stick It Down:


I won the Echo Park "My Favorite Easter" collection last month and decided to put it to work on this layout. Isn't is pretty? I found a sheet of coordinating purple cardstock for the background of my left hand page. Since the entire background of my right page is patterned paper, I used a sheet of white cardstock as the base. I used some white holographic Thickers for the title and fussy cut the journaling block from a 3x4 card that came with the collection. I embellished the page with stickers from the collection and finished things off with Bubblegum Blush and Soft Mint Nuvo Drops. I am also entering this in the Lasting Memories Finishing Touches challenge which is to use enamel dots, brads, sequins, bling, or Nuvo Drops.


 Thanks for checking out my layout!

The Future's So Bright

Hello, I have a layout to share today! I had some fun photos and found this color combo in the Paper Issues March Challenges:

I just used a few scraps of patterned paper for this layout behind the photos. I fussy cut the circles from a sheet of patterned paper to scatter across the background of my title. I cut the title using my Cricut. For the words "The Future's so" I cut the phrase three times and stacked the letters to add dimension. I used black dimensional paint on the word "bright" to make it stand out and add some texture. I finished off the layout with enamel dots and puffy star stickers. 


Saturday, March 19, 2022

Happy Birthday- Sketch Saturday

Hi all! I have a new card today. It has been a while since I made a card, but this was a quick one. I started with this sketch from Sketch Saturday:


I used my new brick wall embossing folder with kraft paper for my background. I then pulled a bunch of scraps that went together and cut strips from them. I attached the strips, stamped my sentiment on another strip and attached that. I finished off the card with some tiny stars from a past Cricut cut and Liquid Mercury Nuvo Drops. And that was it!


Tuesday, March 15, 2022

My First Christmas

Another Christmas layout! But this should be the last for a while. I started with this sketch from Sketches in Thyme:


I used the sketch for my left hand page. I expanded the photo area to include three photos, which meant I also expanded the patterned paper. I didn't have enough of one patterned paper to have it be on both pages behind the photos, so I found something that coordinated. I found the branch cut in Cricut Design Space and cut that from dark green cardstock. The cut came with ornaments to cut out too, but I chose to fussy cut these ornaments from a sheet of patterned paper. I also fussy cut the house on the right hand page. I also used my Cricut to cut the title. Once that was all adhered, I used silver Nuvo Drops to make the ornament "strings" and the smoke from the chimney. I finished off the page with irridescent gold stars.


 Thanks for checking out my layout!

Sunday, March 13, 2022

Build a Dino

Hello, I have a new layout to share today, one with a big piece of memorabilia. I sometimes find full sheets of paper sized certificates a challenge to scrap since they don't leave a lot of space for other things. One thing I tend to do is cover up the non-essential parts with photos and patterned paper like I did here. 

I let the "birth certificate" speak for itself and didn't add a title. I used some patterned papers behind my photos for some interest and embellished the page with some washi tape, epoxy flair, and various stickers- letters, acetate, and puffy. The first challenge of March at Lasting Memories was to use stickers, so that's what I did here.


 Thanks for stopping by to check out my layout!

Thursday, March 10, 2022

Warm Christmas Wishes

I have another new layout to share! It is another Christmas page, but this time, I had a letter from Santa to include. 

I had ordered some dress up costumes for my daughter and they were late getting to me, so we had to come up with a story. My husband came up with the fun rhyme for the letter. 

I worked with scraps for this layout and I am happy with how it came together! I cut the title with my Cricut and then colored over the red letters with a glitter pen for some shimmer. The Week 2 challenge at Lasting Memories was to use trims- ribbon, twine, washi tape or paper strips, so I used some paper strips and washi tape on this one. To embellish the page, I used a flair badge, a brad and banner and some gem stars. 


 Thanks for stopping by to check out my layout!

Tuesday, March 8, 2022

Always Smiling

Hello! I have another layout to share today! For this layout, I was inspired by the current challenge from 123 Challenge:


I thought the color scheme would make for a great boy page, so I pulled some photos of my oldest son at some playdates. (The current challenge at Use Your Stuff is to make a masculine page too!) I made the photo area bigger to accomodate all my photos, which meant I had to move the banners to the side. I took the inspiration of the area in the top left a couple of ways, I added a circle and then a strip of paper cut with a pinking edge scissors (yes, I used a decorative edged scissors!). I had thought about die cutting some stars, but instead opted to use a mask and colored some molding paste blue to match my papers. I love the texture it gives to the page! I cut the title using my Cricut. I embellished the page with some puffy stickers, some things I fussy cut from patterned paper, a wooden button, letter stickers, and silver Nuvo drops.

 Thanks for checking out my layout!

Monday, March 7, 2022

Christmas is in the Air

Hello! I spent a few days this past week editing photos to be printed since I got so many scrapped last weekend. I did have time to get a layout done too! I was inspired by the current sketch by Rochelle Spears for my left hand page:

I was also inspired by the tic tac toe board from Scrap with Stacy:


For the sketch, I decided to cut a wreath with my Cricut for the circles. I left it the cream color, allowing the patterned papers and photos to take center stage on this layout. I stretched my patterned papers across both pages to tie them together and matted the group shots on each page to make them stand out. For the title, I again used my Cricut. I wanted the word Christmas to be a different color than the other words, but I couldn't divide the cut file to have them cut on different mats, so I cut my red down to size and put my gold right up against it. The red was a little too big and the tops of the letters of the bottom words ended up being cut from the red. I decided to go with the two tone letters and put in the effort to get the pieces lined up. I hand wrote my journaling on strips. I embellished the page with a fussy cut ornament, a flair button, a canvas deer, a brad and gold stars. For the tic tac toe challenge I did the bottom left to top right diagonal- long title; cirlces- the wreath, brad, and badge; and word strips for my journaling.


 Thanks for stopping by to check out my layout!

Tuesday, March 1, 2022

Paper Issues Crop Layouts

Buckle up, I have a bunch of layouts to share today! These are the layouts I completed over the weekend for the Paper Issues Spa Crop. I am so excited that I was able to complete so many layouts!

First up is the layout I completed for the Seaweed Wrap challenge. The challenge was to make a monochromatic green layout. I also based my layout on this sketch from Sketches in Thyme.

I started by pulling out all the green papers I could find. I then decided to create a background. I pulled out a piece of light green cardstock and a polka dot mask. I blended Crushed Olive and Lucky Clover Distress Oxide inks over my mask. I then layered my papers and photo on top. I found some cute tags with saying in my stash so I used those, along with some wood veneer stars, gem stars, and Cricut die cuts to embellish my page. A few stickers and handwritten journaling finished off this layout. 


 Next up was the Highlights challenge, which was to use one color of ink, watercolor, etc. on a white background. I had a lot of fun smooshing orange inks onto my background. Once it was dry, I layered patterned papers on top, along with my photos. To embellish the page, I used some stickers, chipboard, and brads. I cut my title with the Cricut. I cut it three times and layered it up for some dimension. That was a labor of love with this title since each letter is individual, but the outcome isgreat! I finished off the layout with a few Dirty Bronze Nuvo Drops scattered around the page. 

I made this cute layout for the 
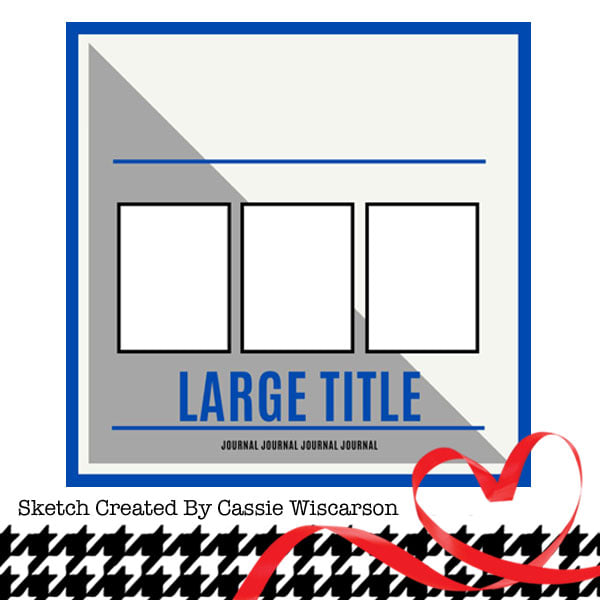
Manicure challenge, which was a this or that challenge. I also based my layout off of this PageMaps sketch that was a challenge at Lasting Memories last month. I cut the patterned papers and laid them out with the photos. I chose to use stamps on the layout, so some swirls and snowflakes to add interest to the background. Once my papers and photos were adhered, I cut the title with my Cricut. I went with a large title. I cut this word three times from white cardstock and layered it for dimension. For added interest, I covered it in Stickles and Glossy Accents to give it a candy appearance. I finished off the layout with some pink ink splatters and puffy stickers. 


I did this layout for the Massage challenge, which was to use felt or fabric on your layout. I used some sparkle ribbon. I pulled out a rainbow of colors and decided to make a rainbow for this Rainbow Loom page. The patterned paper was leftover from another layout and I wanted to use it as a whole piece and decided it would work perfectly for this. I continued the rainbow theme with my title. I cut it with my Cricut from black and white cardstock. I ink blended a rainbow on the white cardstock. I embellished the page with stickers, puffy stickers and sequins.

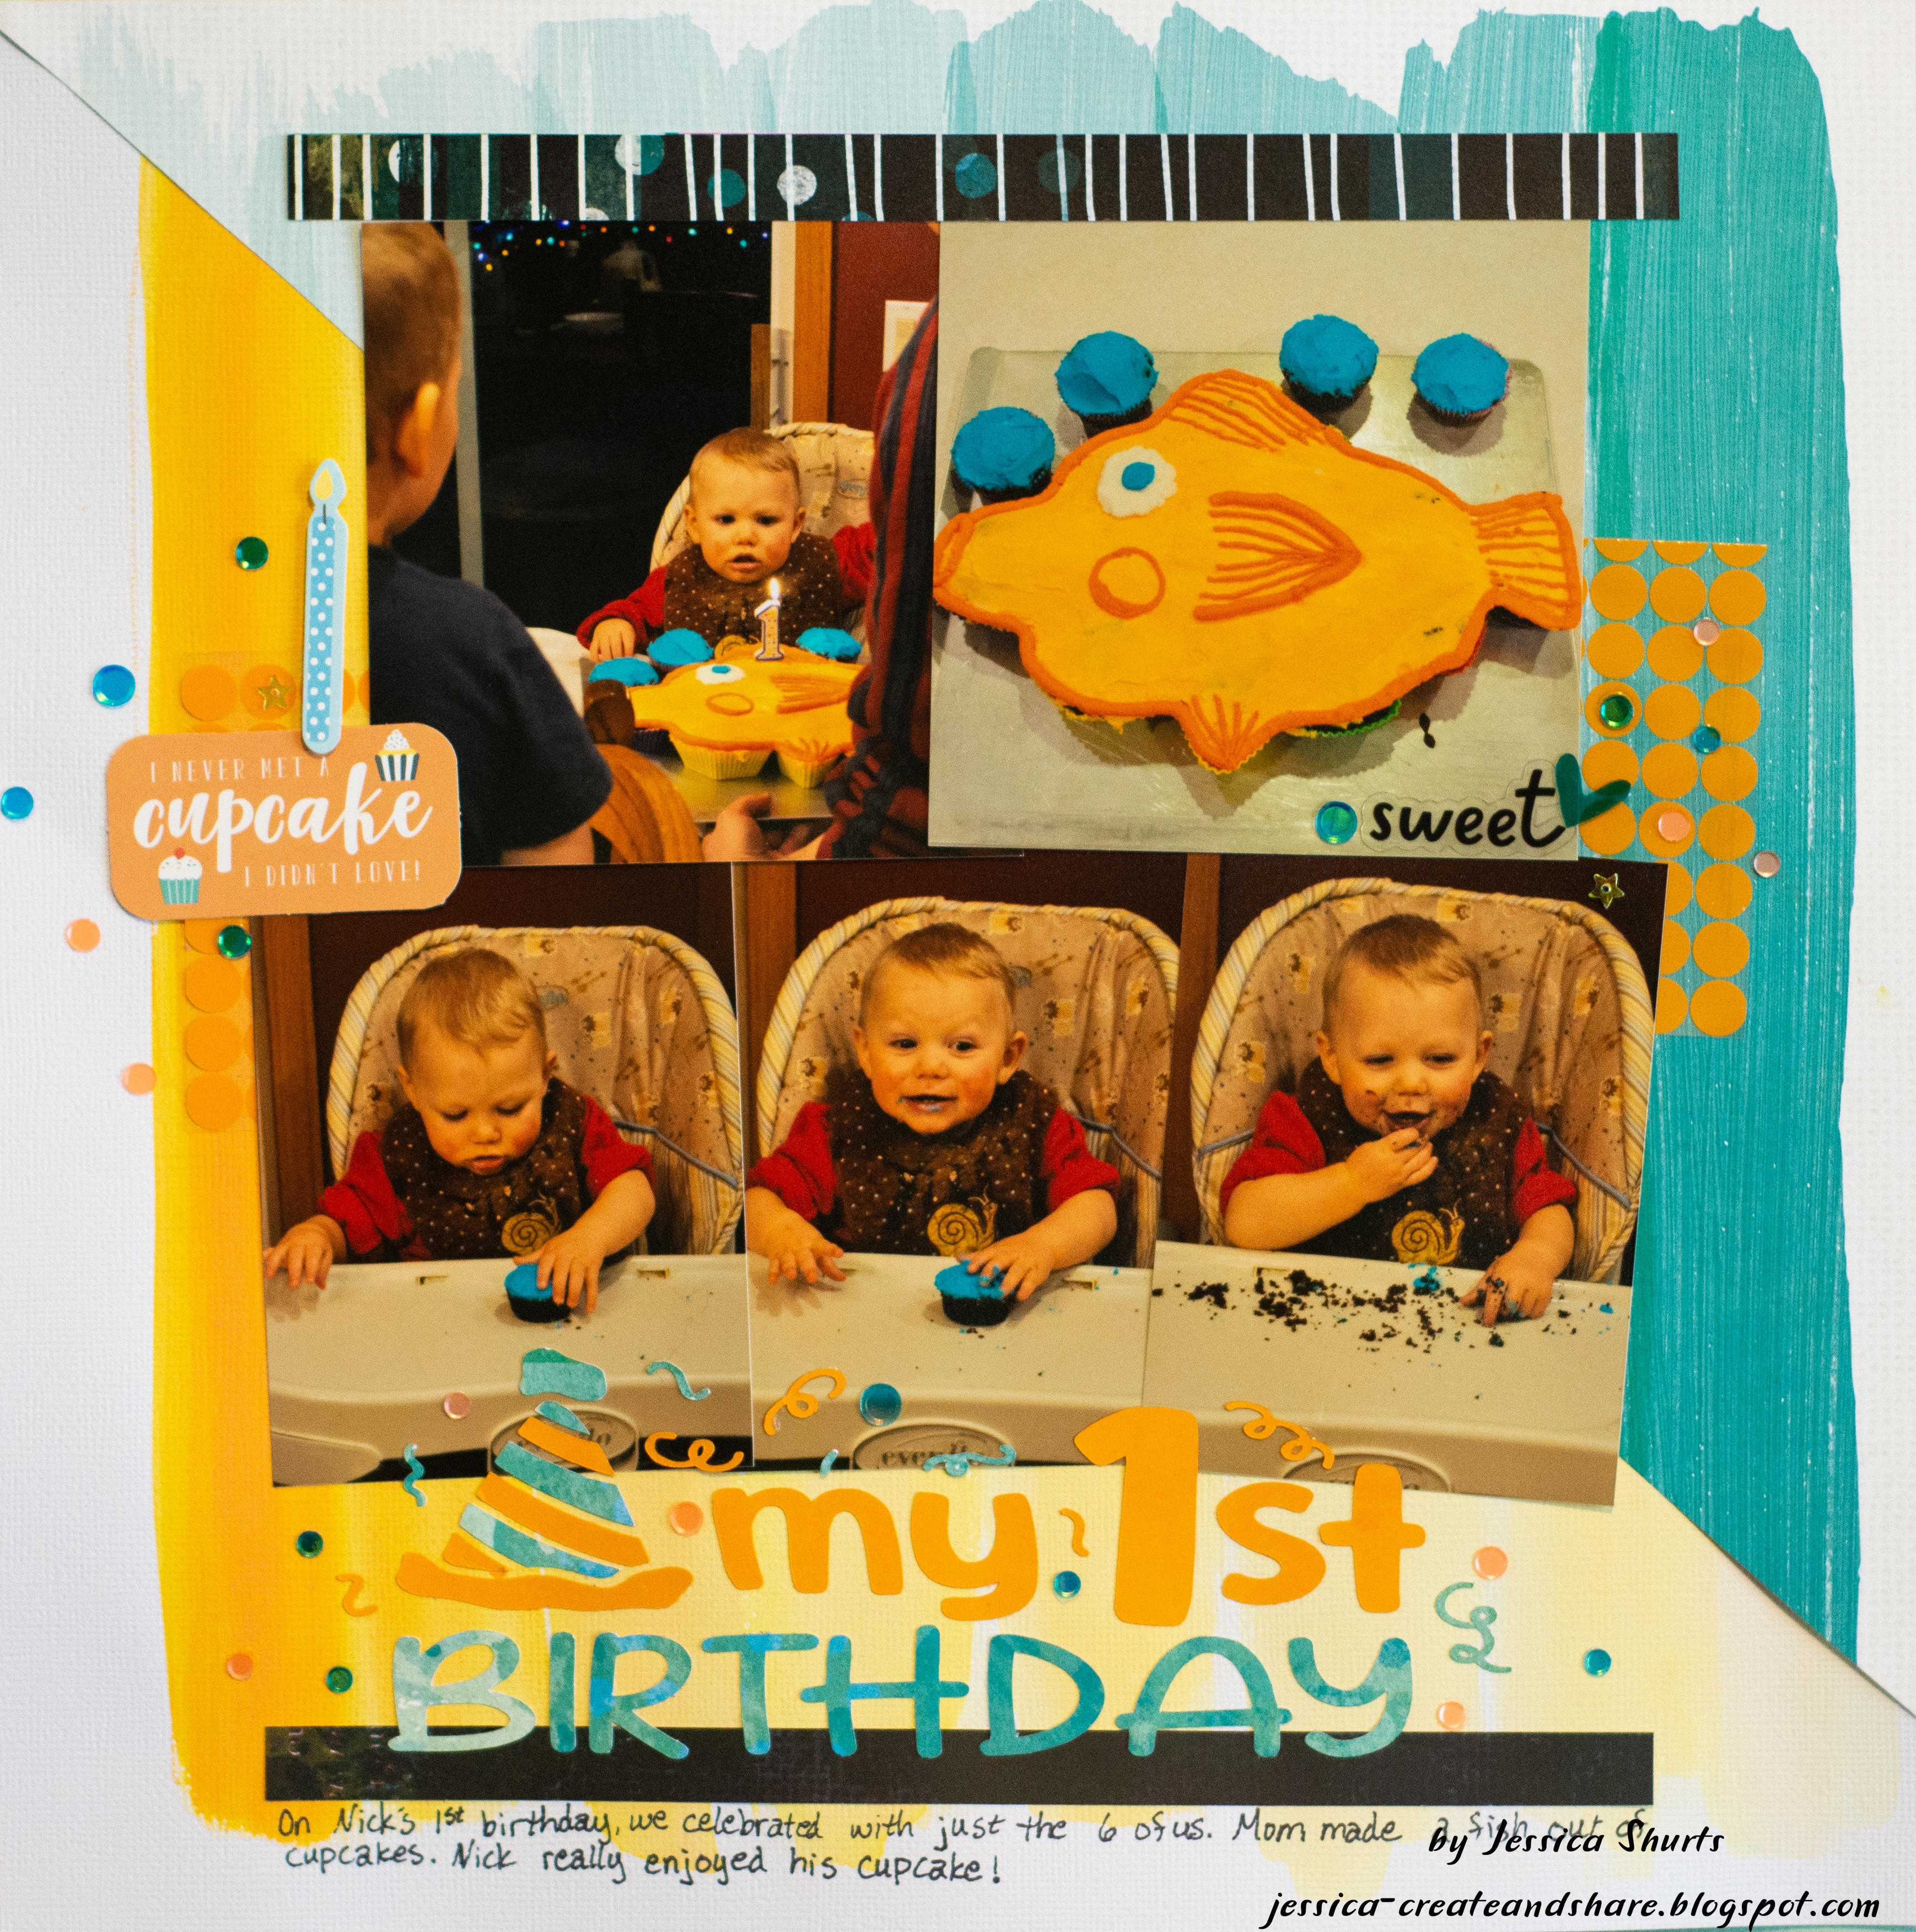
This layout was for the Pedicure challenge: use 10 tiny photos or 10 small embellishments. This layout has 12 photos, but 10 are smaller. In case that wasn't good enough, I used 10 gold stars to embellish the layout. I did some ink splattering with gold and then ink blended red through a star mask in the title area and one either side of the large photo on the right page. To add interest to the photo on the left page, I cut a wreath with my Cricut and colored the berries with a red sparkle pen instead of trying to attach tiny cut berries. I also cut the title with my Cricut. 

This layout started out to be for the Highlights challenge, but I forgot the detail about only using one color on the background and I used 3. I used a brush and streaked metallic watercolors across the background and added a few splatters. I cut the leaves from glitter cardstock. I layered the photos and some patterned paper over the top. I used a preprinted piece of paper and letter stickers to make my title. I embellished the page with printed chipboard and brads. I finished off the layout with some twine for the Up Do challenge.

The next layout came together pretty quick for the Facial challenge. This challenge was about using a photo of yourself. I used a photo from our 10th anniversary party to go with the cards we received. I made three pockets on the page to hold the cards. I used washi tape around the edge of the pockets to give th page a finished look. I cut the title and embellishment words with my Cricut. I finished this one off with light pick Nuvo Drops. 


I have a set of die cut felt that I pulled out for a second go round with the Massage challenge. I started by smooshing pink inks on my background. I found some green and pink papers to go with the cake in the photos. I found the word "Birthday" in my stash of words that were already cut and it matched my layout, so I just cut the word "Party" with my Cricut from holographic paper. I punched a few stars from the same paper to bring it around the page. I cut some of the words from text patterned paper. I finished of this layout with some sequins for a little more sparkle.


Whew! There they all are! Thanks for checking out my layouts! Now I'm off the edit some photos to print since I scrapped most of the ones I had printed!