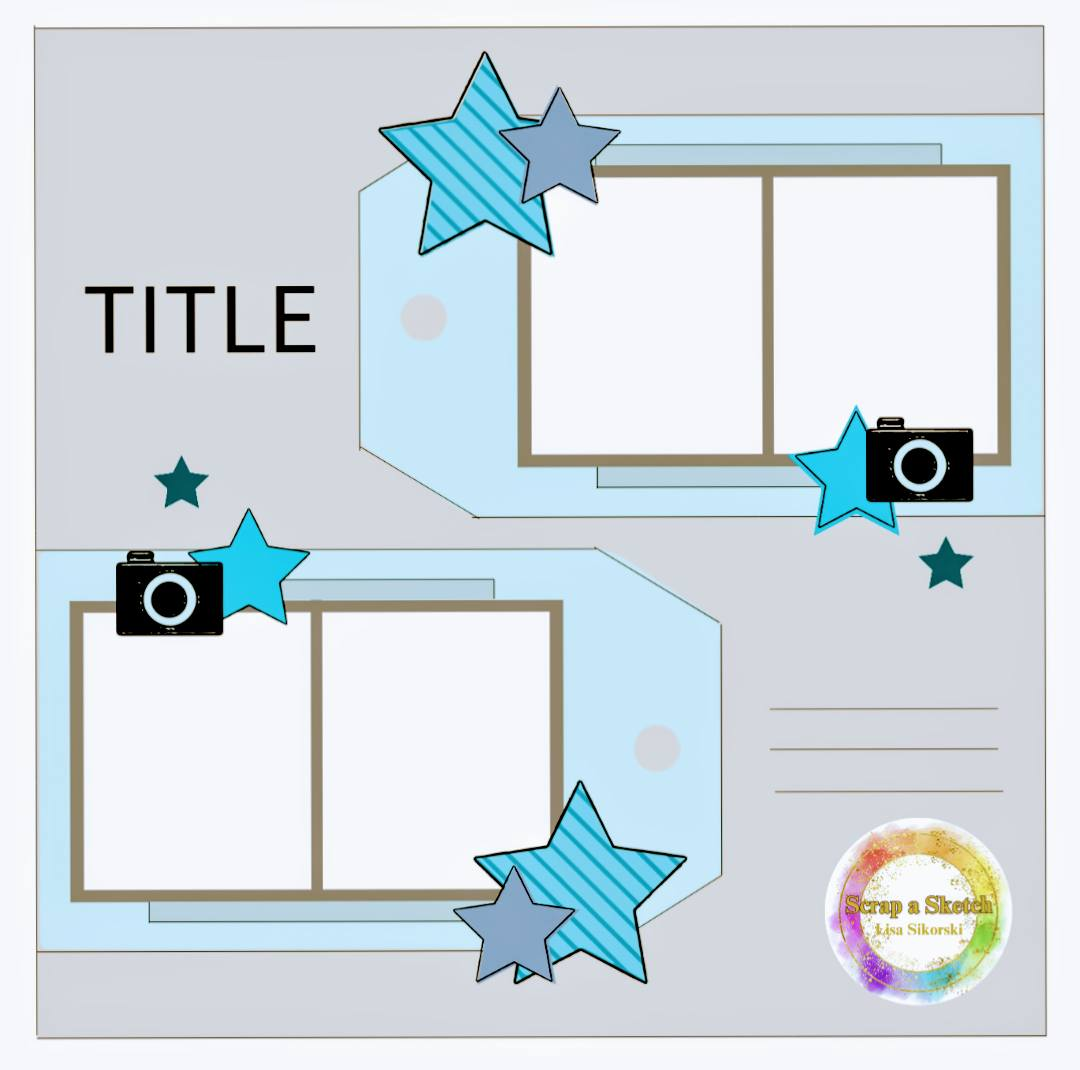
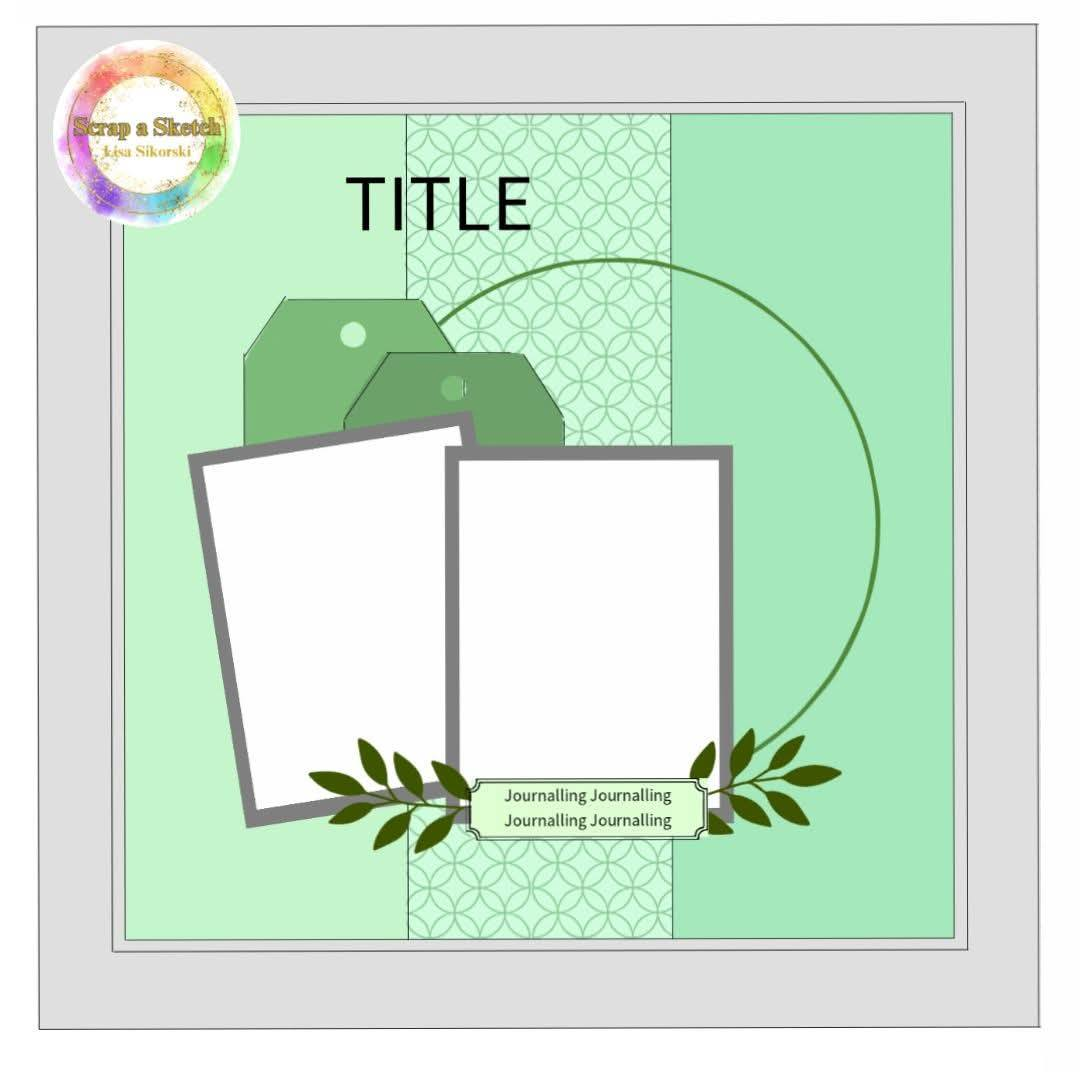
Showing posts with label Challenge. Show all posts

Wednesday, May 20, 2026

Birthday Cards

Hello! I have a couple of fun birthday cards to share today! The first card is for my niece who turned 5 earlier this week. I used a Cricut cut for the number and butterflies. For the background I used the Marble Turnabout stamp from Concord and 9th with pink inks that coordinated with the pink cardstock used on the "5." For the sentiment, I stamped on a strip of vellum that I wrapped around the front panel.


The color scheme for this card was inspired by this color combo from Color Dare

My second card is for my youngest son who loves video games and turned 8 over the weekend. I cut a bunch of stuff with the Cricut and assembled it all. I kept everything else pretty simple. I used kraft cardstock and a brick embossing folders. I matted that on a piece of black cardstock to add the thin black frame since everything on the front of my cards had a black outline.

 Thanks for stopping by to check out my projects!

Thursday, May 7, 2026

Let's Get Loud

Hi all! I have a new layout to share today! It is another dance layout for my daughter's album. 
This month's challenges at Lasting Memories are tic-tac- toe boards. I used the first one for this layout. I used the center row- bold letter, stamping, and triangles. To start the layout, I cut triangles from scrap paper and laid them in the ray pattern and then sprayed and flicked teal spray inks. Once that was dry, I adhered my photos. I cut the title using the Cricut, along with some of the stars. The rest of the stars were punched. I stamped both the lines for the journaling and the teal star outlines to add some depth to my embellishments. 
 

Tuesday, April 28, 2026

Disco Medley

Hello! I have a new layout to share! I started with the current sketch from Rochelle Spears (see below). I rotated the sketch to work with my photo. I used all acetate for the triangles in the background. I used my Cricut to cut the title and the disco ball in the background. To embellish the page, I used washi tape, ribbon, ticket stamps and punch, and some paper sequins. 

 
Some of my design decisions were influenced by the the Scrap With Stacy Tic Tac Toe Board:

I used the center row: twine/ribbon, triangle, and ticket.

Monday, April 27, 2026

Fall Sweet Fall- Lasting Memories Guest Designer

Hello! It is my final week as guest designer for Lasting Memories. This week's challenge is: THIS-use never before used pieces of paper or THAT: use all scraps. 

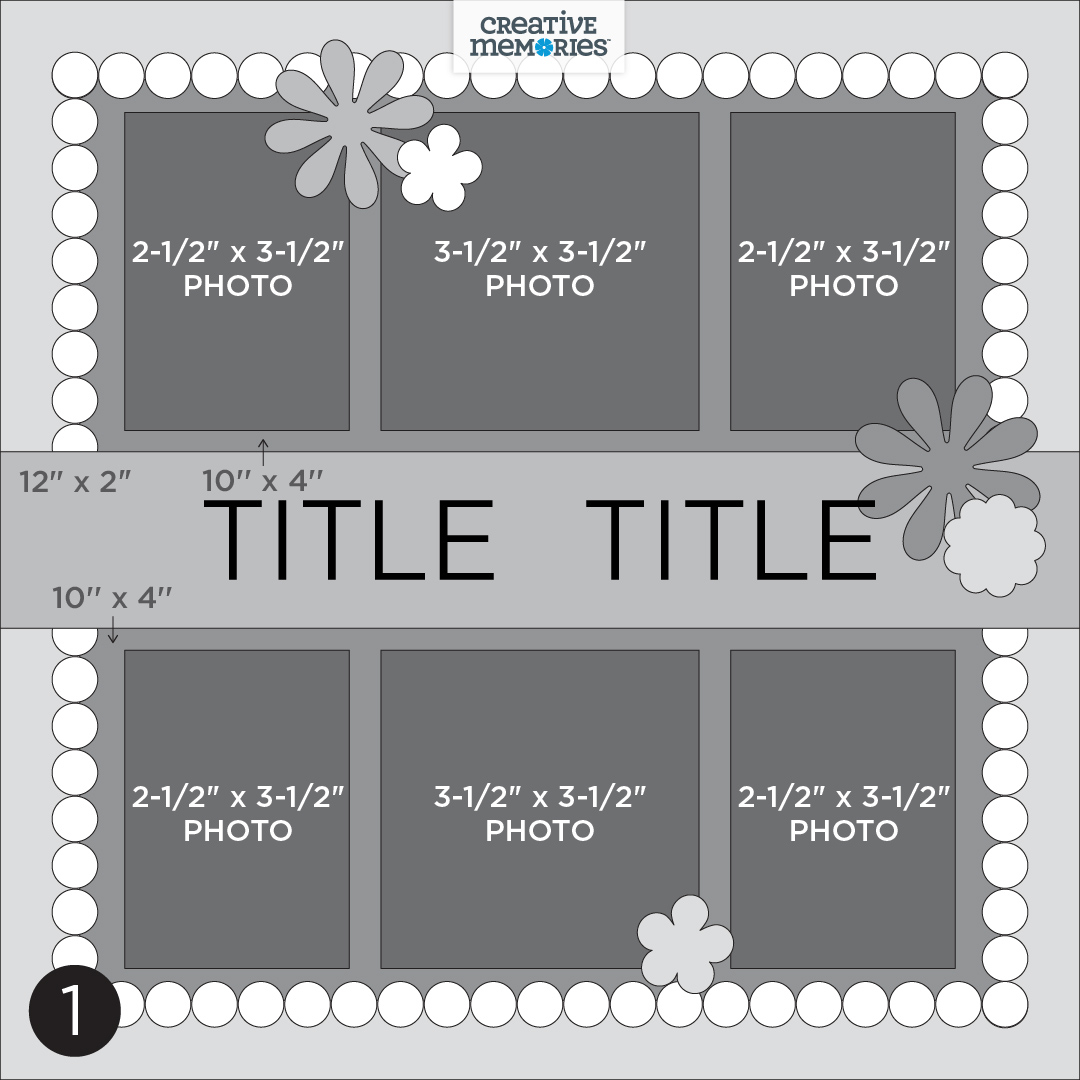
I ended up using all scraps for my layout (except for the base cardstock). Most of the papers I used are from Creative Memories, which is also where I got the sketch that I based this layout on (see below). I stuck pretty close to the sketch, adjusting it a bit to work with the size and shape of my photos. I cut my title useing the Cricut. To embellish the page, I used some stickers, die cut flowers, and fussy cut leaves.
Here's the sketch I based the layout on:


Sunday, April 19, 2026

Love Bug- Lasting Memories Guest Designer

Lasting Memories is back with another challenge this week: THIS: use stars on your layout OR THAT: use hearts on your layout. As you can see below, I chose hearts!
 I started by cutting a heart background using my Cricut. I spread the heart outlines around my background. Then I sprayed the insides of the hearts with Distress Mica Stain to add some shimmer and a little different color. I then spread those between the other hearts. I found a coordinating piece of patterned paper to mat my photos on. I used my Cricut to cut the title as well. Since the polka dots on the patterned paper were light blue, I used that color for my journaling spot and embellishments. I was excited to use the blue felt trim that I've had forever, I thought it worked perfectly! I finished off the page with paper sequins cut from glitter paper.

Sunday, April 12, 2026

Dance Layouts- Lasting Memories Guest Designer

Hello! I'm back with my layout for this week's challenge at Lasting Memories: THIS: Use alphabet stickers for your title OR THAT: Create your own title using die-cuts or stamps.

I chose THAT and used my Cricut to die cut my title. I also used my Cricut to cut the backgroud. I used scraps of gold glitter cardstock to back some of the holes in the background. The leaves are a stamp and matching die. The flowers are a die.


 I just finished another dance layout, so I figured I would include it in this post as well. I used this month's single page sketch from Stick It Down:
The brick wall in the sketch went well with the photos I was going to use, so I kept that. I cut a piece of kraft card stock and ran it through a brick embossing folder. I then took a couple of ink pads and rubbed them over the texture to add depth. I used my Cricut for the background circle cut and the title. To add further texture to the layout, I used some old mulberry paper to mat my photos. I really like all the texture on this layout!

Monday, April 6, 2026

A Week in Illinois- Lasting Memories Guest Designer

Hello! I'm here to share exciting news today! I am guest designing for Lasting Memories for the month of April! This month's challenge theme is "This or That." This week's challenge is THIS: Use a sketch OR THAT: Scraplift one of the Design Team's layouts. I decided to use this sketch from the March PageMaps:

I started with two different colored sheets of cardstock and went to work finding patterned papers that went with my photos. I adjusted the photo spots a bit from the sketch to work with the photos I was working with. I also moved the journaling area because my photo on the bottom right was bigger than the one in the sketch. I used my Cricut to cut the title, large blue train, the tracks and the railroad crossing sign. I also used some stickers, die cuts, and dimensional embellishments from various collections to embellish the page. To bring the dark blue to the right hand page, I used a couple of pieces of blue washi tape in the embellishment clusters.
I hope you play along with this challenge and the rest of the challenges throughout the month!
 

Tuesday, March 24, 2026

70th Birthday Card

Hello! I have a card to share today that I made for my dad, whose birthday is today! I started with a piece of pale blue cardstock. I used a set of plaid blending masks, blue and yellow ink to make the background. I then cut the sentiment from blue and silver cardstock. I felt like the design needed some balloons behind the sentiment, so I cut those from vellum and colored them with alcohol inks. Once they were dry, I attached them to the card front and added the sentiment with foam tape. To add a bit of interest to the bottom, I added a thin strip of silver cardstock and grey washi tape. 

 I was inspired by the current board at Tic Tac Toe challenge:


I used the center column- ink blending, washi tape, and dimension.

Monday, March 2, 2026

Dance Layouts

Hi all! I've been busy making layouts! Today I have a few to share. For my first layout, I used this sketch from Rochelle Spears:
I found some fun patterned papers to go with the colors and theme of the layout and cut them into blocks. These were both scraps, so the dimensions are different than the sketch because I went with what I had. I cut the wheel and title using my Cricut. To add some dimension, I used gold brads on the wheel. For embellishments, I used a tag and die cut, puffy stickers and washi tape. 

I also did the tic tac toe challenge from Scrap with Stacy:

I used the center column- metal, stickers, and 2 photos.

My next two layouts were inspired by products and weren't for any specific challenge. For this layout, I started with the white cardstock that I had pressed a masked that had been misted onto. I then found the patterned papers and layered them over the top. When I was looking for ideas for the title, I saw the hot air balloon cuts and decided to add those to the layout in coordinating colors. I finished off the embellishment clusters with fussy cut rainbows and gold paper sequins.


For my last layout, I started with the patterned paper that I used on the background. I loved the design of it, so I went looking for a set of photos with colors that worked with the paper. I found these two and thought they would be perfect. I adhered them to the background. Then I added rub ons over the top edges of the photos and in the top left corner. I cut the title with my Cricut and holographic cardstock. I fussy cut the journaling spot from patterned paper. To finish things off, I added a sprinkling of gems.


Friday, February 6, 2026

Red Balloon

Hello! I have a new layout to share today! I started with this sketch from Rochelle Spears:

I rotated the sketch 90 degrees to the right to make it work for my photos. I shifted the banner and title as well to make it work with the new orientation. I started with the red foil polka dot cardstock and cut the three large circles, which helped highlight the red balloons in the photos. I then fround some black and white paper options to put behind my photos. The text paper had something cut out of it, but I was able to cover it with a photo. The striped piece is acetate. I used my Cricut to cut the title. For the subtitle, I used rub ons. In order for the banners to not cover the balloons in the photo, I had to place them over part of the "J", so I went in with a white gel pen to alter the letter to make it fit above the banner. I stamped and fussy cut the banners and the journaling label. The glitter banner in the top right is actually glitter washi tape that I just cut into a banner. I used a piece of black embroidery floss to connected the banners under the title.

 
 I also did the Tic Tac Toe Challenge from Scrap With Stacy: 


I did the center column: title and subtitle, banner, and circle.


Friday, January 16, 2026

Bibbidi Bobbidi Boo

Hello! I have a new layout to share! For this layout, I started with this sketch from Rochelle Spears: 

I started by pulling papers that coodinated with the color of the costumes in the photos. The background cardstock at the dot resist already printed on it, so I went over that with a matching blue ink and a blending brush. I cut the patterned aper and striped acetate into the two banners for the center of the layout. I had glitter cardstock that matched the costumes perfectly, so I used that to mat the photos. I created a tag from another piece of patterned paper. I cut my title from gold foil cardstock using my Cricut. for embellishments, I used some rub-ons, stickers, a fabric flower, a button and some gems.
In addition to the sketch by Rochelle Spears I also played along with the tic tac toe challenge:

 
I used the center row: two photos, flower, and acetate.

Tuesday, August 5, 2025

Masculine Cards

I have already shared some masculine cards over the last couple of days, but I have a couple more that didn't fit into either of the previous categories. For this first card, I used the July card sketch from Stick it Down and the inspiration picture from The Card Concept:


I started by stamping the background with the chicken wire stamp. I then found patterned paper scraps in shades of blue and ripped the edges. I layered them across the bottom of the card. The sentiment is actually stamped on the back of a branding strip that was just a solid light blue. I used my Cricut to cut the stars and then ran them through an embossing folder for some texture.


For my second card, I used a brick embossing folder on a sheet of tan white washed Core-dinations cardstock. I sanded the raised areas and then used a small blending brush to add some brown inks to some of the bricks for some interest and depth. I wanted a graffiti look to the sentiment, so I found a font that had a more handwritten style and used some spray ink to added the green to the center of the card front.

Friday, May 30, 2025

Lasting Memories Guest Designer- Week 4

My last layout went up on Sunday at Lasting Memories. Here is the tic-tac-toe board for week 4:

I was also inspired by this sketch from Sketches In Thyme:

I broke the photo spots into multiple spots so I could get more photos on my layout. I then went to work with some fun papers. I used my Cricut to cut the title and the circles. I scattered the circles around the page like the hexes on the sketch. I added some pieces of washi tape around the page as well. I finished off the page with some enamel dots. I used the top left to bottom right diagonal on the tic-tac- toe board: 2+ papers, circles, and blue.

 Thanks for stopping by and following along this month!

Thursday, May 29, 2025

Lasting Memories Guest Designer- Week 3

Hello! The week 3 tic tac toe board from Lasting Memories looks like this:


I started with a rainbow lined piece of patterned paper for my background. Then I found some patterned papers to back my photos. I used a coordinating color of cardstock for the center strip. I used my Cricut for the stars and letters. For the journaling spots and the word "Hello", I used some stickers. To frame the center, I used some washi tape and sewed over it with my my sewing machine. To embellish the page, I once again used some school die cuts and stickers. I finished things off with a few enamel dots.

 This layout was inspired by this sketch from last month's Creative Memories crop on Facebook:


Monday, May 12, 2025

Birthday Card- Color Inspiration

Hello! I have another new card to share! For this card, I started with this challenge from Color Dare:

I loved the bold colors of this challenge! I started wtih a piece of golden cardstock. I used a background stamp and blue ink, followed by clear embossing powder for the background. I then blended some orange and red ink over that. The blue ink was not as bold as I'd hoped, so I added some blue ink splatters. I then used my Cricut to cut the cake and the sentiment. I assembled that directly on my card front. To finish things off, I added some sequins for added interest.


Sunday, May 11, 2025

Lasting Memories Guest Designer- Week 2

Hello, I'm back with my layout for this week's challenge at Lasting Memories. We started with this tic tac toe board:


This week I used the center column to inspire my layout. I started with the three photos from Halloween 2015. I then found two patterned papers that brought out the colors of my daughter's costume. I cut those into large tags. For the background, I stamped snowflakes with white pigment ink. I used my cricut to cut the title and snowflakes. I stamped and heat embossed the journaling spot. To finish things off, I used a few silver star puffy stickers and a epoxy flair.


I used a sketch from Scrap a Sketch again for this week's layout:
 

Sunday, May 4, 2025

Lasting Memories May Guest Designer- Week 1

Hello! I'm excited to share that I am a guest designer at Lasting Memories this month! Each week, we will be working with a tic tac toe board. Here is this week's board:


I used the top row to inspire my layout. I started with two photos of my son making art when he was younger. I then used these fun watercolor style papers for my background. I used a punch for the banners and then my Cricut to cut the letters and blobs. For the journaling spot, I stamped the journaling area and wrote my journaling with a white gel pen. To embellish the page, I used a pack of school die cuts and found the artsy ones. For the metal, I used two metal brads on my tags. 

 I used a sketch from Scrap a Sketch as the starting point of my design.


Monday, March 3, 2025

Beach Medley- Dance Layout

Hi all! I have a new dance layout to share. This one started with the current sketch from Rochelle Spears:

This sketch went on a bit of the journey. I started by extending the photos in both directions, then I rotated the paper strips because I wanted the illusion of waves, finally, I shifted the embellishments a bit to fit with the other changes I made. I chose blue and pink patterned papers for my background and found a few that had waves or looked like waves. I cut the title with my Cricut and adhered "Beach" with foam adhesive. For the tag and journaling spot, I stamped and heat embossed with white powder. To prevent smudging, I used a ultra fine tipped Sharpie for my journaling. The rest of the embellishments included washi tape, stickers, puffy stickers and some gold ink splatters.
I also did the Scrap With Stacy Tic Tac Toe challenge:

I used the top left to lower right diagonal- ink splatter, tag, and stamping.