Tuesday, February 20, 2024

Stick It Down layouts

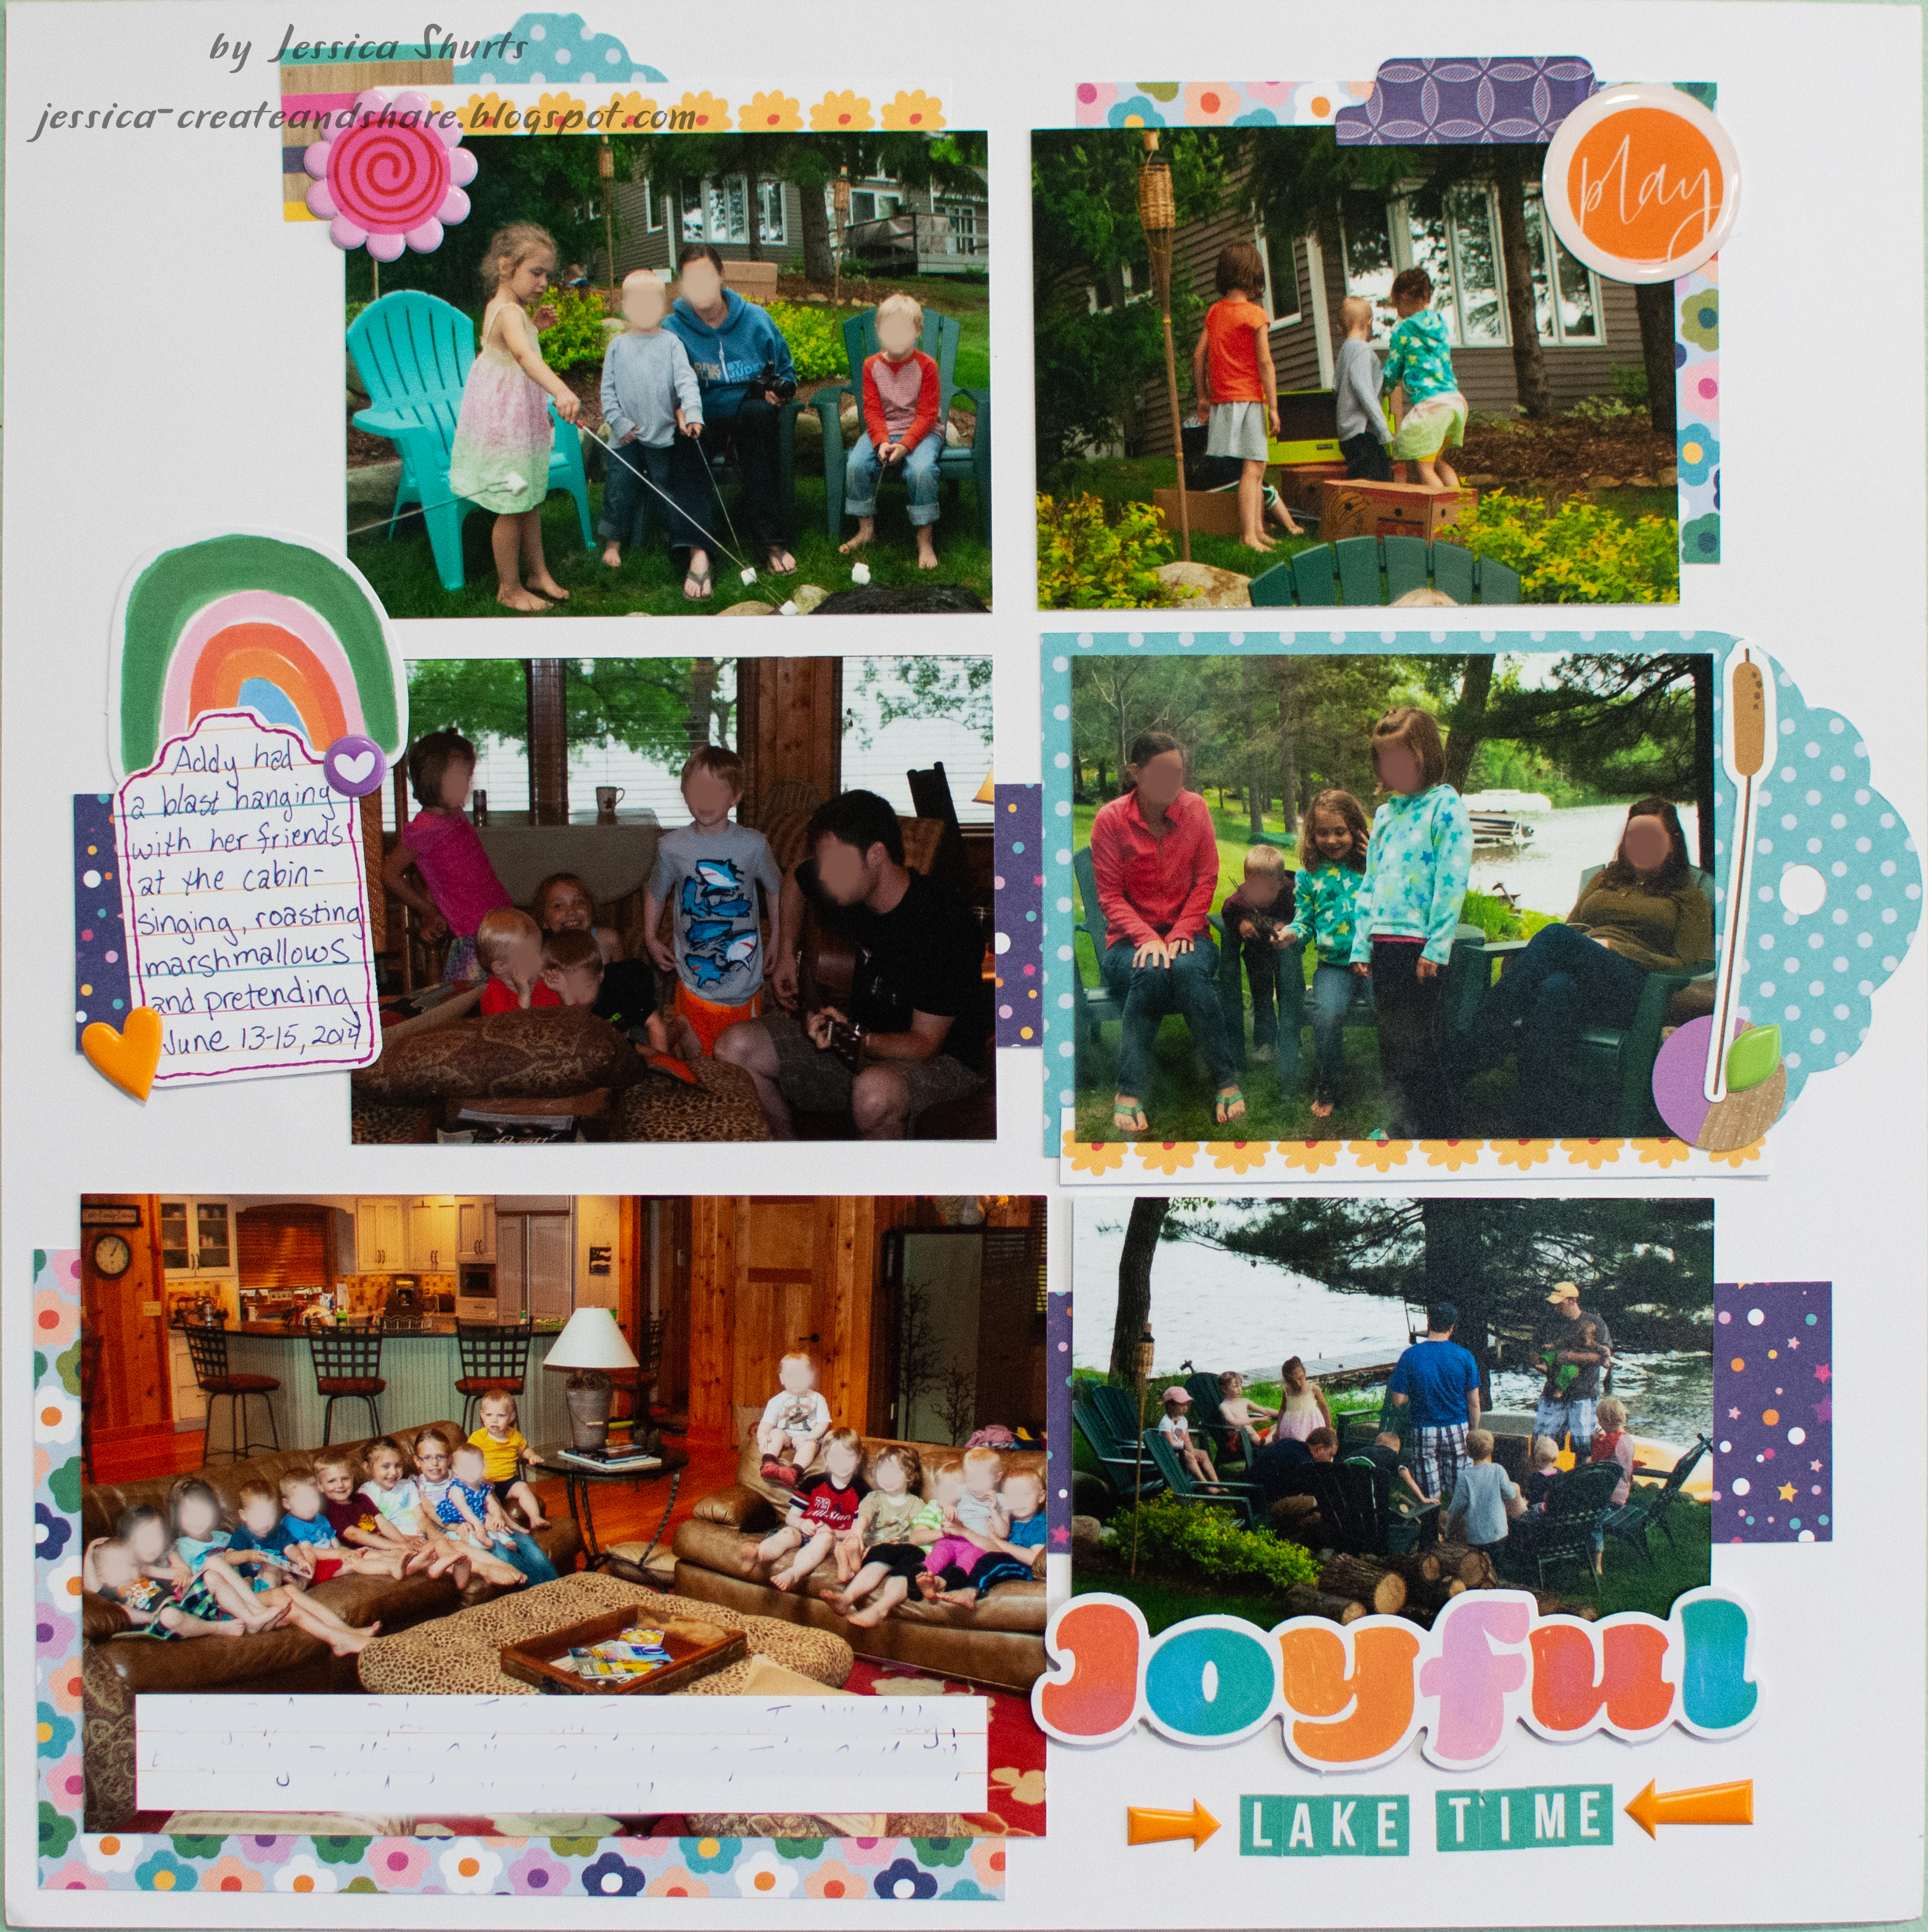
Hi all! I have a couple of layouts to share today using Stick It Down sketches. First up is the double page sketch:

I used this one for my calendar layout. I had more that 8 photos, so I played with the photo sizes a bit to make them all fit. I found these two papers in my stash and attached them to a couple of sheets of white cardstock for stability. I added some blue ric rack to the center of the page. For my journaling, I typed it an printed it on pearl cardstock. I added captions to the photos and then rest of the journaling under my title. The letter stickers I used for the title are getting pretty sparse, so I ended up chopping up some letters to make them work. I cut the bottom off of a "g" for the "a," I trimmed a "b" into the "r," and a "q" into the "c." To embellish the page, I dug into my stash and found some really old embellishments (hello felt die cuts and die cut chipboard!). I also used some new flower die cuts and pearls. The "sweet thing" stickerin the bottom right had a purple border that I colored over with a green Sharpie to make it match my layout better. It just goes to show that you can use up those supplies if you get creative!


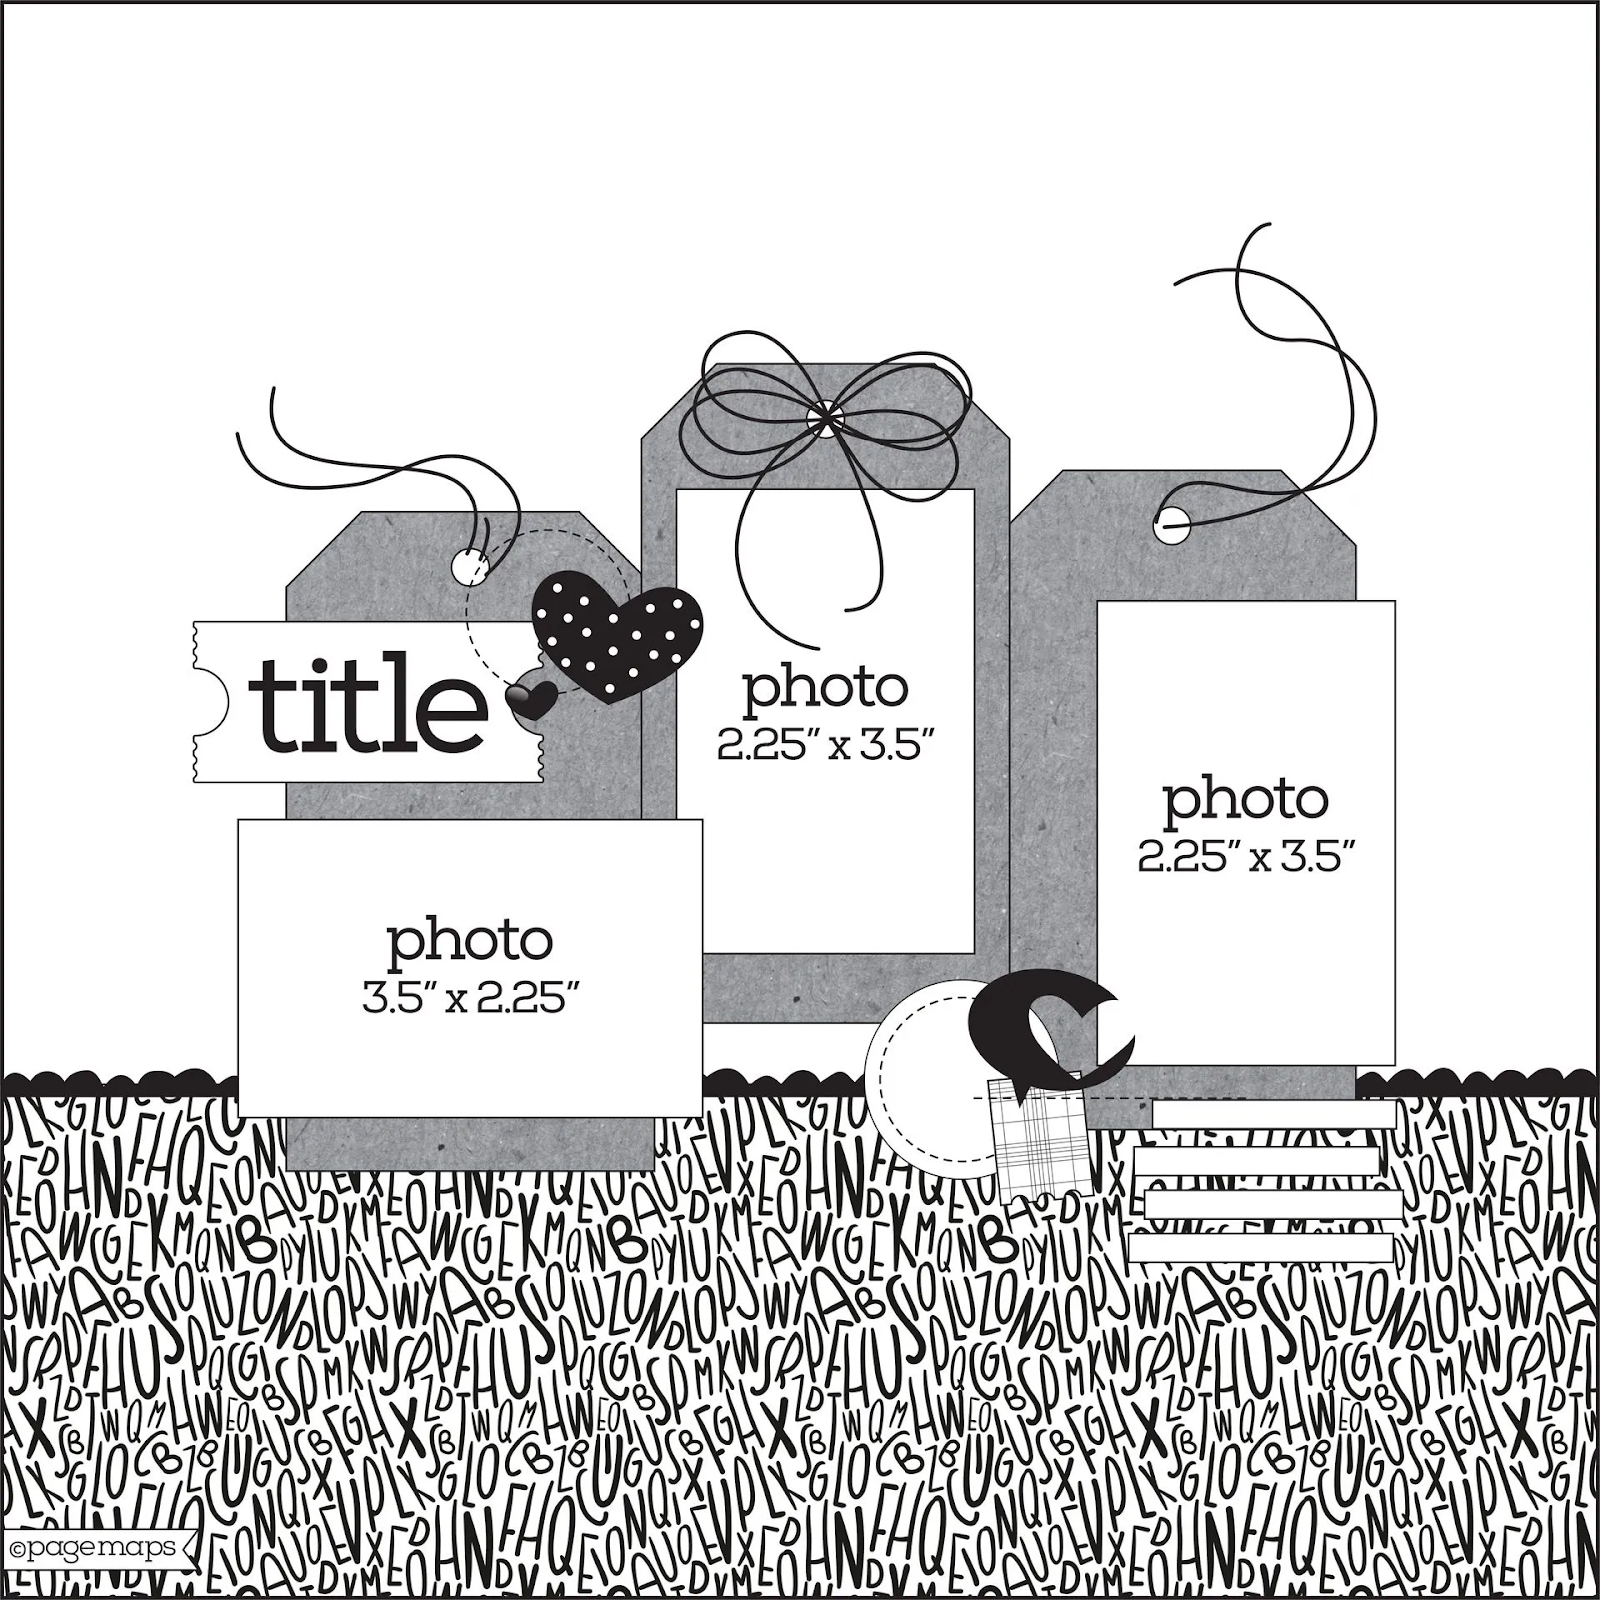
Next is the single page sketch:

I did another dance layout for this one. I found a scrap of red and black patterned paper that had some geometric lines that made for interesting triangles on my page. I used my Cricut to cut the silhouettes and title from silver cardstock (it looks peachy in the photo because it is reflecting the light from the room where it was photographed). I used a background stamp and white ink to added the stars and dots on the background before attaching everything. To embellish the page, I used some sequins and silver Nuvo drops.


Friday, February 16, 2024

Valentines Part 4

I'm back today with my last couple of Valentines. For these, I just used up some bits and pieces I had laying around. For this first card, I cut a piece of watercolor paper and did the smooshing technique with red inks, layering them up for some texture. Then I took a background stamp and stamped it in black. I layered that over a black cardstock panel. I added a white sparkle ribbon and glued the last three hearts I had on my desk. I stamped and heat embossed the sentiment and I was done.
For this card, I had grabbed the two pink hearts and the leftover butterfly embossed paper. I had found the flower background stamp and decided to use that as well. I stamped it with a matching pink ink on light pink cardstock. Once that was dry, I used Versamark and gold embossing powder to stampe the "I Love You" sentiment over the top. I used the arrow washi tape to separate the two patterns on my background. I attached the large heart directly to the card front and used foam tape for the smaller heart. I wanted a bit more gold on the card, so I took a gold gel pen and a ruler to creat the outline and then used Glossy Accents and gold glitter to make the gold heart in the center.
Thanks for checking out all my cards!


Thursday, February 15, 2024

Valentines Part 3

Hello all! I am back again with another Valentine. For this one, I started with with sketch from Stick It Down:


I also had the center panel from my spray inking. After spraying ink on the one of the masks for yesterday's cards, there was quite a bit of ink on the mask, so I took it and flipped it onto this panel and pressed the ink into the paper and let it dry. Once it was dry, I took the mask and used some blending brushes and yellow inks to creat the yellow flowers. I found some coordinating yellow cardstock for my background and ran it through a leaf embossing folder. I then took a gold ink pad and rubbed it over the raised areas for some sparkle. I realized while making this card that I didn't have any gold ribbon, so I cut a thin strip of gold glitter cardstock to run across the middle of my card. The large pink heart was a leftover from another project, and then I used my Cricut to cut the circle with the sentiment to layer on top.


Wednesday, February 14, 2024

Valentines Part 2

Hello and Happy Valentine's Day! I have a pair of cards to share today. These were actually the first cards I made as I worked on Valentines for my family. I started by using spray inks and masks for the the middle panels. I then found this sketch from Sketch Saturday and made it work with my panels:

Rather than making the middle panel go off the page, losing a large chunk of my masking, I just centered the panel. I then found a scrap of the embossed butterfly paper, used a sanding block to sand off the white and attached those pieces on either side of the panel. While I was spraying with the masks, I also sprayed a few white die cut hearts with the same inks. I used two of those hearts here. I stamped the word "love" onto them and added a silver die cut heart. To finish off the card front, I added some white and clear sequins.


Tuesday, February 13, 2024

Valentines Part 1

Hi all! With Valentine's day this week, I thought I would share the cards I made for my family members. First up is this card:

 I was inspired by the current Tic Tac Toe Challenge:


I chose the diagonal from the bottom left to the top right. My Valentines ended up being kind of a progressive challenge- I started with one idea and used bits and pieces leftover to complete the next one and so on. This card fell in the middle of the order. I had pulled out my little bag of random die cut hearts and had sprayed the white ones with spray ink at the beginning. I grabbed one of the blue hearts for this card. The word "love" was leftover from a cut for another card. For the "rose" part of the challenge, I pulled out an Altenew stamp set and stamped by background with a few colors of blue ink. I used a this strip of gold cardstock across my background and added teh heard on top with foam tape. To finish off the card front, I used some gold Liquid pearls.

Monday, February 12, 2024

Church Card Ministry

When we started attending mass at a different church a couple of years ago, I found out our new church had a card ministry and I got involved. So far, I have been given the task of signing and putting address labels on the envelopes. However, recently they asked me to make cards for the 5 RCIA candidates (these are adults who will be coming into full communion with the Catholic church at Easter whether through Communion, Reconcilliation and Confirmation or all of those as well as Baptism). 

I made these three cards for the women who are joining the church. I started by using watercolor paper and watered down Distress Inks to create the backgrounds. I pressed the inkpads onto a plastic surface, misted it with water and then pressed the paper into the ink. I dried each color before moving onto the next so they wouldn't mix too much. The cross is a free cut file from Paper Issues. I cut it three times from silver paper and once each from pink, yellow, and blue. I glued the silver cut to my card front and then glued in the individual pieces of the other colors. It took longer than I expected, but was so worth it! I love how these turned out. I finished off the card front with a stamped and heat embossed sentiment.


I also made two cards like this for the male candidates. I started with off white pearlized cardstock and stamped and heat embossed with clear embossing powder the script background. I then took some blue Distress Inks and blended them onto the edges of the panel. I used my Cricut to cut the cross and background and attached them to the card front. I completed the card front with a strip of vellum that I stamped and heat embossed a sentiment onto. I decided I wanted a gold border around the front of my card, so I rubbed a Versamark inkpad around the edges of my card and then used gold embossing powder. 

 Thanks for stopping by to check out my cards!

Sunday, February 4, 2024

Joyful Lake Time

Hello all! I have one more layout I did this past week with a Paper Issues sketch:

All those solid blocks looked like opportunities for photos, so that's what I used them for! I then used bits and pieces of patterned paper to add the layers to the page. To embellishthe page, I used some die cuts, stickers, epoxy flair, and puffy stickers. 

 This layout came together really quickly and I got lots of photos on it! Always a win!

Saturday, February 3, 2024

Cheers to 8 Years- Sketches in Thyme Guest Designer

Hello! I have exciting news to share today! I was asked to be guest designer for Sketches in Thyme this month! They gave me this sketch to work with:


This was a fun sketch to work with and a little different style than I usually do since it was only one photo. I actually only used one photo for my layout too! The papers and embellishments are all Simple Stories. I bought a Christmas warehouse box last year so I have lots to choose from! For the title, I used my Cricut to cut the phrase 3 times and stacked them for some depth. I felt like the page needed a frame, so I stitched around it with my sewing machine. 


 Thanks for stopping by to check out my page!

Friday, February 2, 2024

Museum Explorer- Lasting Memories

Hello and welcome to February! I have a new layout to share today! I started with this PageMaps sketch that was part of one of the challenges at Lasting Memories:

I needed to make a two page layout for these photos, so I used the sketch for my left hand page. I also added a sketch to work with the number of photos I had. The scrappy twist to this challenge was to use tags. I got out some blank manila tags and went to work. I wanted the colors to match the muted colors of my wood patterned paper, so I covered the tags in white gesso. This prevents the inks from absorbing into the paper and leaves the colors muted. I then sprayed and splattered the tags with yellow and blue and green inks. Once they were dry, I used some Distress Stains to add a little more depth and texture to the colors. Then I stamped with black archival ink to add further texture. After that was all dry, I went to work assembling the page. The patterned paper, tags and photos took up most of the page so there wasn't much to do after that. I used some stickers and my Cricut for the title. I found some coordinating embroidery floss to add to the tags, and finished off the embellishing with some canvas flair, stickers, puffy stickers, and enamel arrows.