Hello all! I have been so busy taking and editing photos that I haven't had a chance to post here in a while! I have a bunch of cards to share.
First up is a birthday card for my sister-in-law. I was inspired by the current challenge from
The Card Concept:
I really liked the ring of flowers and the hat. I used kraft cardstock to emulate the hat. I stamped my flowers in a curve on my card front. To make the colors more vibrant, I stamped the first layer with white pigment ink and then stamped over the top of that. I used a couple of flower layering stamp sets. To give the effect that the flowers were overlapping each other, I used masks to cover the flowers I stamped first. I stamped and heat embossed the sentiment. At that point I felt the background needed some texture, so I took a background stamp and stamped it with Versamark over everything. I then blended some brown ink on the the edges. I then sprayed the whole thing with Perfect Pearls mixed with water and added a few splatters. Finally, I added some gold splatters as well.

Next is a card I made last month for one of my nephews. I started with a preprinted watercolor background. I stamped and watercolored the fish on white cardstock. I tore around each image and rubbed blue ink over the to torn edges. I then added sparkly dimensional paint over the dots on the the pieces on the fish and seahorse and brown Nuvo dots for the starfish to emulate sand. I attached the fish with regular adhesive and foam adhesive, stamped the sentiment, and added a scattering of sequins.
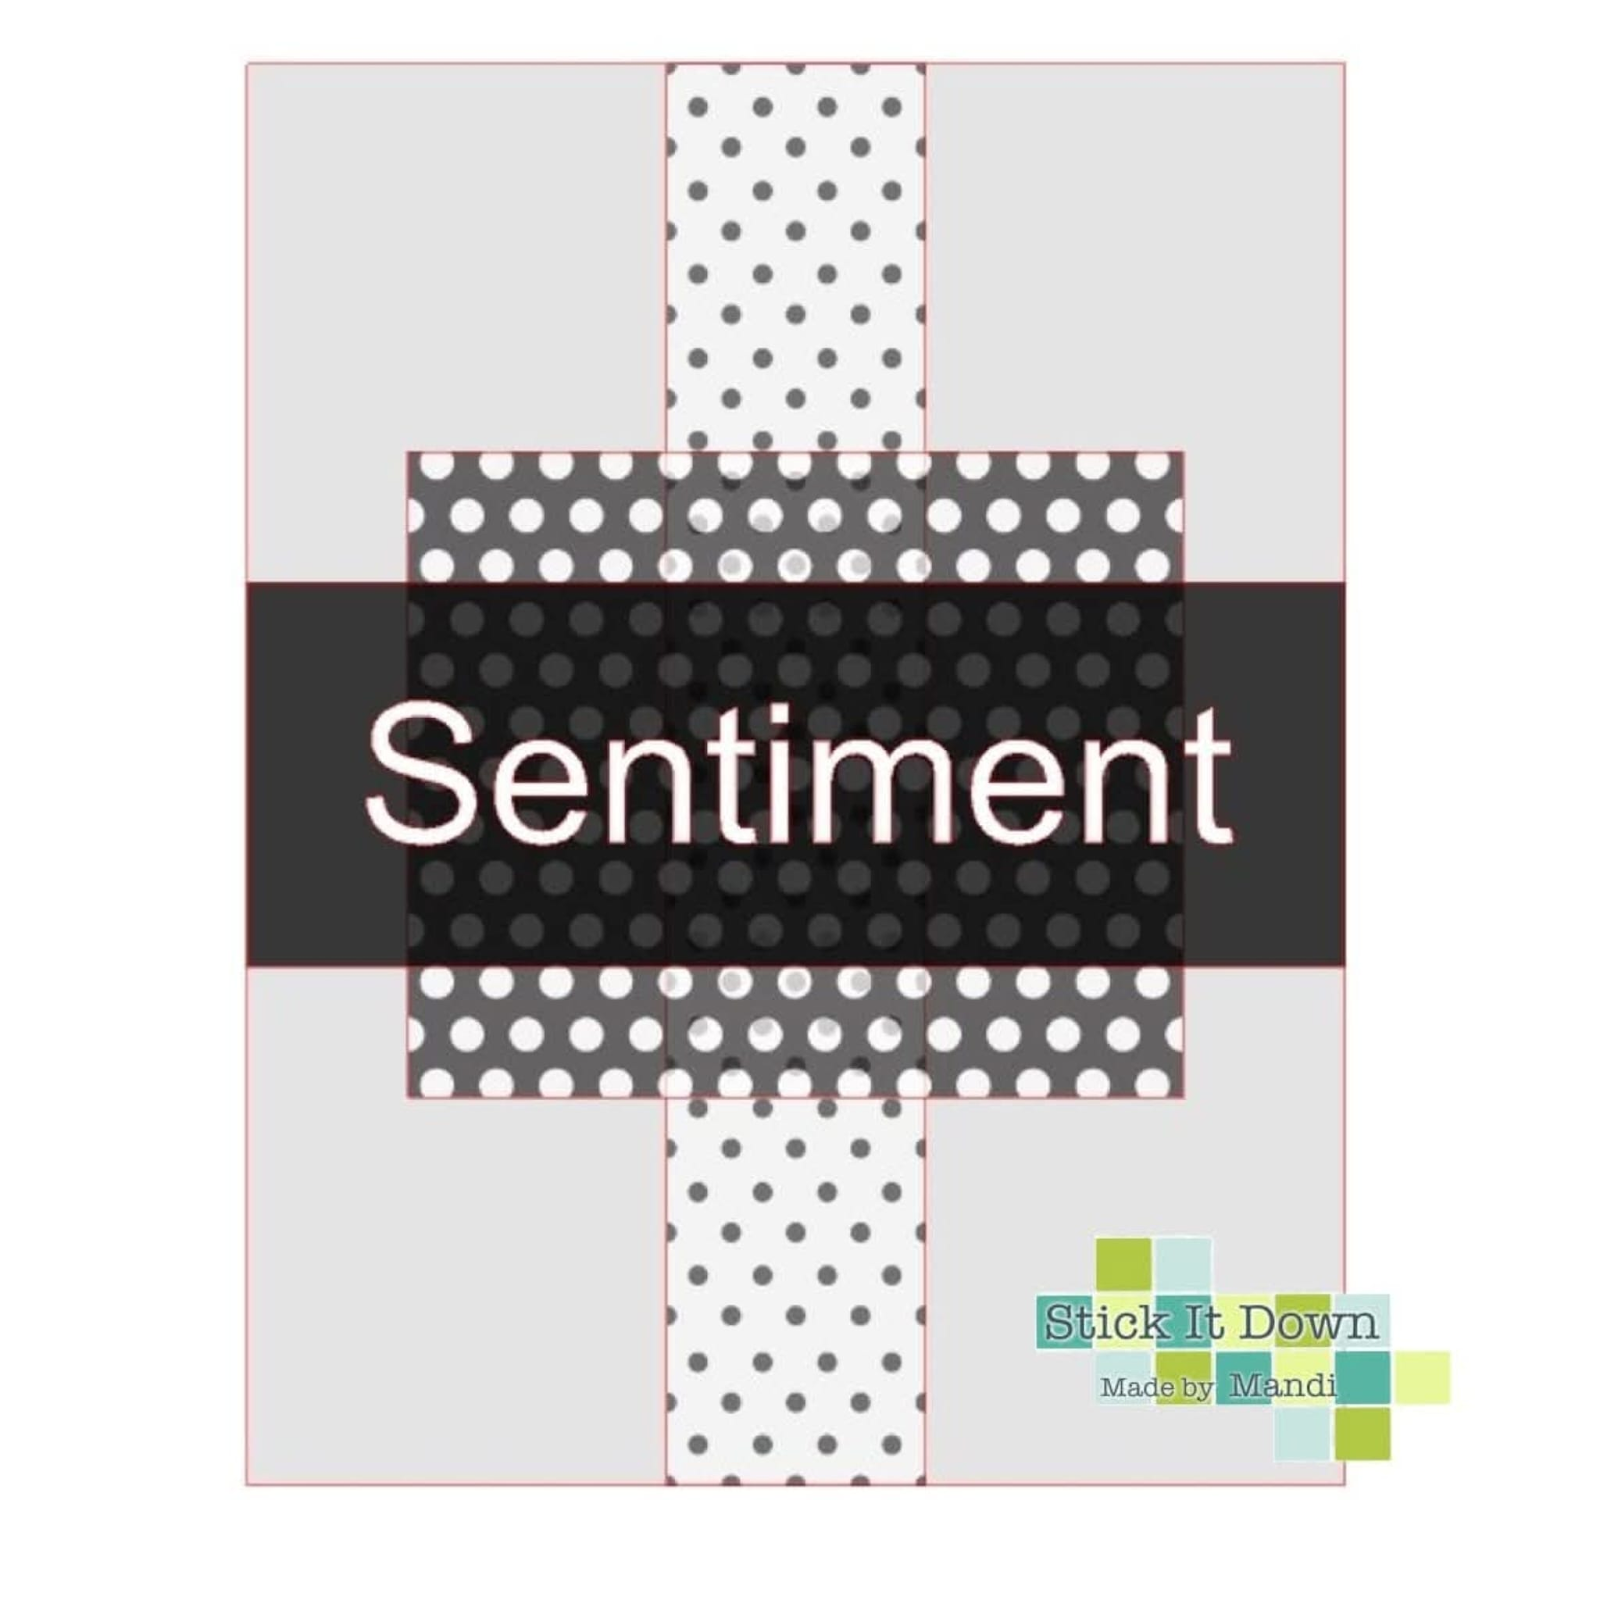
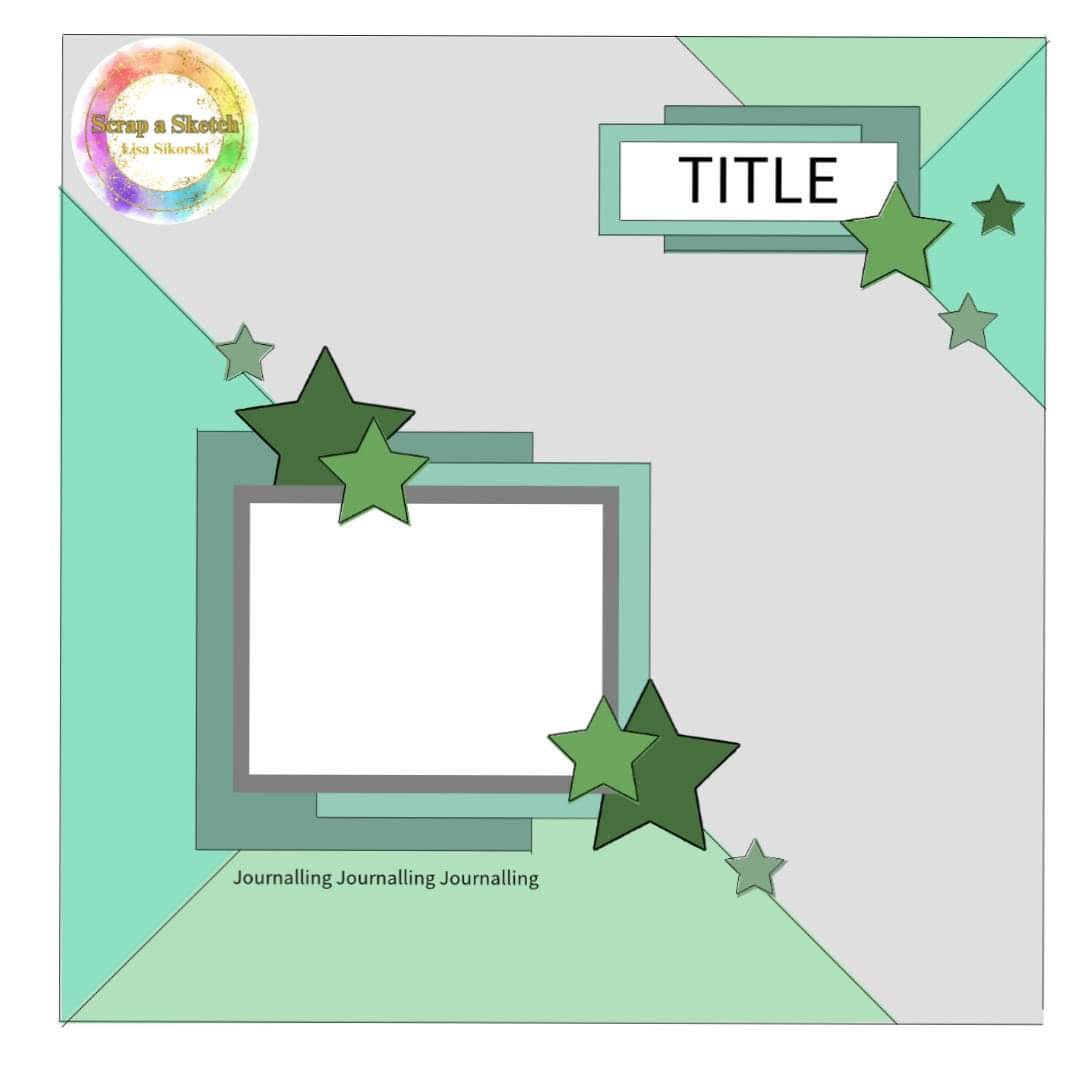
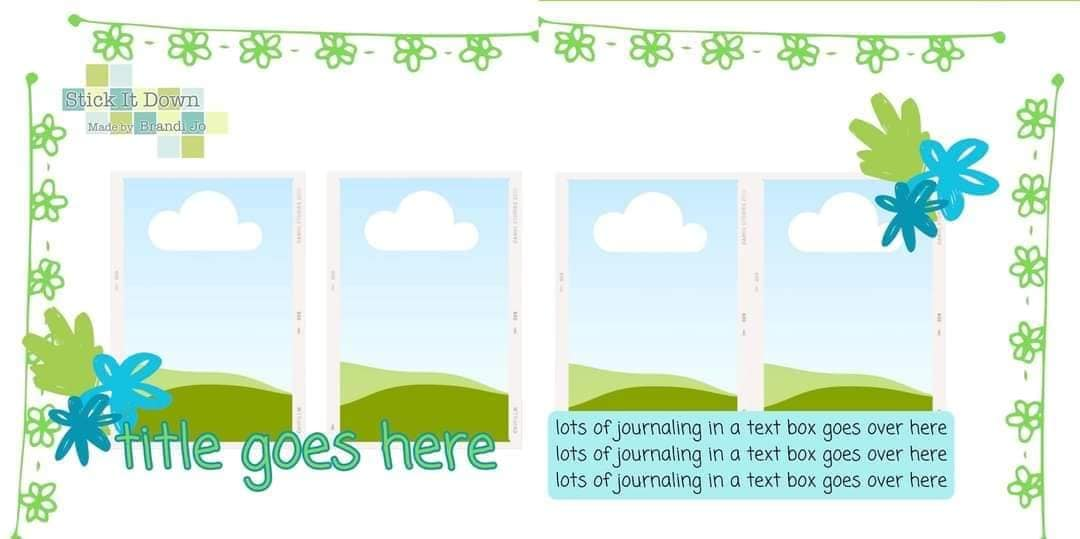
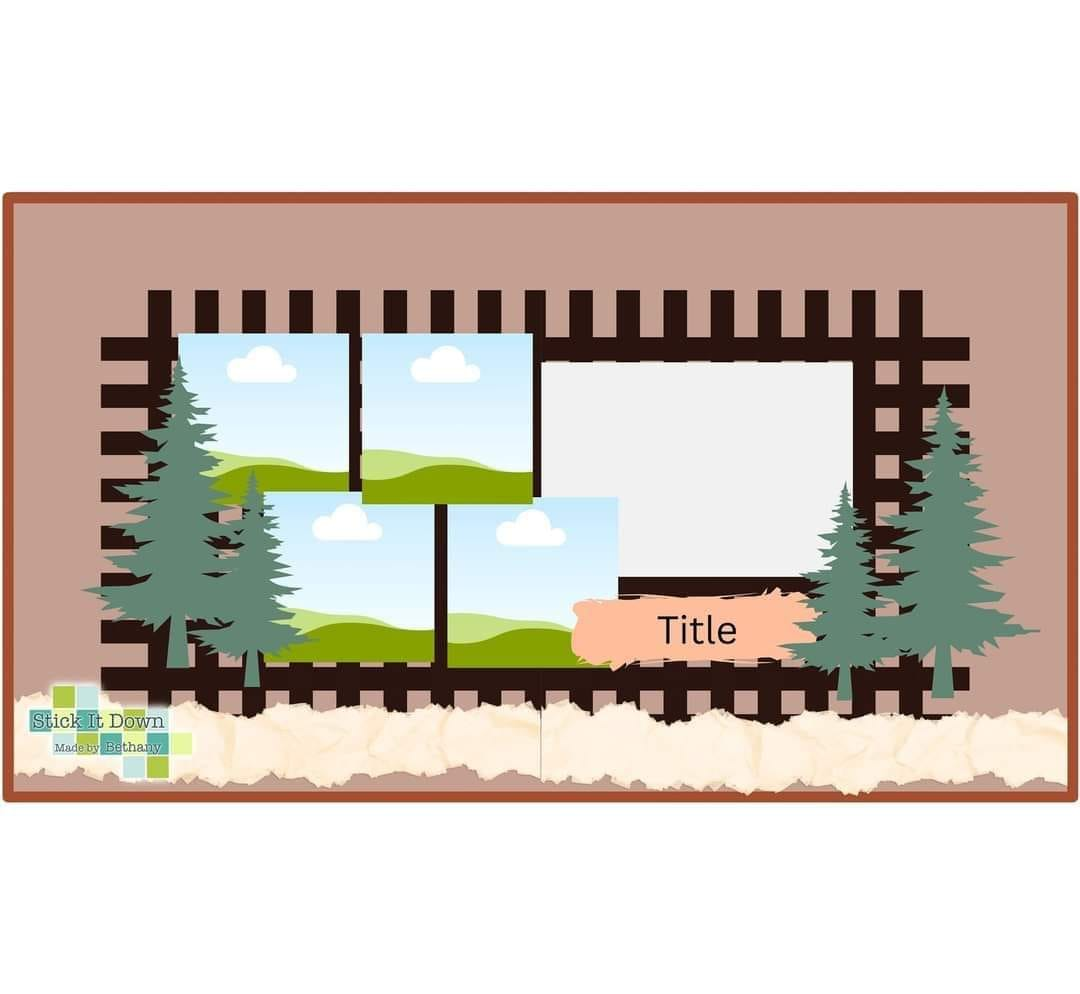
My next card used the current Stick It Down card sketch:
I started with the craft cardstock and stamped and heat embossed the image and sentiment on it. I colored the image with colored pencils. I layered the panel over two strips of patterned paper ( a little tip if you have a long strip of paper instead of a wide piece). I cut the circles from patterned paper. I wanted to add some texture by pressing them in Versamark and sprinkling and heating clear embossing powder multiple times.
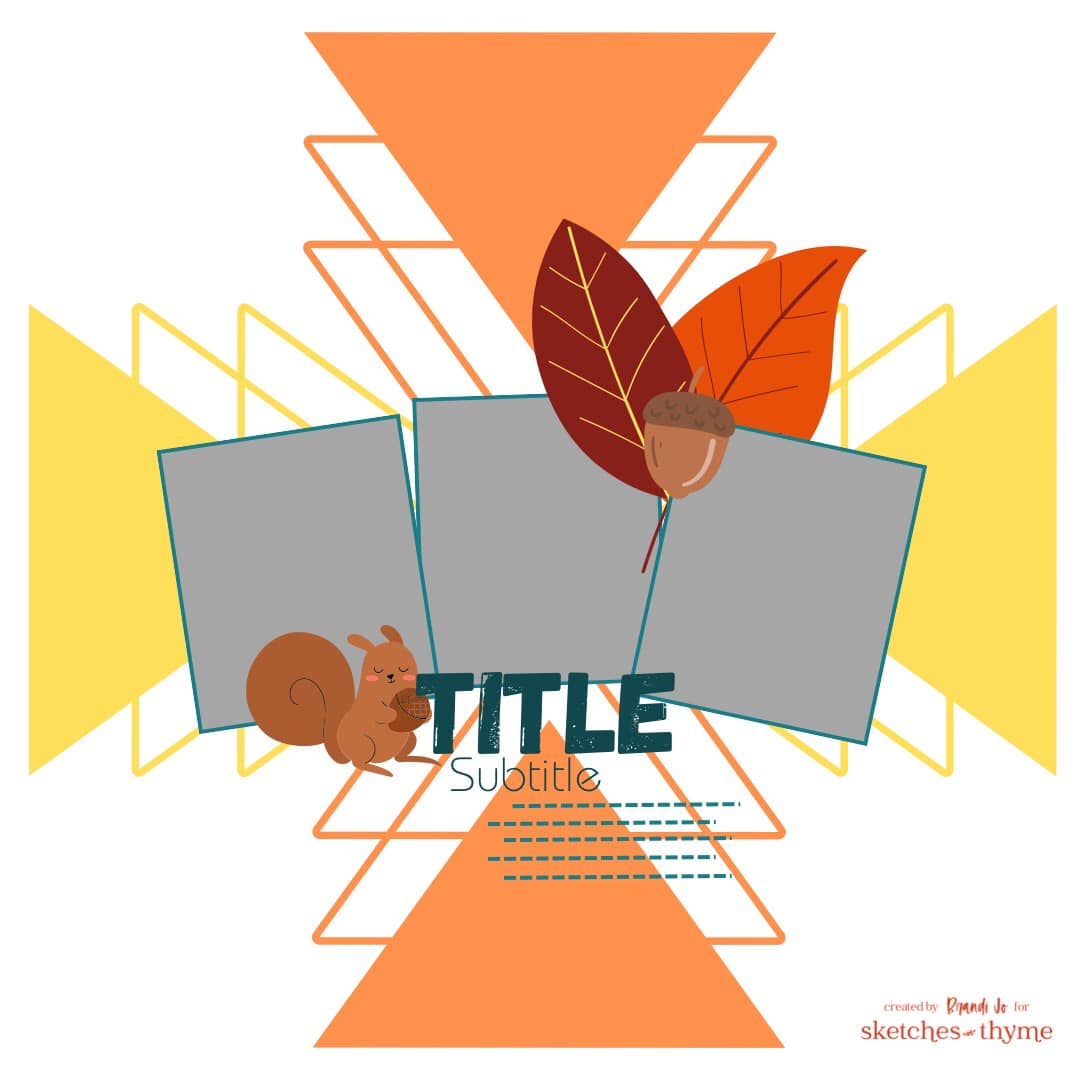
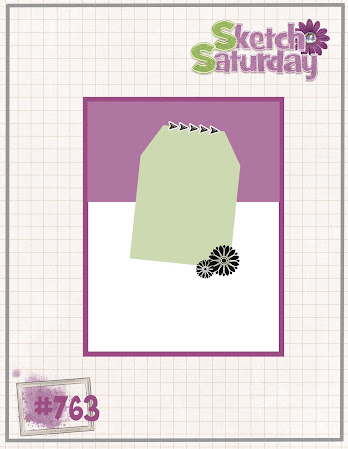
For my next card, I used the last
Sketch Saturday sketch:
I started with a preprinted watercolor background and used a mask to ink blend the circles, making a ombre across the panel. I used a corner rounder for the corners and then cut the panel, placing the pieces on the front of my card base. I used my Cricut to cut the sentiment and cut a thin strip of silver cardstock to run across the bottom of the card. I finished things off with some sequins.
Finally, I have an anniversary card. I bought a set of masks to create the flowers a while ago. I had blended them on a card front just to try them and then it sat until I needed a card. I stamped the word "Anniversary" using a coordinating ink color and cut the word "happy" with my Cricut. I added some sparkly ink splatters for some texture. My whole design was off centered, so I added the twine to make it look intentional.
Whew! I will be sharing my October calendar page tomorrow and then I will probably MIA for a while again. I have a busy month coming up!