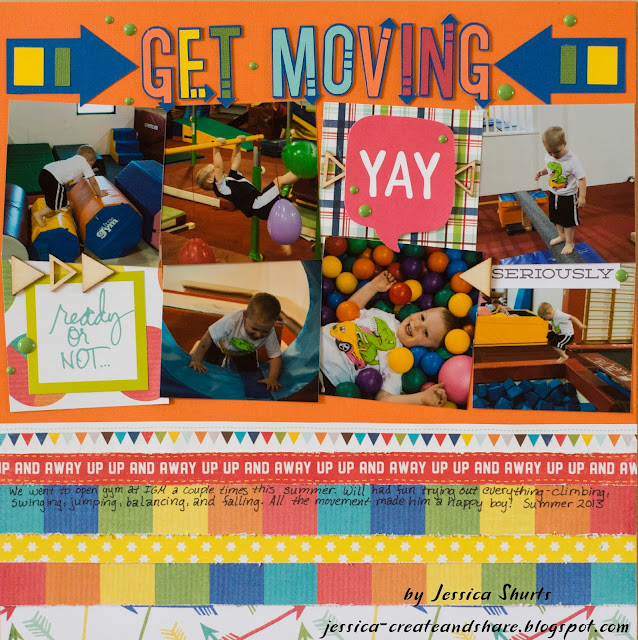
Thanks for stopping by to check out my layout!
Saturday, January 30, 2021
Kids' Zone- Sketches In Thyme
Thanks for stopping by to check out my layout!
Get Moving- Sketches In Thyme
I did some hand journaling directly on one of the paper strips across the bottom so I am entering this in The Studio's handwritten journaling challenge.
Friday, January 29, 2021
Oh Happy Day- Sketch Saturday
Sunday, January 24, 2021
February Calendar Page
I am also entering this in the Scrappy Friends Tic Tac Toe challenge (I used the items in the middle horizontal row):
Thanks for stopping by to check out my layout!
Saturday, January 23, 2021
Junior Dog Whisperer
I added another photo , but stuck pretty close to the inspiration layout in design. I initially was just going to use the woodgrain paper for the base of my page, but decided to trim it down and add the green cardstock behind it. I cut a large square out of the middle of the green cardstock and that's what I used to cut "Whisperer" with my Cricut. I cut that word 3 times and stacked the letters to give it some dimension. The green was getting a little lost on the leaf and bug paper, so I inked the edges with dark brown ink. I stuck with mostly natural textures for my embellishments- wood veneer, cork, metal.
Tuesday, January 19, 2021
Fly High
Monday, January 18, 2021
Happy Birthday card- Stick It Down
Saturday, January 16, 2021
Yoda Birthday Card
Hi all, I have a card to share today! I made this card for my son's 8th birthday. He is a big Star Wars fan, so I went in search of a fun cut file to use on his card. I ended up finding this site which has several cut files. This one was NOT easy to assemble! The outline is truly an outline and was very fragile. I ended up using Press and Seal to help lift the outline off the cutting mat (along with a spatula) and keep it in shape. Then as I cut out the other colors, I placed them face down on the outline. You are going to want to add glue to areas of the outline that are under the other colors, I didn't and then had to go back and add it once I had it assembled- which wasn't easy! Here you can see what the front looked like while still on the Press and Seal:
Once I had all the pieces together, I ran my adhesive gun over it several times, making sure to get areas where there were multiple small pieces to help keep them in place. This is what the back looked like with the adhesive added:

For the background of my card, I used a tiny star mask and glimmer spray. I then pressed the die cut onto the card front. With the detailed die cut, I didn't think the card needed anything else on the outside!
Thanks for checking out my card!
Friday, January 15, 2021
Let's Celebrate
Thanks for stopping by to check out my layout!
Thursday, January 14, 2021
Oh Brother
Saturday, January 2, 2021
Living History
I was inspired by the Word Play- Lights challenge at Lasting Memories. The challenge was to use something for each letter of the alphabet on your layout. Here's mine:
L- letter stickers
I- irridescent stickers
G- green
H- hand written journaling
T- tag
S- stickers


