Saturday, January 27, 2024

A Layout and a Card

Hi all! I have a layout and card to share today! First up is the layout that I created using this sketch from Paper Issues:


I had larger photos to work with, but I made the sketch work with them. I started by doing the smooshing technique on the background with red inks. While that dried, I cut and adhered the photos to the black mats. Once the ink was dry on the background, I took a star mask and added some of those around the page. I finished off the background with some gold ink splatters. In the place of the triangles in the sketch, I used a chevron acetate and fussy cut along the lines. I glued that down around the page. I used my Cricut for the title, and the black stars. The gold banner was in my scrap drawer and so I decided to use it here. I embellished the page with some gold star stickers and black gems. 

Next up is a card, which also uses some odds and ends from my scrap drawer. I have been throwing things in there, but haven't used much. I went through it and organized it a couple of days ago so that it will be easier to find what I'm looking for. While I was doing that, I found these blue chevron pieces and the scrap from the first card in this post. I also found the transparent circle in my scraps. Then I went to work putting it all together. I used a bunch of different birthday stamps and my Misti to stamp the background. I also used an ombre inkpad so I had a few different colors on my stamping. I arranged all my pieces over the background I stamped. Then I stamped the little whale and colored it in using a water pen and Distress Inks.


 Thanks for stopping by to check out my projects1

Tuesday, January 23, 2024

Bob the Builder- Dance Layout

Hello again! I am back with another dance layout for my daughter's album. I was inspired by another sketch from Paper Issues:


This was a fun sketch to work with. I started by finding a cut file online for the Bob the Builder logo. It had some tiny cuts for the accents, but I decided to just draw them on since it was much easier and less messy. Instead of the film border, I used this background that reminds me of tire tracks and the colors made me think of caution tape, so all on theme. I used the smooshing technique with Faded Jeans distress oxide ink on my background. For my little embellishment clusters, I used some of the less prominent colors for the banners and used my Cricut again to cut the tools. To finish things off, I used some brads around the title and some gems.


Sunday, January 21, 2024

February Calendar Page- Stick It Down

Hi all! I finished my calendar layout for February. Once again, I started with the double page sketch from Stick It Down:

I played around with photo sizes and spacing for this one. I had some horizontal photos I wanted to use, so I made it work. I used my Cricut to cut the title. I cut it three time from the teal cardstock and then stacked the die cuts. I used the hearts from the middle of the outline at the end of the word as embellishments on my page. I took those hearts and ran them through my embossing machine to add some interest and texture. I then took a sanding block to go over the texture and make it stand out. For my journaling, I wrote on strips for the captions of the photos and wrote the rest on the teal paper blocks. To embellish the page, I used some die cuts that had coordinating colors, along with a sprinkle of sequins.


 Thanks for stopping by to check out my layout!

Friday, January 19, 2024

Layout Catch Up

Hi all! I have several layouts today! I have been busy creating and they were all created for challenges on Facebook, so I haven't taken the time to post them here.

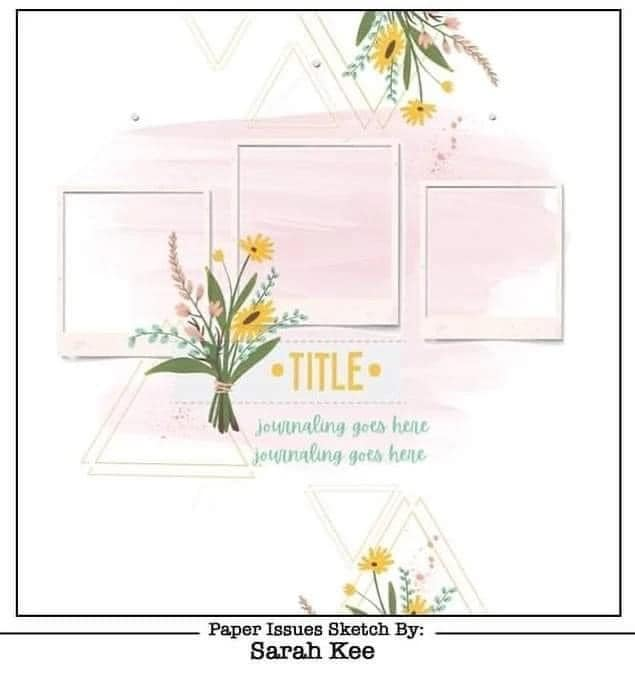
First up are a couple of dance layouts that I used sketches as the starting point. Paper Issues is doing a sketch a day this month, so they have lots to pick from right now. Here is the first one
I started by using a circle mask to make a "mat" for my photos. I then glued down my photos. I used my Cricut for the balloon swags and the title. I then embellished with rub ons, flair, puffy stickers, and washi tape. I had used an October Afternoon journaling spot for my journaling, but I didn't like the off white on my mostly white layout, so I ended up pulling that off, stamping a new one on white cardstock and using that instead. 


My next layout also uses a sketch from Paper Issues
For this layout, I dug through my stash and found blue papers that matched the costumes in the photos. I cut them all 7" wide and then tore an edge. I adhered them down and then used my sewing machine and stitched down either edge. I then added my photos. I used my Cricut for the title. I found a Project Life journaling card for the info. I used a bit of washi tape to take up some of the extra space on the card. To embellish the page, I used some die cuts and stickers.

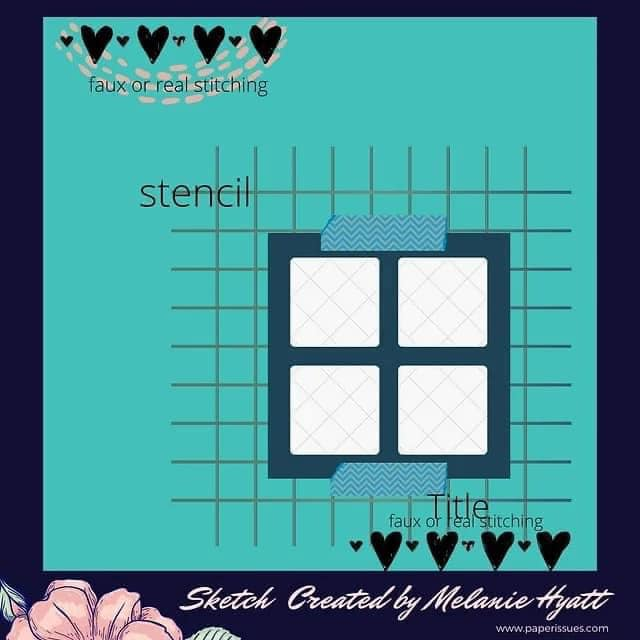
Next up, I used the single page sketch from Stick It Down:

For this layout, I started with a sheet of patterned paper. Since it is so busy, I found a coordinating piece of cardstock and trimmed it down the fit in the middle of the page. I went around the edge of the cardstock with a Twisted Citron Distress Stain to darken the edges a bit. I then stuck down the photos. I used my Cricut for the title and red birds. I fussy cut the journaling spot and added my journaling. To embellish the page, I started by stamping some feathers in the background of my embellishment clusters. I then used stickers and die cuts to fill out the clusters.

My last layout is based on a sketch from Sketches In Thyme:


I founds some fun papers that coordinated with my son's shirt in the photo. I debated putting it on colored cardstock or the woodgrain patterned paper. I really like the texture of the wood, so I went with that. Then I found some stamps to add to the background like in the sketch. I used a ticket stamp along with the coordinating punch for my journaling. I used a spray ink to add some splatters before adding my photo and title. I stitched aorund the outside of my layout to create a frame. To embellish the layout, I fussy cut a star, and used some stickers and puffy stickers.


 Thanks for stopping by to check out my layouts!

Friday, January 5, 2024

Dan Patch Days (Take 3)

Hello, I got another layout done this week! It is my third child's layout about our city festival 9 years ago. I started with this sketch with is part of the current challenge at Lasting Memories:

I adjusted the photo sizes a bit to work with the photos I had, but I stuck pretty close to the layout. My background paper is one with a resist, so I used a Spiced Marmalade Distress Ink pad and drug it over the outside edge of the paper to give it the color. I then found some other bold colored papers to go with my photos. The other part of the Lasting Memories challenge is to use punches, so I pulled out my larger banner punch to create the banner for my title and my tag punch for the green polka dot tag in the top left. I used my Cricut to cut my title and the photo frame. This was a total stash busting layout since I dug around all my odds and ends to find pieces that coordinated. I used some very old chipboard pieces for my journaling spot and embellishment. I found some old stickers, a brad and a gromlet to found out the embellishments. I added some blue splatters around the page to finish it off. 


Wednesday, January 3, 2024

Sunrise, Sunset

Hello, I have a new layout to share today based on this sketch from Rochelle Spears:

I rotated the sketch 90 degrees to accomodate the size and orientation of my photos. These photos had me digging DEEP into my stash. I tend to gravitate towards bright colors so finding these neutrals was a bit of a challenge. I started by cutting the large piece of patterned paper. Then I cut the lace paper and fussy cut around the lace. I added the vellum for a bit of sparkle. The journaling spot was from the same line as the lace, so I used that and then used the yellow as an accent color. For embellishments, I used some very old Heidi Grace stickers and chipboard. I used me Cricut to cut the title. Before adhering the title and photos, I splattered a bit of light brown Glimmer mist on the layout. 


 I also used the Tic Tac Toe board from Scrap With Stacy. I followed the right column: stripes, two photos, and brads.

Birthday Cards 2

Hello again! I'm back today with a few more cards.

First up is another card using a Turnabout stamp. This time it was the Marble one. Once again, I started with Versamark and embossing powder, this time is was pearl embossing powder. Once I had the background done, I cut the sentiment. The glitter paper was actually supposed to be an outline, but it got too thin, so I used the neagative and used that insted for the layer. I wanted a little more of the glitter paper, so I cut and added some stars to finish off the card.

I used my dot circle background stamp for these last two backgrounds. For this one, I used clear embossing powder and then sprayed it with Shiny Bauble and Merry Mint Distress Mica Stains. I used my Cricut to cut the sentiment and then glued it to my card front. I colored some of the cardstock pieces with a gold pen to add another color. The stars I covered with Glossy Accents. I added a few gold foil stars to finish off the card front. Before I attached the front panel to my card base, I rubbed a Versamark ink pad around the edges and added some gold embossing powder to give me a gold border.

 Finally, I have a card I made for my son. He has really been into the card game Lorcana, so I found some SVGs of the icons used in the game. I used the circle background again, but this time I embossed it with gold embossing powder. I used some of the circls as frames for the icons.I cut the icons and sentiment from gold foil paper. I added a black shadow to the sentiment. To get the black border, I rubbed a black ink pad on my card base and glued my panel onto it.
Thanks for stopping by to check out all my cards, I am ready to go for the first half of the month!

Tuesday, January 2, 2024

Birthday Cards 1

Hello all! I have been busy the last few days making birthday cards for birthdays that are coming up in the next couple of weeks. I will share some today, and a few more tomorrow.

First up is a shaker card I made for my niece who will turn two next week. I wanted to make a cute shaker so I went on Cricut Design space and found this cupcake cut. I cut it and backed the dollop on top with some pink glitter paper and the wrapper with purple shimmer cardstock. For the background, I stamped the dot circle background on watercolor paper and heat embossed it with clear powder. I sprayed the panel with Cocktail Party and Shiny Bauble Distress Mica Stains, overlapping the colors to get the purple in the middle. Once that was dry, I rubbed the ink off the embossing to make it stand out more. I assembled the sentiment cut on my card and then cut thin strips of foam adhesive and outlined the cupcake. I filled the well it created with sequins and seed beads then I pressed it onto my card front. 


The card below has a very similar process, but I used a different background stamp and I used a stamp for the sentiment instead. This cupcake was actually the one I cut for the card above, but then I realized it was too big to go with the sentiment I cut- oops! I kept it and created this second card. 


Next up is a pair of cards I created using a Concord and 8th Turnabout stamp. I started by making a 6x6 panel of white cardstock and stamped the butterflies 4 times, starting with Versamark and heat embossing with silver. Once I finished the stamping, I cut the panel in half to make two cards. I found this peachy pink cardstock in my scraps that matched my pink ink, so I cut that to the size of a card front and stamped a subtle background with white pigment ink. I cut the sentiment with my Cricut from holographic cardstock. To make it stand out a bit from the background, I backed the flower with yellow vellum, the sentiment circle with white vellum and the butterfly with pink vellum (which you can't see because it overlaps the pink cardstock. I then attached it to my card.

I cut this sentiment from coordinating blue cardstock and attached it to my card front. I added some sequins to finish off the card.