Showing posts with label Paper Issues. Show all posts

Friday, March 27, 2026

Scrapbooking Retreat- It's Just a Phase

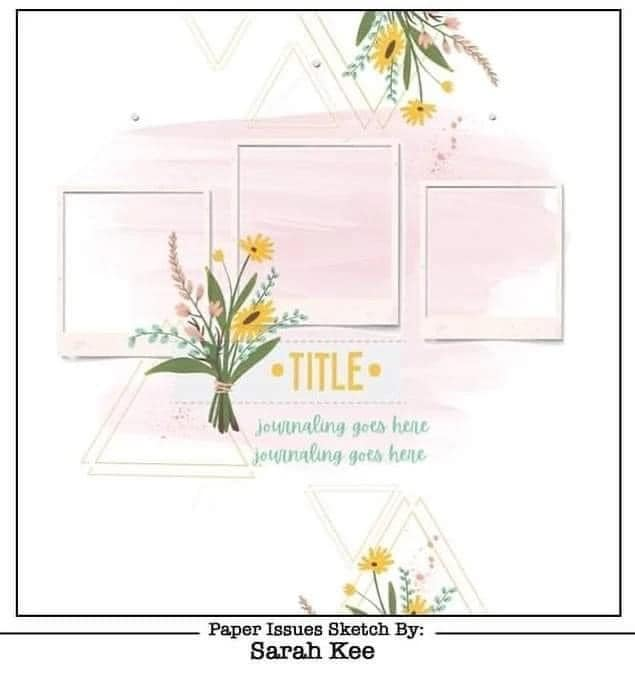
I have another layout to share today from my scrapbook retreat last month. I lifted the design from this layout on the Paper Issues page:

At the retreat, I received a celestial paper pack as a prize. The browns, oranges, and blues went so well with these photos of my son sleeping in random places, I had to use it! I started with a blue patterned paper that faded from dark at the bottom to light at the top. I tore a couple of strips of the brown paper and attached them at the top and the bottom of the layout. I then tore both sides of the star paper that I ran across the center of the page. I put a mat behind my photo collage at an angle. I added an outline to the mat for some interest. The paper pack came with some die cuts, which I used to embellish the page. I loved the "It's just a phase..." phrase die cut and decided to use that as my title since it fit the subject. I added a few gold foil stars to finish off the page.


Wednesday, March 25, 2026

Scrapbooking Retreat- Halloween Layouts

Hello, I'm sharing a couple more layouts from my scrapbooking retreat last month. Today I'm sharing Halloween layouts.

Several months ago I had purchased a couple of Halloween collections by Doodlebug. I was excited to use them on some layouts. My first layout was just about playing with the products. I used a few of the patterned papers and came up with my own design for the page. For the title, I was searching Cricut Design Space for a cute title and this one came up. I didn't end up using the cut file for this phrase, but I used some stickers and a cut file for the word "knight." To embellish the page, I used some washi tape, stickers, puffy stickers and paper sequins. One of the collections I purchased came with some ribbons and trims, so I used one of the trims across the bottom of the large patterned paper block.

My next layout started with this sketch from Paper Issues: 

I started this layout by finding a fun pumpkin cut file. I once again searched Cricut Design Space for a clever title and this time used a cut file from there. To embellish this page, I used stickers, puffy stickers, and a short length of ribbon.


Thanks for stopping by to check out my layouts.


Monday, March 23, 2026

Scrapbooking Retreat- Wedding Layouts

Hello! I went on a scrapbooking retreat last month, but haven't shared many of the layouts because I haven't wanted to spend the time blogging them. I'm currently sick with strep, so sitting with a laptop is more doable and appealing than crafting, so I figured I would work on getting some of these layouts blogged.

Today I'm sharing a couple of layouts I made for my son's book from his aunt and uncle's wedding in 2014. He was one of the ring bearers so it was special for him. First, is a layout about being the ring bearer. I used this skech from PageMaps:


I used papers from Christmas collections since the wedding was two days after Christmas and the colors worked. I cut the title and rings on the right hand page with my Cricut. I used a tag from one of the collections for the journaling. To embellish the page, I used stickers, washi tape, and puffy stickers. I kept this design pretty clean and simple to let the adorable photos shine.

 Next up in the layout of his photo booth photos. I lifted this layout from Paper Issues: 
I made four clusters on my page, three with the photos and one with the title. I again used Christmas collections, this time sticking to mostly black, white and red designs. It was fun to find stickers and bits and pieces to tuck behind the photos. I used my Cricut to cut the title, cutting the camera a couple times and stacking the pieces for dimension. I finished off the page with some red Nuvo drops.

Wednesday, January 21, 2026

Photo Booth Baby

Hello! I have a new layout to share today! I started with this sketch from Paper Issues:


I had square photos from a photo booth for this layout, but I made them work with the sketch. I used a cut file for the background. I then used some patterned paper for the banners on the right side. I cut the words "Photo Booth" and the panel behind it using the Cricut. For the word "baby" I stamped and heat embossed the letters on vellum and then fussy cut the word. I used some stickers, die cuts, and glitter washi tape to embellish the page.
 

Tuesday, January 6, 2026

Fabulous

Hello, I have one more layout to share from over Christmas. For this layout, I started with this sketch from Paper Issues:

I decided to turn it into a two page layout by flipping the sketch horizontally to make the second page. I started by using a hexagon mask on my background because I didn't was to cut a ton of hexagons. I did cut the big hexagons and some small hexagons with my Cricut. I layered the small ones over spots in my inking to add some interest. I stitched around the large hexagons for some texture and interest. To embellish the page, I used some die cut butterflies, stickers and fussy cut some speech bubbles from a sheet of patterned paper. At that point, I decided I wanted a few splatters around my page. As I was creating the splatters, I knocked over my bottle of spray ink! That is why there is a large splotch of ink in the center of my layout. After I had calmed down from being frustrated with myself for knocking over the bottle, I consulted my family (including the child whose book this is going in) and we decided that the large splatter looked okay and I didn't need to start over. I added a few more larger splatters to make it look a little more intentional. I will eventually replace the two photos the got ink on them, when I get them reprinted.


Saturday, March 1, 2025

A Couple New Layouts

Hello! I have a couple of new layouts to share! First up is one for my second youngest's book. He was such a busy baby and toddler- as you can see from the photos! I've had this star patterned paper for quite a while, waiting for the right photos. When I figured out I could surround the star with these photos, I went to work! . I didn't have to add a whole lot to this page since the background paper has quite a bit going on. I added some cut apart phrases and stickers. I cut my title with my Cricut. I wanted to add some more navy to the layout, so I pulled out some phrase stamps and stamped them in a few spots around my page. To finish things off, I added a few puffy stickers and some light green ink splatters. The background paper was the starting point for this layout, but I was also inspired by this color scheme from Paper Issues:


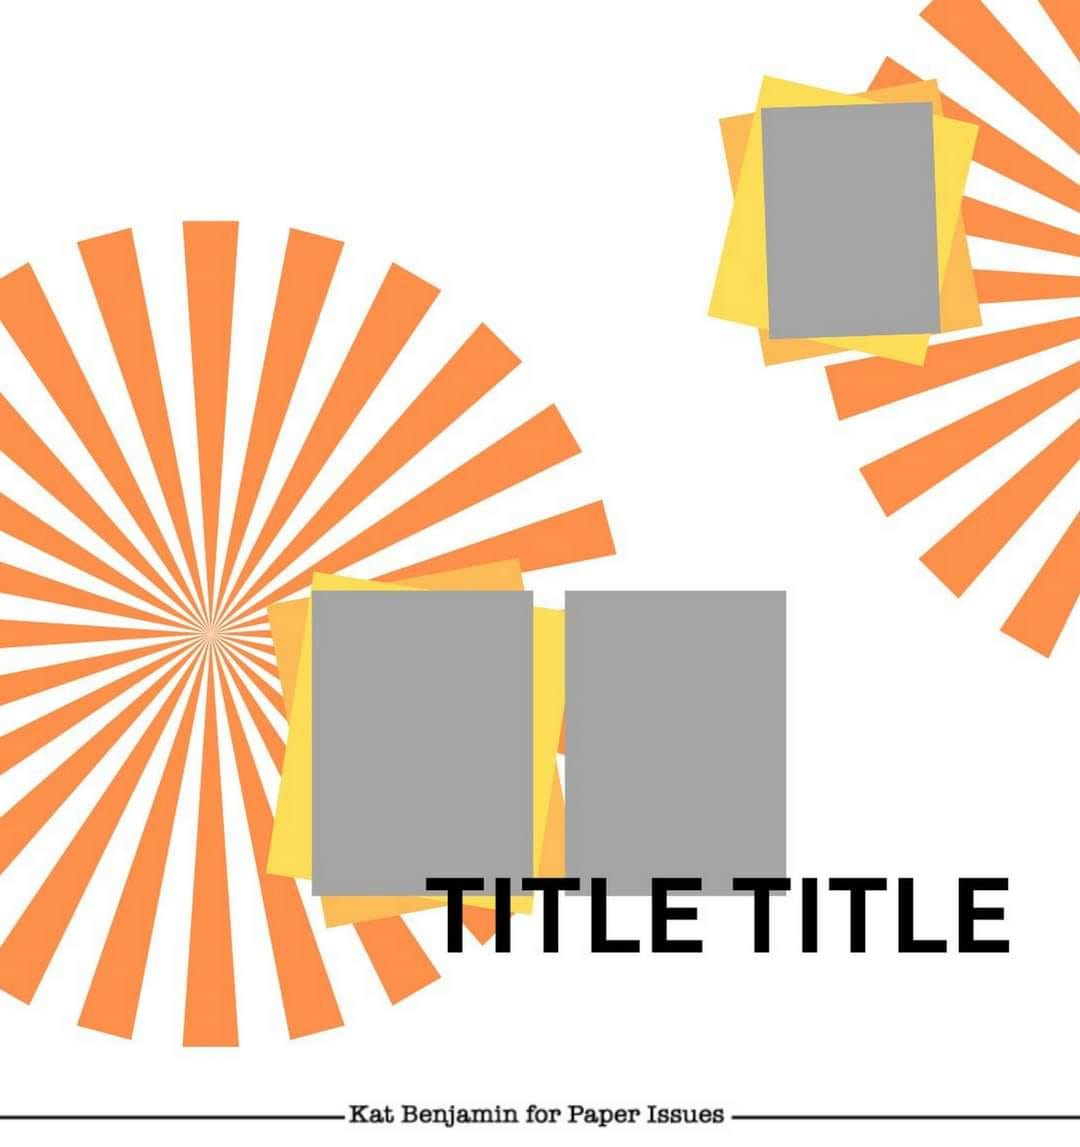
 Next is another layout for my daughter's dance album- I only have a few pages left to be caught up! I started with this sketch from Paper Issues:


I wanted a big sun in the place of the heart, so I created it. I started by making a large circle mask and ink blending it. I then took a water brush and a couple of the ink colors and made the rays. I finally added some splatters with some shimmer watercolors. I cut the title with my Cricut and used the black and gray papers for my photo mats. For the clusters, I dug into my stash and used some rub ons, felt pieces and journaling spots. I punched a couple of tags for an added layer.


Tuesday, February 4, 2025

More Dance Pages

I have a couple more layouts to share today that I made over the weekend. For my first layout, I used one of the sketches from Paper Issues:


I decided to use some ink pads to create stripes on my paper for this layout. I drug them each across a sheet of smooth mixed media paper. I set that aside to dry and went to work cutting the title. I cut it three times using my Cricut, twice from plain black cardstock and once from black shimmer cardstock. I layered up the cut and put the shimmer cardstock on top. I then went to work embellishing. I pulled out some rub ons that had colors that went with my inks. I cut a frame rub on in half to create the corners. I then layers buttons, brads and gems over them. To finish off the layout, I splattered some black ink for some interest next to my photos.

I saw this sketch yesterday shortly after it was posted by Sketches In Thyme and immediately went to work.


I knew this sketch would work perfectly for this headshot of my daughter. I pulled out the collection that I used for my Feburary calendar page and cut the strips and triangles. I used my Cricut to outline and cut the title. I got all of that adhered down and embellished the page with some paper flowers and sequins.


Sunday, February 2, 2025

Card Recap

Hello! I'm here today to share the last few cards I've created. I've been sneaking in some creative time, but not taking the time to share things here, so I'm going to catch up over the next few days.

First up is a birthday card. During January, Paper Issues released a new sketch each day on Facebook in their group. They were layout sketches, but I ended up using this one for a card:

I've had a sheet of patterned paper with these cute robots for a long time and I finally decided to use it for this card. I fussy cut the robots. I dug through my stash to find patterned papers with colors that went with my robots. I cut those up for my background and inked the edges with dark red ink since that was the color around the edges of my robots. I stamped the sentiment on the blocks below the robots and then I added the robots to my card front with foam adhesive. I added some homemade enamel dots (made from Perler beads) and some leftover diamond art gems to embellish my card.
Next up is a card I made for a couple of people receiving first sacraments at our church (I made two like this). I started by using sheer Yupo paper and squirted red, yellow, and orange alcohol inks on my paper, along with some gold and white mixatives. I used a felt piece on a blending tool and twisted the tool on the ink, making swirls. Once I was happy with how it looked, I set it aside to let it completely dry. I then used my Cricut to cut the dove. I didn't have two colors of the shimmery cream cardstock, so I blended a light tan ink over the back wing to add some dimension. I colored in the eye and the beak with a couple of pens. For the card base, I used a script background stamp and used the same light tan color to stamp in on my card. I layered the inked Yupo over the top and stamped the sentiment with Archival ink. I then added the dove.
Last, I have a Baptism card that I made for my nephew. His Baptism was on the Feast of the Baptism of Our Lord, so I decded to use this Cricut cut of John the Baptist baptizing Jesus. For the background, I used an embossing folder and pressed an ombre inkpad over the raised part and ran it through the machine, I had to do it twice, with a spritz of water. The water made the ink bleed a bit, but it added some interest. For the sentiment, I stamped with VersaMark on some vellum and heat embossed it with gold powder. I wrapped the strip around the card front and adhered it to the back. I used a colored pencil and some chalk to add some details to the robes on the cut out, and a blue glitter pen for the water ripples.


Tuesday, December 3, 2024

Dance Layouts Using Sketches

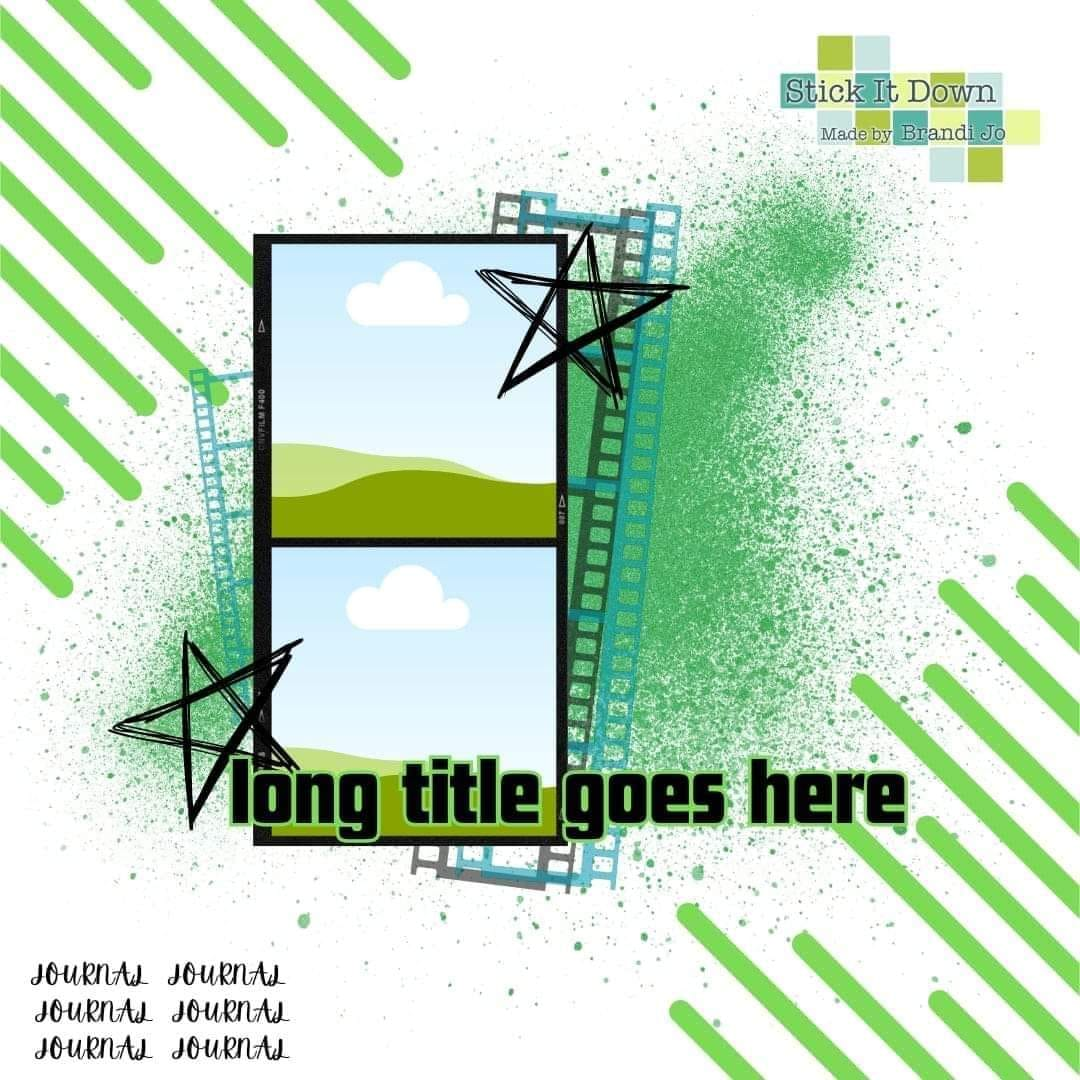
Hello! I have two new layouts I created this weekend using my daughter's dance photos. For my first layout, I used the November single page sketch from Stick It Down:

I started with a watercolor background paper and used the big corner scroll stamps to add some interest. I then used a couple of coordinating patterned papers to create some strips underneath the photo. I cut the title with my Cricut. To embellish the page, I used some die cut flowers and silver Nuvo Drops.
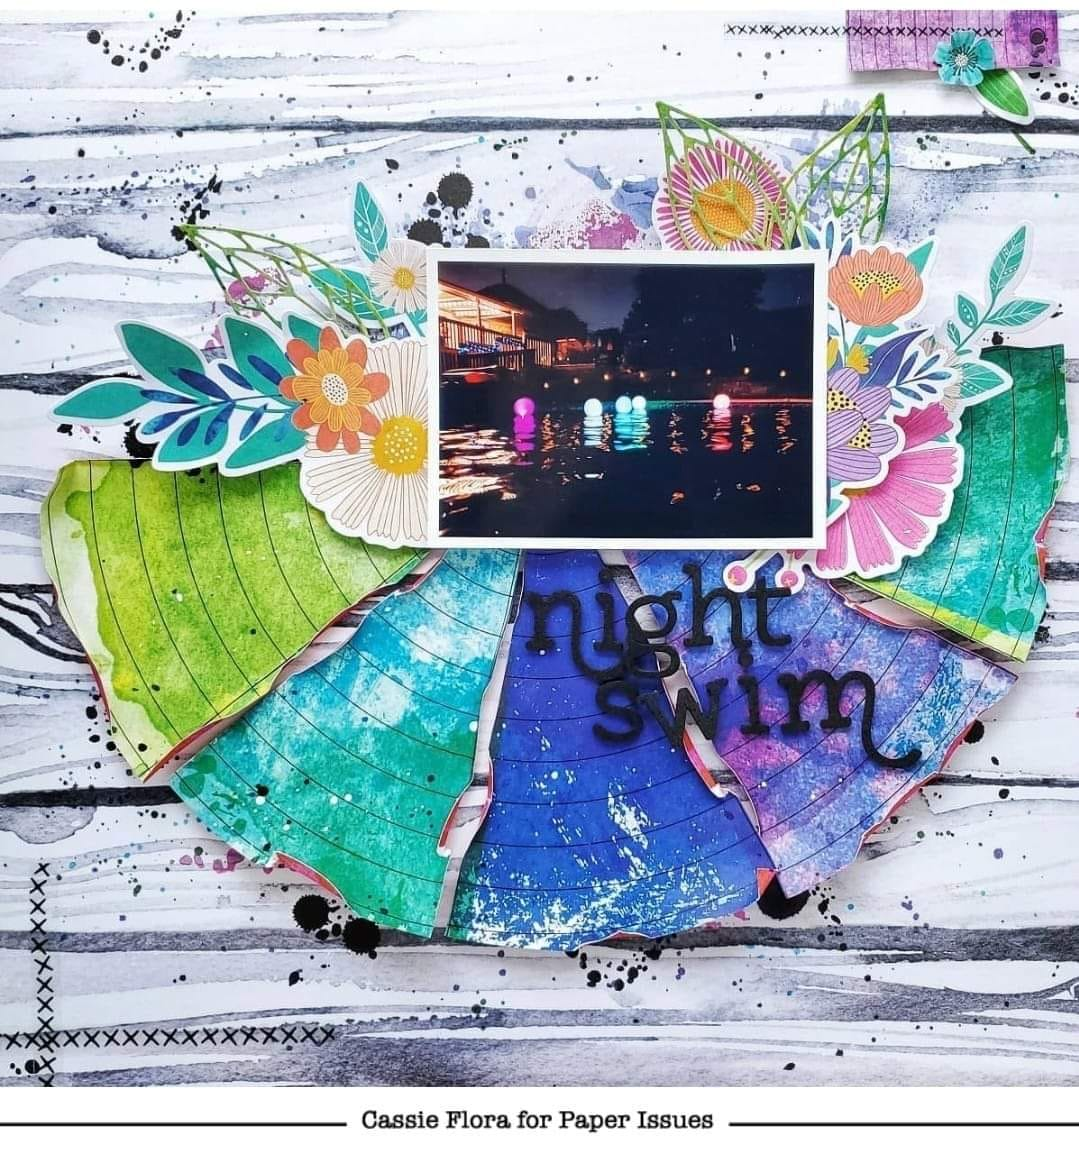
Next I scraplifted this fun layout from Paper Issues:
I love the distressed wedges of the circle, so I started by finding some patterned papers to create them. I then cut a half circle and folded it in half and then in half again to use as a template. I traced the template onto the papers and cut out the wedges. I used a distressing tool to rough up the edges and curled them up a bit by hand. I used my Cricut to cut some of the stars and punches to cut the other from the same papers. I also used the Cricut to draw and cut the letters. I then went to work layering the stars, popping some up with foam adhesive. I finished things off with sequins.


Friday, November 29, 2024

Hello Autumn

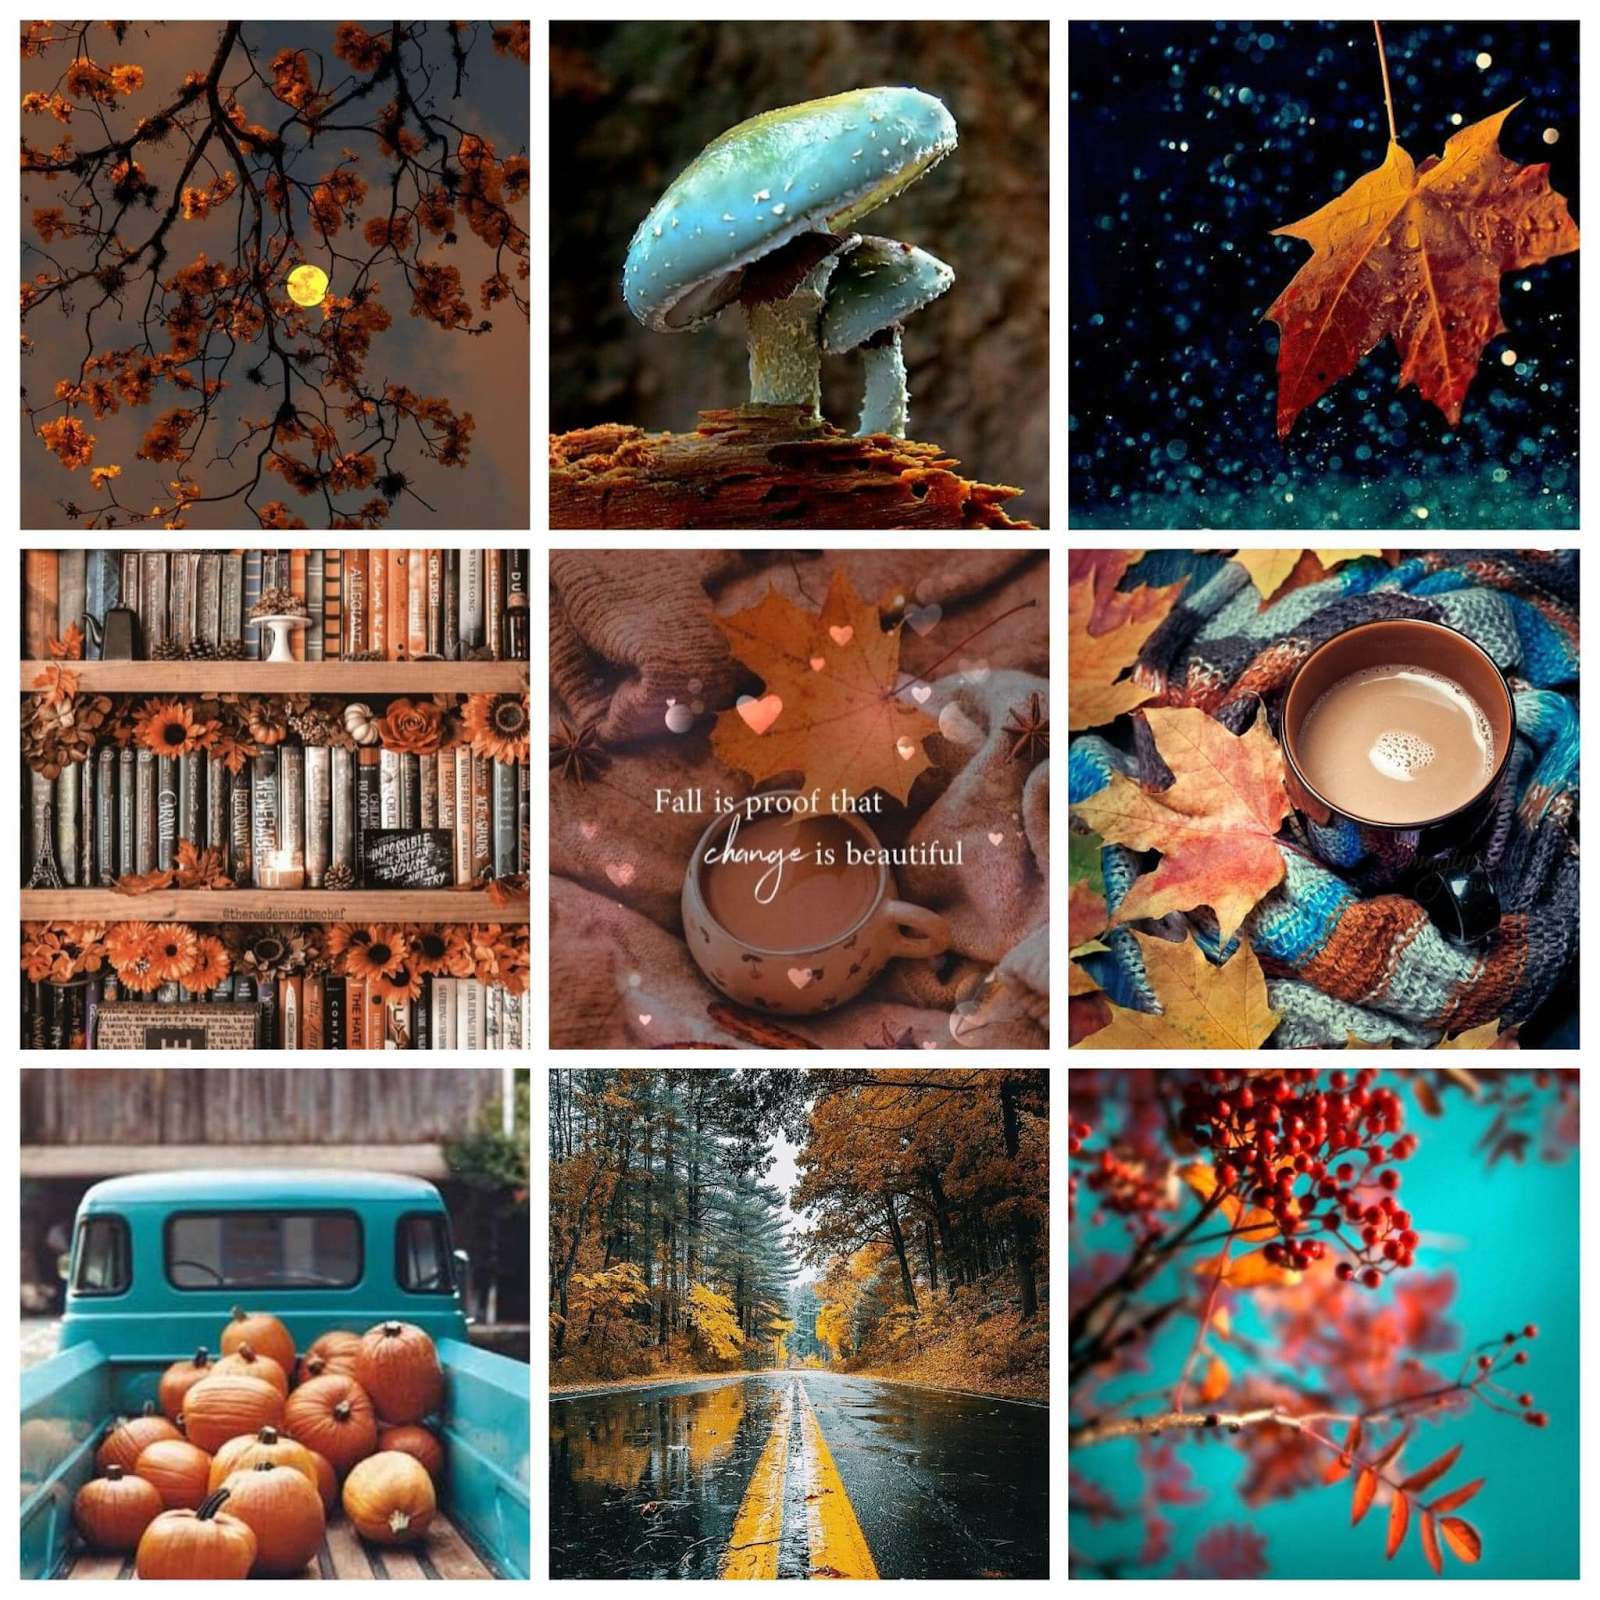
Hello! I hope you had a wonderful Thanksgiving! I have a fall page to share today! I was inspired by the colors and fall images on this mood board from Paper Issues:

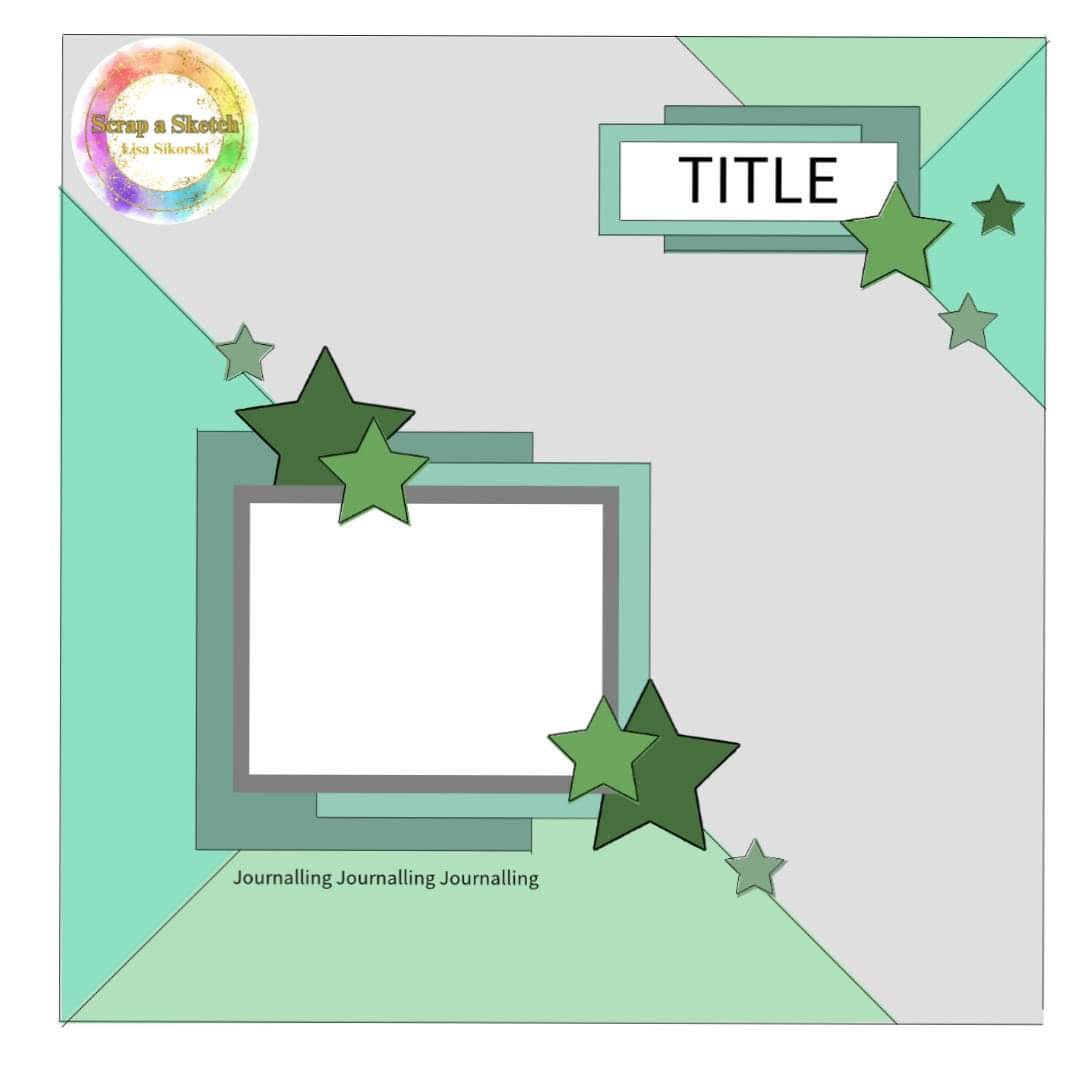
I also used this sketch from Scrap a Sketch:
This paper collection had the right colors and brought out some of the colors of the photos, so I went to work. First, I cut the triangles of patterned paper and adhered them to the background. I then arraged some patterned paper scraps as the mat to my photo collage. I wrote my journaling on a journaling card and tucked that behind my photos. To embellish the page I fussy cut the leaves and pumpkins from the cut aparts in the P13 Autumn Collection. I used a sticker from another collection for the title and matted it on coordinating patterned paper, adhering it with foam tape for dimension. I finished off the layout with a scattering of Dirty Bronze Nuvo Drops.


Thursday, November 28, 2024

Outdoor Fun

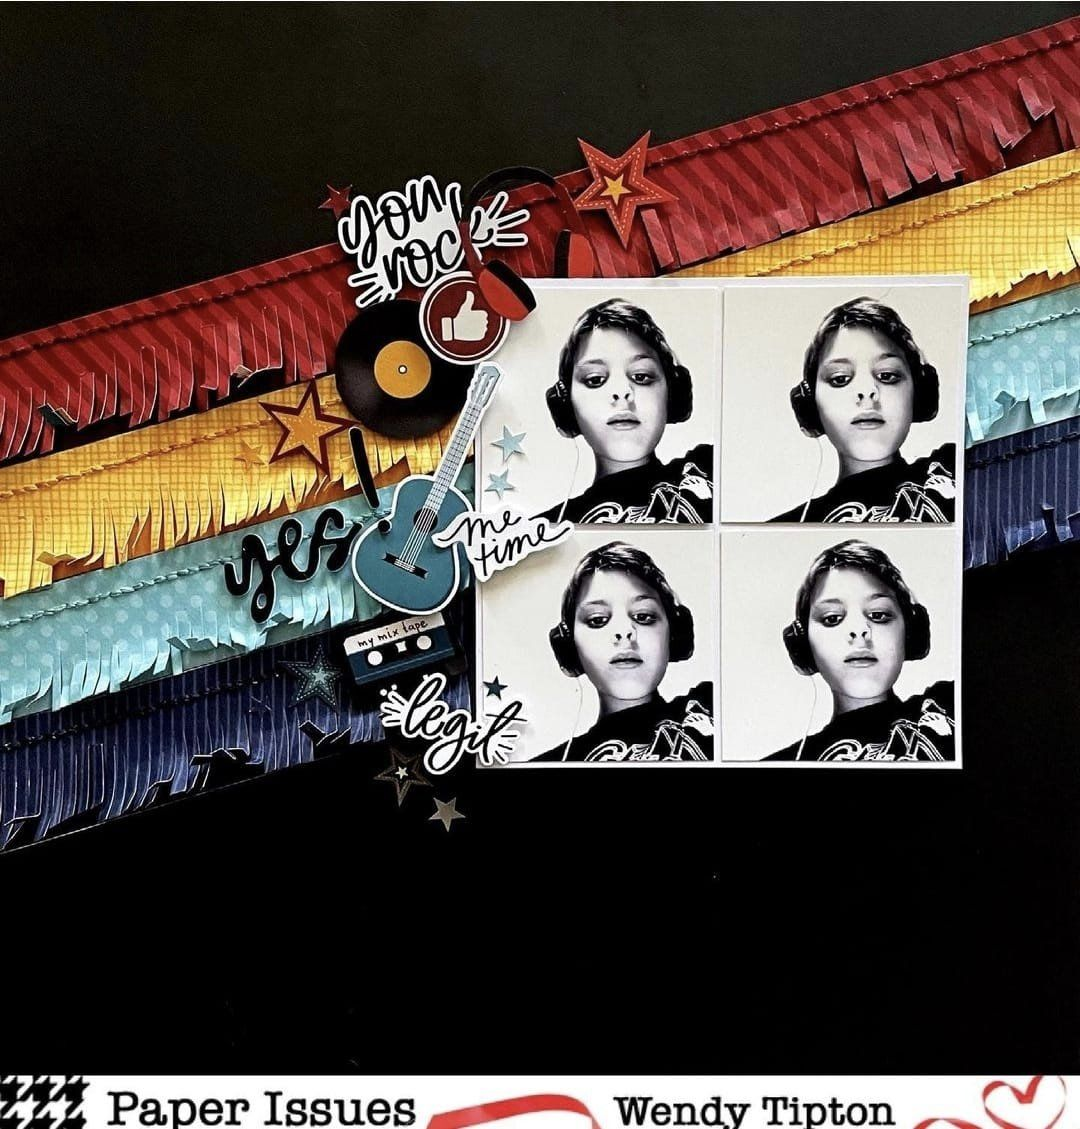
Hello, I am back with a couple more layouts to share. The first one is a scraplift of this layout from Paper Issues:

I loved the stitching and fringes on the inspiration layout, but I didn't have my sewing machine with me and I wasn't going to cut the fringes with a regular scissors. I decided to tear strips of paper to give the distressed edge and layer up the strips. (FYI- 12 x12 paper set at an angle does not reach all the way across the page, so I cut each strip in half and covered the gap with my photos.) I found the words cut file when I was working on the layout below, but didn't end up using it on that one. I thought it worked well on this one so I cut it and glued it down the left side of my layout. I used some stickers, chipboard pieces and puffy stickers to complete the embellishment cluster. 


For my second layout, I started with the greenery patterned paper. I wanted some sort of pattern on the bottom of my layout, so I used a mask and ink to create the polka dots. I then used some punches to create the strips across the middle of the layout. I used my Cricut to cut the flowers on the top left and the title on the bottom right using coordinating cardstock and patterned paper. One of my strips of patterned paper wasn't quite long enough, so I cut the sun to cover the gap on the left end of my layout. For embellishment, I used some stickers from the collection and some sequins.


Saturday, April 20, 2024

Dance layouts

I've had time to do some scrapping this week! I got a couple more dance layouts done for my daughter's album.

For the first layout, I used this sketch from Lasting Memories:


I started by finding some papers that went with my photos. I then cut them into strips and created banners. I then adhered my photos over that. I had the idea to have a "shattered" style font for the word "Glass" and I found this one. I used my Cricut to cut the title. For the journaling, I just used one of the pieces I cut off one of the banners, ripped the long ends and wrote on it with a white pen. To embellish this page, I cut some squares from washi tape and used some black pearls. For the x's, I used actual x's from a Thickers set. I added black glitter to them for some sparkle and stuck them in my clusters. I cut a couple of the "legs" of them at a different angle to make them look a little less like a letter. I finished off the layout with a black transparency heart by the title. 


For my next layout, I used this sketch from Paper Issues:


I found these beautiful outline roses in Cricut Design Space and cut them from red cardstock in place of the circles on the sketch. I then layered my photos over them. I used some gold glitter cardstock and black cardstock to mat the individual photos. I used my Cricut for the title. I added strips of rub ons around the photos to highlight them and used black puff paint to add the dots in the leaves.

Thursday, March 28, 2024

Layouts From Sketches


Hello! I'm back with my last couple of layouts from the last few weeks. These both used sketches.

First up is this sketch from Sketches In Thyme:

I had a lot of fun with this sketch. I started with a sheet of white cardstock for the background and the sheet of yellow chevron paper. I cut the patterned paper and marked on my background where it would be. I then used the plastice packaging technique to add some yellow and grey inks to the background. I dried that most of the way and added some black splatters. Once that was all totally dry, I adhered the patterned paper and photos. I cut the title from the backside of the chevron paper and from black cardstock two more times. I layered the yellow on top of the black to give the shadow effect. To embellish the page, I used some washi tape, die cuts, and tiny enamel dots.

 Next is this sketch from Paper Issues:

I started by using my Cricut to make the big circular element with drawing and cutting. I added the photos and cut the title using my Cricut as well. I had these darker wood veneer pieces that went well with the paper I used for the background of my title, so I used those to embellish my page (the pieces on either side of my title were actually one piece that I cut in half and sanded the edges). I used a few other die cuts from my stash and some brown metallic Nuvo drops to finish off the layout.


Sunday, February 4, 2024

Joyful Lake Time

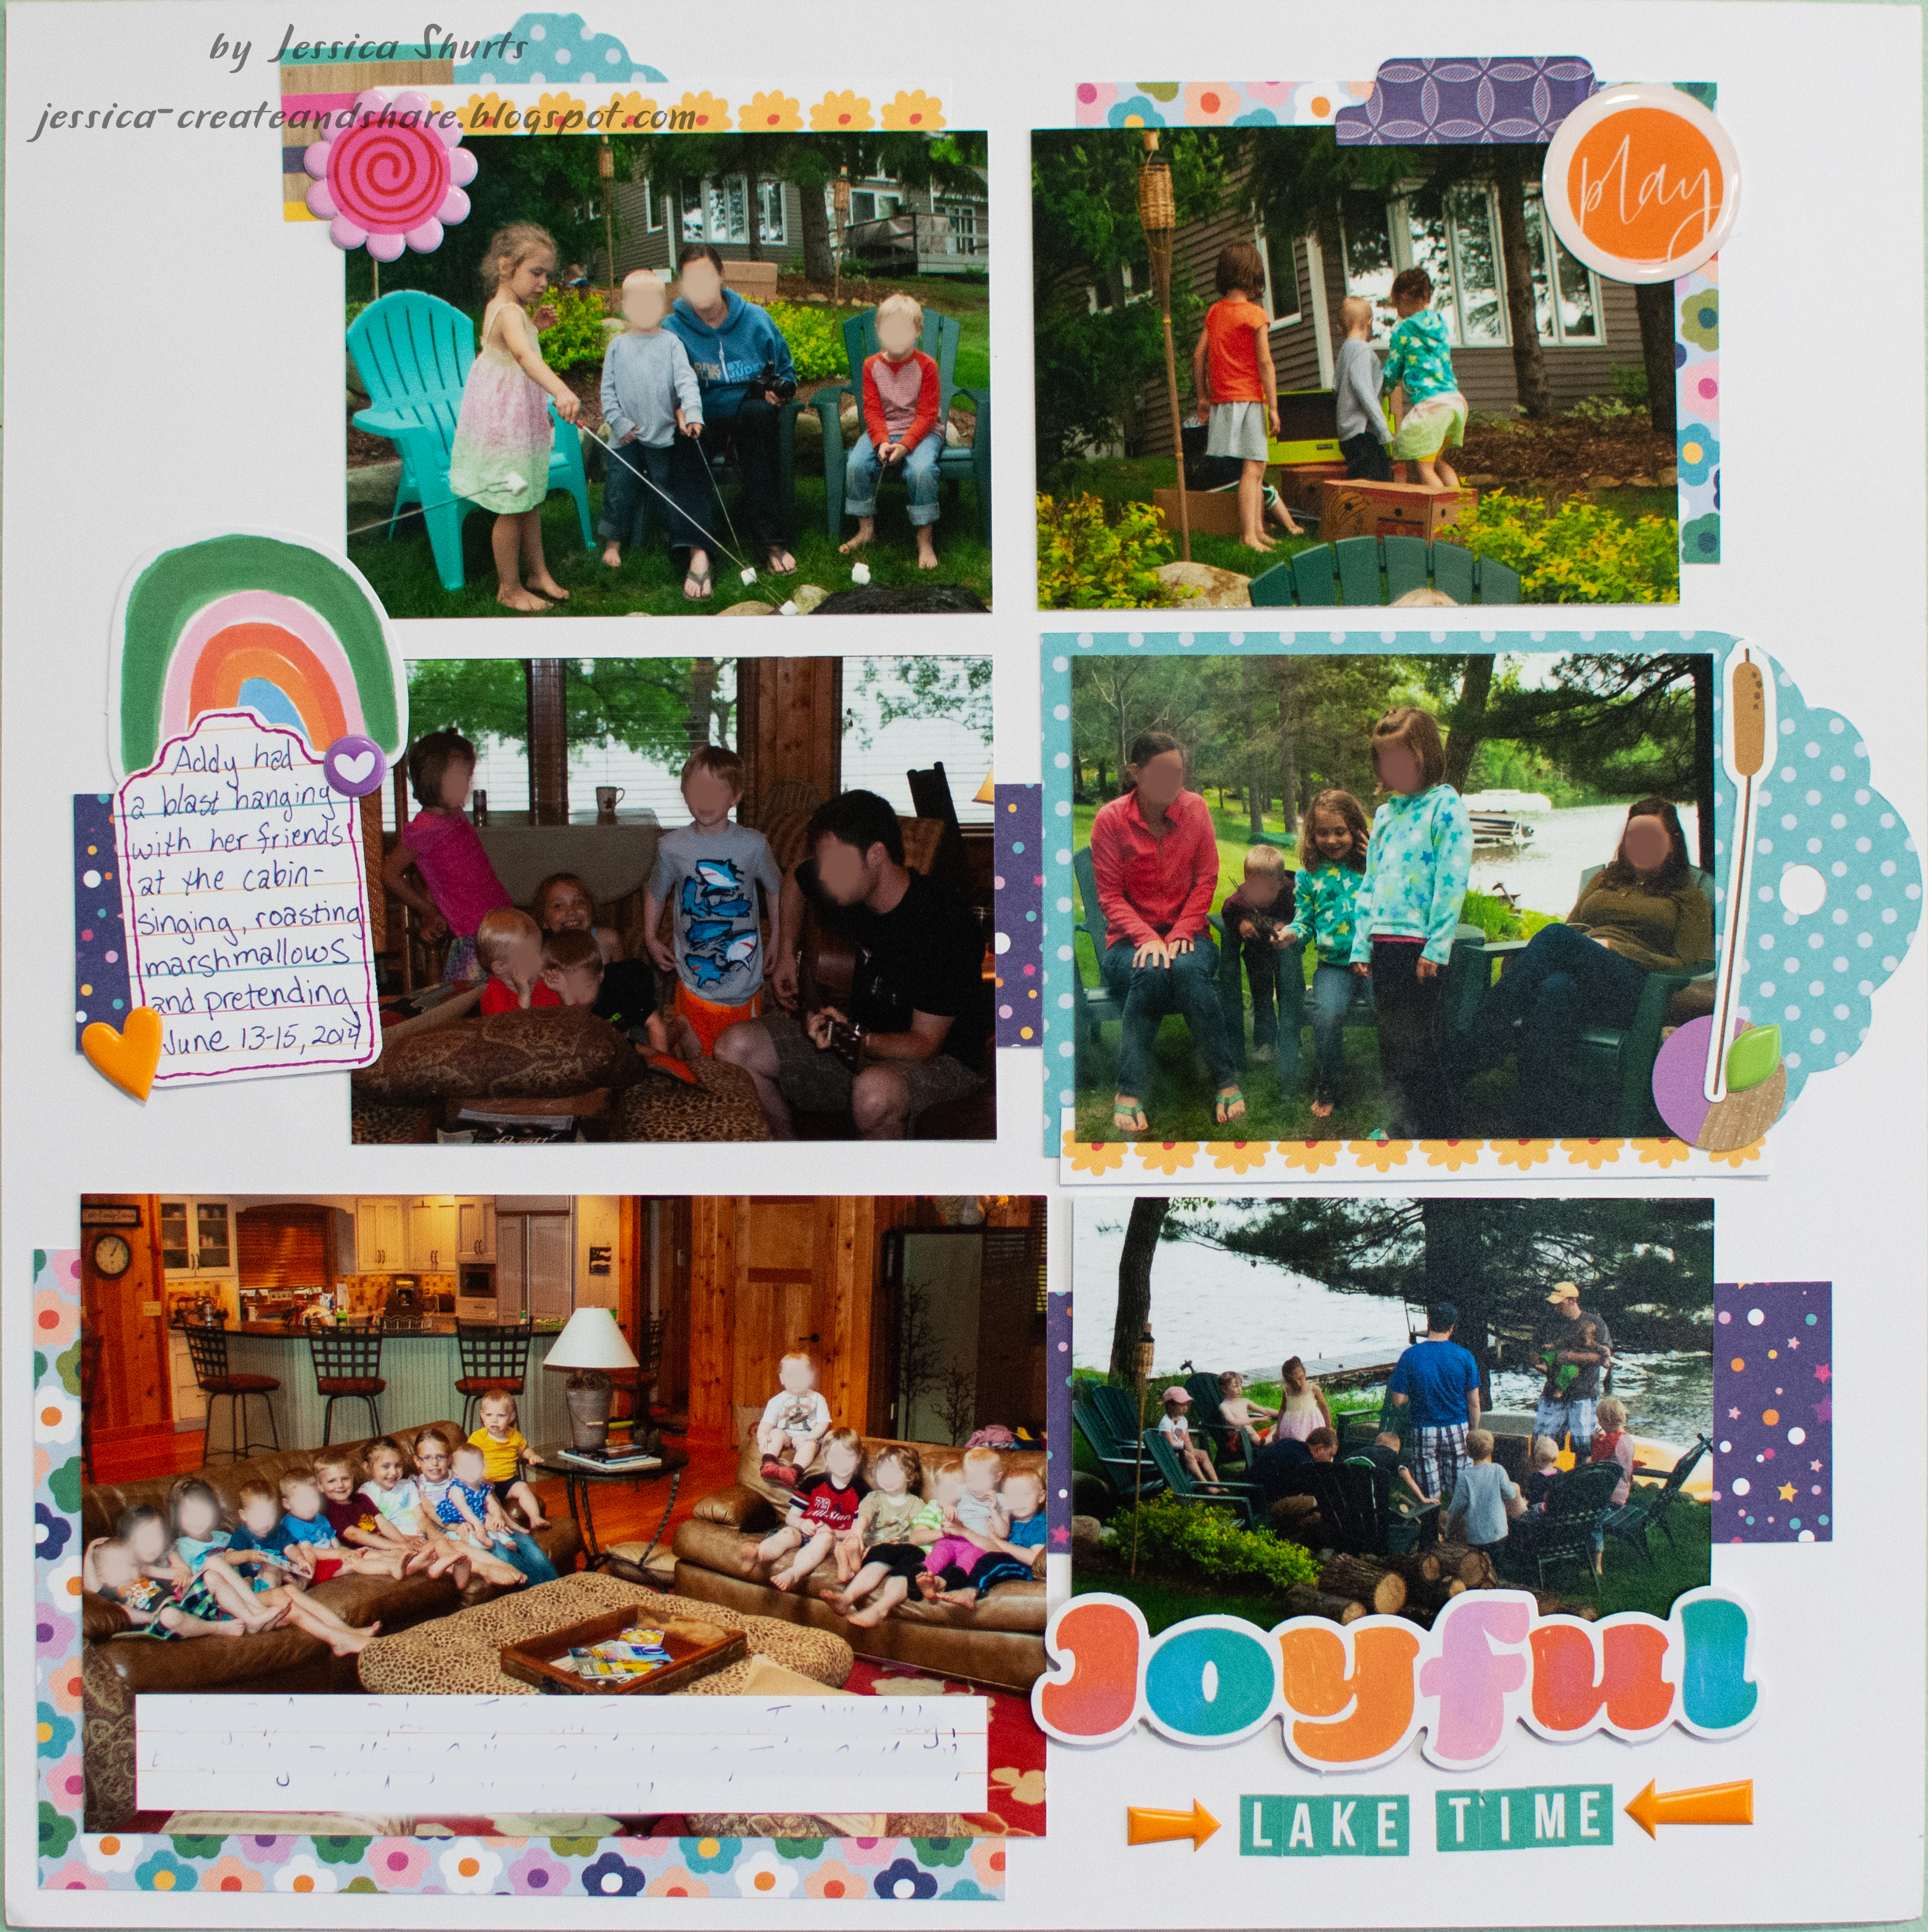
Hello all! I have one more layout I did this past week with a Paper Issues sketch:

All those solid blocks looked like opportunities for photos, so that's what I used them for! I then used bits and pieces of patterned paper to add the layers to the page. To embellishthe page, I used some die cuts, stickers, epoxy flair, and puffy stickers. 

 This layout came together really quickly and I got lots of photos on it! Always a win!

Saturday, January 27, 2024

A Layout and a Card

Hi all! I have a layout and card to share today! First up is the layout that I created using this sketch from Paper Issues:


I had larger photos to work with, but I made the sketch work with them. I started by doing the smooshing technique on the background with red inks. While that dried, I cut and adhered the photos to the black mats. Once the ink was dry on the background, I took a star mask and added some of those around the page. I finished off the background with some gold ink splatters. In the place of the triangles in the sketch, I used a chevron acetate and fussy cut along the lines. I glued that down around the page. I used my Cricut for the title, and the black stars. The gold banner was in my scrap drawer and so I decided to use it here. I embellished the page with some gold star stickers and black gems. 
Next up is a card, which also uses some odds and ends from my scrap drawer. I have been throwing things in there, but haven't used much. I went through it and organized it a couple of days ago so that it will be easier to find what I'm looking for. While I was doing that, I found these blue chevron pieces and the scrap from the first card in this post. I also found the transparent circle in my scraps. Then I went to work putting it all together. I used a bunch of different birthday stamps and my Misti to stamp the background. I also used an ombre inkpad so I had a few different colors on my stamping. I arranged all my pieces over the background I stamped. Then I stamped the little whale and colored it in using a water pen and Distress Inks.


 Thanks for stopping by to check out my projects1

Tuesday, January 23, 2024

Bob the Builder- Dance Layout

Hello again! I am back with another dance layout for my daughter's album. I was inspired by another sketch from Paper Issues:


This was a fun sketch to work with. I started by finding a cut file online for the Bob the Builder logo. It had some tiny cuts for the accents, but I decided to just draw them on since it was much easier and less messy. Instead of the film border, I used this background that reminds me of tire tracks and the colors made me think of caution tape, so all on theme. I used the smooshing technique with Faded Jeans distress oxide ink on my background. For my little embellishment clusters, I used some of the less prominent colors for the banners and used my Cricut again to cut the tools. To finish things off, I used some brads around the title and some gems.