Showing posts with label Project 12. Show all posts

Sunday, May 31, 2026

June Calendar page

Hi all! I have my June calendar page to share! I started with the double page sketch from Stick It Down:

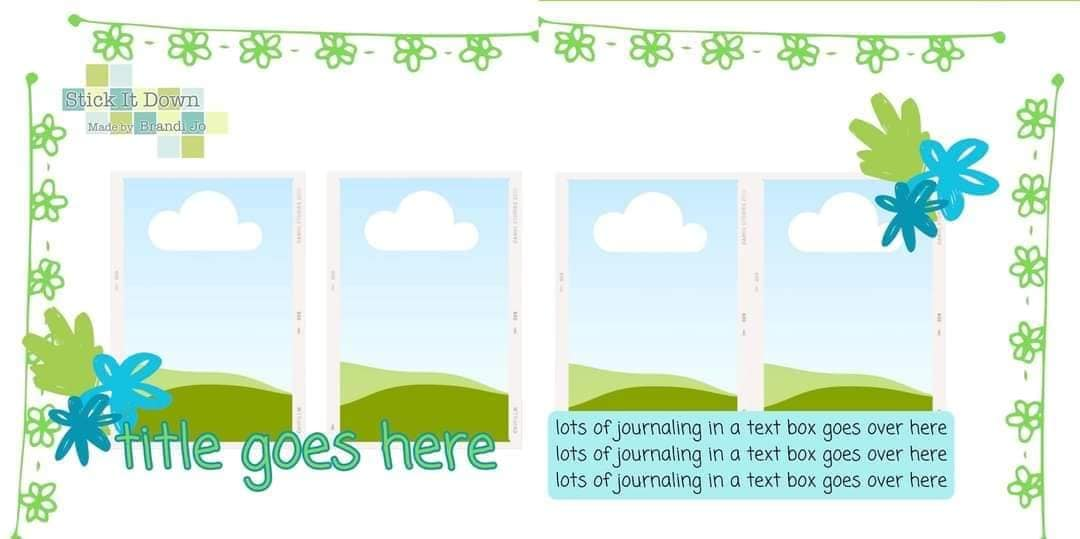
I had lots of photos so I made the large photo spot on the right side into a photo collage. I used my Cricut a lot on this layout- for the large scallop border, the photo mats and the title. I used a Project Life card for my journaling. To label the photos, I used the circles that were cut from my border and then colored the numbers with chalk to match the dots. I used some stickers from the Vicki Boutin Cut and Paste collection- I love the embellishments from this collection!


Wednesday, April 29, 2026

May Calendar Page

Hello! I'm back today with my May calendar page. I started with the double page sketch from Stick It Down:


I loved how much space there was on this sketch for photos! May is such a busy month, so I needed the space! I started by printing my photos and laying them out on the page. I trimmed the patterned paper for each end of the layout. I used strips for my journaling. I had a great time embellishing my layout with die cuts, stickers, and foam stickers from the Cut and Paste collection by Vicki Boutin.


Sunday, March 15, 2026

Stick It Down Guest Designer

Hello! I am here today to share that I am the guest designer for Stick It Down this month! I made a project for each of their sketches for the month. 

First up was the card sketch, which I used to make Valentines for two of my sons. I started by stamping the wood background on kraft cardstock. I used a die to cut the brown frame and my Cricut to cut the hearts from various papers. I layered the hearts over the frame and attached them to the card front. For the sentiment, I stamped on a strip of white cardstock and trimmed the end into a banner and tucked it under the hearts. To embellish the card, I used a metallic pink paint pen to drw the hearts on some of the "logs" and made dots with pink Nuvo drops.


Next is the double page layout. I used some really old October Afternoon for this one. This sketch is all about blocks, so it is a great one to use up a collection or use 6x6 papers on. I ussed my Cricut to cut the title and embellishments. For the journaling, I used vellum and hand wrote the captions and recap. I used washi tape across the bottom of my layout and red Nuvo Drops as accents on my embellishments.


 Finally, I have the layout using the single page sketch. I started by creating a vertical "block" on the page with ink blending and a mask. I then used patterned paper and stickers from the collection to embellish the page. For the title, I used the combination of a sticker and a Cricut cut. For some added dimension and fun, I sprinkled some enamel dots over the page.


Tuesday, March 3, 2026

March Calendar Page

Hello! I'm back today with my March calendar layout. I started with the February double page sketch from Stick It Down:

I started with white cardstock. Then I went to work finding patterned paper that I had two sheets of that would go with the photos. I landed on this wood grain paper that had colors that went with the rest of the patterned papers I wanted to use on the layout. I layered everything up on the layout. For my title, I used my Cricut. I inked the edges of the offset to make it stand out a bit more. To embellish the page, I used some white chipboard flowers and a floral sticker that went with the colors of my layout. For the centers of the flowers, I used enamel dots in coordinating colors.


Saturday, February 7, 2026

February Calendar Page

Hello! I have my February calendar page to share. I started with the January double page sketch from Stick It Down:

I adjusted the photo spots a bit to fit a couple of extra photos onto the layout. Since it is February, I decided to go with a heart theme. I started by cutting a bunch of hearts with my Cricut. I used my sewing machine to stitch a large circle on my left hand page. I then glued the hearts around that circle. I matted my photos with scraps of the cardstock I used to cut the hearts. There are things cut out from several of these mats, I just strategically adhered my photos over the holes- this is a great way to get the most from your paper! I used my Cricut to cut the title from the same papers I used for the hearts. I have a pack of white cardstock borders that I went through and found the flower borders and added those. I used strips for my journaling and embellished my right hand page with leftover hearts.


Friday, January 2, 2026

January Calendar Page

 Happy New Year! I have my January calendar page to share! I started with this sketch from the Creative Memories Crop group on Facebook:


I needed to fit more photos on my page, so I split some of the photo spots and added a photo to the right hand page. I used my Cricut to cut the borders and title. I used printed chipboard, stickers, metal rimmed stickers, and enamel dots to embellish my page. For the journaling, I did a combination of photo captions and a paragraph on the bottom of the page. 
Thanks for stopping by to check out my page. I should have some more posts in the next few days with some cards and scrapbook pages I've done over the last few weeks!

Sunday, November 23, 2025

November Calendar Page

Hello, it's been a while! I've been spending my time taking and editing photos for my business. I was able to squeeze in making a calendar page and some cards (which I'll be sharing over the next few days. I started with the October two page sketch from Stick It Down:

I pulled out some coordinating patterned papers with some fall colors. I cut the pieces and found a grey that went with the grey on the floral paper. I stuck pretty close to the sketch for the photos, just doing four instead of 5 in the strip on the right hand page. I cut the title with my Cricut and stamped the journaling lines. I used some spray ink to add splatters to my page, both spritzing and tapping the straw for larger splats. I embellished the page with some fussy cut leaves and stickers. 
Thanks for stopping by to check out my layout!
 

Wednesday, October 1, 2025

October Calendar Page

Hello! I have some catching up to do again! I'm going to start with my October calendar page today. I used this sketch from Page Maps:

I split all of the vertical photos so that I could fit more on my layout. Otherwise, I stuck pretty close to the sketch. I used a variety of fall papers,  mixing and matching manufacturers and collections. For the large cards across the bottom, i used some cut aparts, stickers and patterned paper. The small banners were fussy cut from a sheet of patterned paper. I cut the title using my Cricut. I embellished the page with stickers, chipboard, and brads.


Monday, August 25, 2025

September Calendar Page and a Card

Hello all! I have my September calendar page to share along with a card, both using sketches from Stick It Down:

First up is the double page sketch:

This is a great sketch to use up scraps. I pulled out a 6x6 pad and an 8x8 pad and used my Cricut to cut the hexagons from the scraps. I then adhered them to my cardstock. I then found some coordinating cardstocks and matted my photos with them. I stamped the flowers around the corners of the photos and then adhered my photos. I found the arrow washi tape and used that in my corners. For the journaling, I used cardstock strips to caption the photos and stamped journaling lines and added more info on the bottom. For the title, I used foam letter stamps.


I also used this months' card sketch:

This was a pretty quick card to put together. I started by stamping the star and dot background with Versamark ink and used three colors of embossing powder. Once the was heated and cooled, I added the dog sticker. I used foam adhesive behind the treats to add dimension to my card front. I used my Cricut to cut the sentiment.


Saturday, August 2, 2025

June, July, and August Calendar Pages

Aw man, it's been a minute- or two months! I have done some creating between driving kids to activities and doing photo sessions. Today I'm going to start with my calendar pages for the past three months.

First up is June. I used this sketch from PageMaps:

I love how many photos fit on this layout and I was able to divide up the photo spots on the right hand page to get a couple more onto the layout. I followed the sketch pretty closely. For the green scalloped blocks, I dusted of the decorative scissors and cut the edges. I sued my Cricut for the title, cutting the word "June" three times for dimension. The embellishments are a combination of stickers, die cuts, puffy stickers and gems from the collection I used on the layout as well as a couple of other companies.


Next up is my July page, which I used this PageMaps sketch on:
I copied this sketch almost exactly. It was fun working with the patriotic papers on this one. I used my Cricut once again for the title. I added a piece of red glitter tape to the right hand page to bring the glitter over there as well. A few stickers from the collection finished things off.

Finally, I have my August page.  I used the July double page sketch from Stick It Down:

I started by using a mask and inking the area behind where I was going to put my title. I cut the title using my Cricut from white cardstock. I then went to work laying out my photos. I used the photos on the sketch as inspiration, but I added more photos, so my photo layout looks different. I added a few scraps of patterned paper behind the photos. Once I had that all adhered down, I found inks that matched the striped paper (peeking out from under a journaling strip on the left hand page) and used those inks to ink blend the title. I had a package with those two large popsicles still in it, so I decided to use those on either end of my popsicle "banner." I cut the rest from a sheet of patterned paper and stuck them down. I finished off the page with a couple of ice cream cone stickers.


Saturday, April 26, 2025

May Calendar Page

Hello all! I have my May calendar page today. I used this sketch from Lasting Memories because I worked best with the photos I had:
I divided some of the photo spots into smaller spots so I could get more photos on my page. I used a new collection of paper I found at my local scrapbook store from a company called Paper Rose out of Australia. The colors and designs are so beautiful, I look forward to using this one more! I used strips of cardstock for my journaling. For the title, I used my Cricut. I had a scrap of paper that I had done the smooshing technique on with colors that worked with the colors of the papers on my layout, so I cut "May" from that and found coordinating cardstock for the flowers. This collection has a die cut butterfly pack, so I used some of those to scatter around my page. I decided a couple of the clusters needed a little more, so I splattered some yellow and orange ink on the background. I finished things off with some washi tape and enamel dots.


Tuesday, April 1, 2025

April Calendar Page- Stick It Down

Hi all! I have my April calendar page to share today! I used the March Double page sketch from Stick It Down:


I had lots more photos, so I made them all 3x3 squares and rounded the corners instead of cutting them as circles. I then fussy cut some flowers and used a circle cutter to cut some circles from coordinating patterned paper to layer under the photos. I cut a sheet of the butterfly patterned paper in half diagonally and arranged my photos along the edge. I used my Cricut to cut the title. I used a chunk of lined patterned paper for my journaling block. I wanted a little texture on my cardstock background, so I splattered some teal, pink, and purple inks on it before adhering my title and journaling. I embellished the page with some puffy stickers. I also added a fussy cut butterfly to the title to bring the butterflies to that part of the layout.


Monday, February 24, 2025

March Calendar Page

Hello! I'm here today with my March calendar page. I used this sketch from the Creative Memories virtual crop:

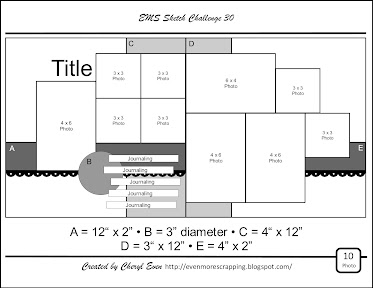
I started by cutting the large patterned paper down to size for the background. I matted the photos on the outside with a coordinating color of cardstock. For the borders, I punched a bunch of flowers with two punches. I ran a line of adhesive down the edge of the patterned paper and stuck the flowers on it, alternating the colors. I used journaling strips and stamped lines to add the captions and journaling. I embellished the page with some washi tape, epoxy and canvas flair, and ink splatters. To finish things off, I added blue liquid pearls to the centers of the flowers in my borders.


Monday, February 3, 2025

February Calendar Page

Hello! I have my February calendar page to share today! I started with this two page sketch from Stick It Down:

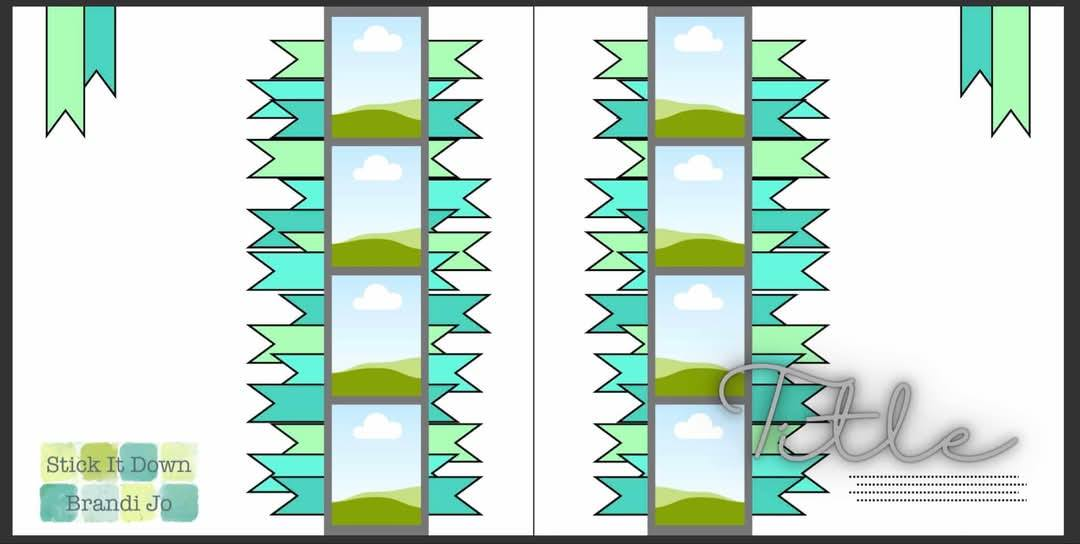
This is a great sketch for scraps. I found a collection that is getting low to create my layout and went to work cutting strips 1-2' wide and then cut the banner ends. I then worked on layering the strips over the background. I had lots of strips that weren't wide enough, so I hid that by cutting them somewhere in the middle and hiding the gap under my photos. This is a little more work, but it stretches my supplies. I matted my photos on yellow and cream cardstock and added them as I went so I could make sure I was covering the gaps in my papers. Once the strips and photos were all adhered, I cut my title with the Cricut and created journaling strips. I embellished the page with stickers from teh collection. I finished things off with some pink ink splatters.


Thursday, January 9, 2025

January Calendar Page

 Hello! I have my January calendar page to share today! I started with this sketch from Page Maps:


I used a few different winter collections with blues and reds for this layout. I printed all of my photos as 3x3's and laid them out over the patterned papers. Once everything was adhered, I used journaling strips and a journaling sheet to add information to my page. I ended up using some old letter stickers and a journaling sticker for my title. I embellished the page with ribbon, stickers and brads.
I am entering this in the Deliberate Designs: Sketches challenge at Lasting Memories this month.

Wednesday, November 27, 2024

December Calendar Page

Welcome back! Today I am sharing my December calendar page. As usual, I started with the two page sketch from Stick It Down:

I busted out some of the supplies I received in a Christmas Warehouse box from Simple Stories two years ago. I hadn't used the stamps in the enclosed stamp set, so I decided to use the poinsettia stamp for the border around my page. I just alternated colors and rotated the stamp for each flower to keep it interesting. I divided the photo spots to display multiple photos. I added 4x6 mats behind the photos and just angled them so they peeked out from behind the photos. I used journaling strips and used the Cricut to cut out "December." The words "holly & jolly" were from a foam word sticker set. I then dug through the embellishment and layered them up in a couple of clusters. To finish things off, I added some large gold sequins.


Sunday, November 10, 2024

November Calendar Page

Hello! I am back with my November calendar page. I started with this sketch from Stick It Down:

I started by cutting leaves instead of hexagons for this fall page. I laid those out on my kraft cardstock background. Then I used my sewing machine to add some detail to the corners of my layout. I then laid out my photos. I went with 6- 4x6s and then divided those down further so I could include more photos. I typed and printed my journaling and cut it into strips which I added to my photos. I used chipboard letters and embellishments, along with a few pieces of washi tape to embellish the page. 


Thursday, September 26, 2024

September Calendar Page

I was looking through my blog and I realized that I never posted my September calendar page! I used the Stick it Down double page sketch from August:

I adjusted this sketch to fit more photos as well- instead of just the one pair of photos on the left page, I added a second. For the background on the left hand page, I ink blended over a mask. Then I covered that and spraying with red ink. I added the circle around that with a yellow Distress Stain, which picked up some of the red, making in orange. I fussy cut a bunch of flowers from patterned paper, and cut circles from some solid water color patterned paper. I arranged those along the right edge of my layout and in a couple of clusters on the left hand page. I maded the "Polaroid" style frames by cutting mats larger than my photos. I hand wrote my journaling on white cardstock strips and the photo mats. The title was cut using the Cricut. I finished things off with some canvas flair and enamel dots.


Wednesday, September 25, 2024

October Calendar Page

Hello! I'm back today with my October calendar page! I started with the current double page sketch from Stick It Down:

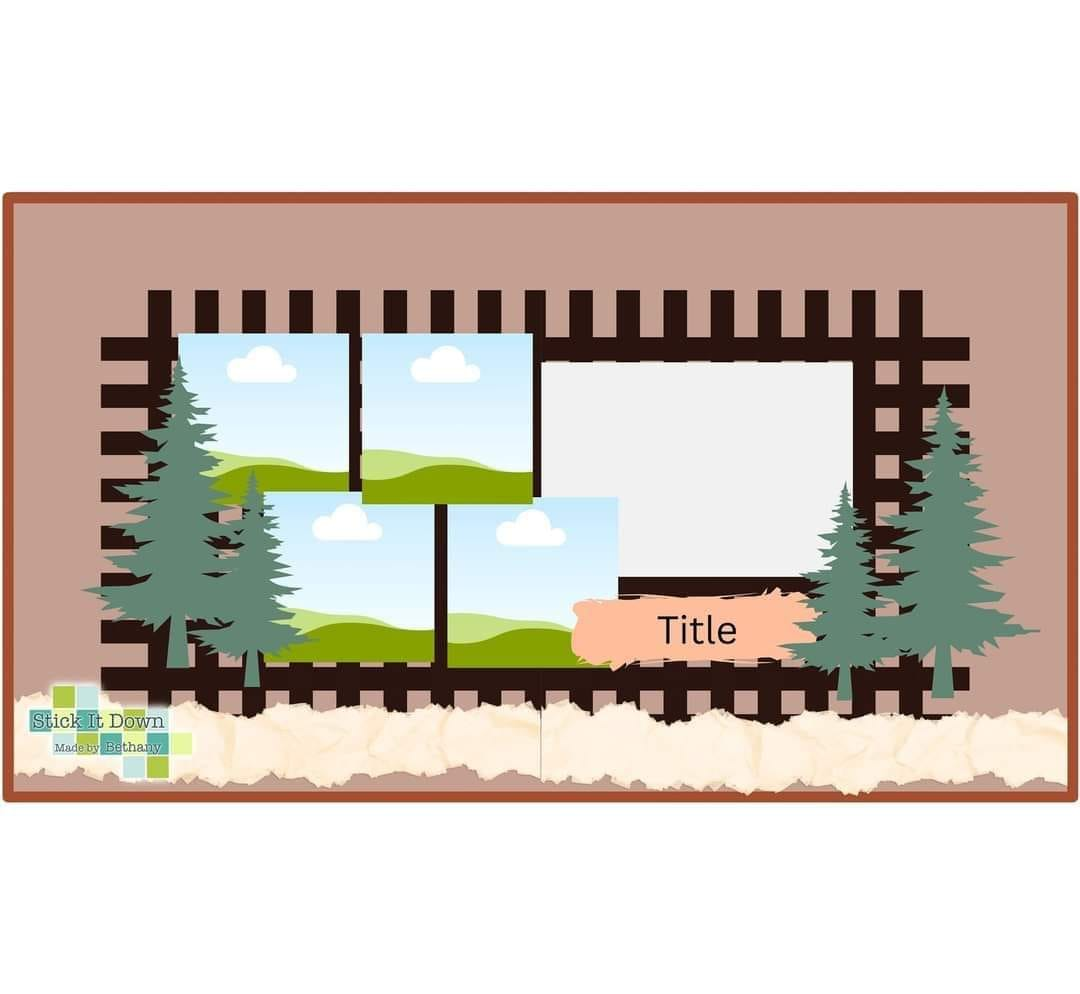
I adjusted the photos a lot to work with the number of photos I had. I started by doing six smaller photos on the left page instead of 4 larger. I made the large photo on the right a square photo collage to maximize my photo space. I did the weaving for the background. This is a great design for scraps. There were several pieces that were not the full length that I cut and covered the gap with photos- this does require more concentration when it comes to the weaving. I cut the trees with my Cricut and added texture with colored pencils. I used my Cricut to cut the title as well. For my journaling, I found some coordinating brown strips of cardstock in my stash and hand wrote the captions. To finish things off, I added some chipboard and stickers.


Thursday, August 8, 2024

August Calendar page

Hi all! I am finally getting around to posting my August calendar page using the last challenge from July at Lasting Memories: use the letters in Autumn to create a layout.

Here's how it worked out for me:
A- aqua
U- upper case letters
T- tag
U- uneven number of photos
M- mica spray
N- numbers (in my journaling)

I started with a sketch from Page Maps. I added a couple more photos to my layout. I used the collection I recently picked up at a garage sale recently again. I just love the fun, bright colors of this one! I used my Cricut to cut the title letters three times from pink cardstock. I stacked them up for dimension. I used some banner punches to make the little banner at the top on either side of my layout. The green and pink rick rack is a border stickers and the lower border is yellow ribbon. I used some preprinted die cuts and stickers for embellishments. I added some ink splatters, sequins, and puffy stickers to finish off my clusters.
 Thanks for stopping by to check out my layout!