Showing posts with label Lasting Memories. Show all posts

Thursday, May 7, 2026

Let's Get Loud

Hi all! I have a new layout to share today! It is another dance layout for my daughter's album. 
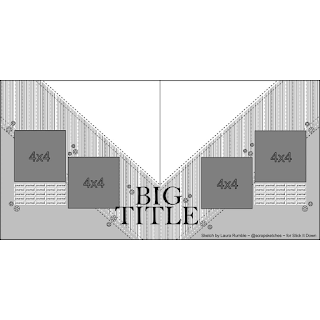
This month's challenges at Lasting Memories are tic-tac- toe boards. I used the first one for this layout. I used the center row- bold letter, stamping, and triangles. To start the layout, I cut triangles from scrap paper and laid them in the ray pattern and then sprayed and flicked teal spray inks. Once that was dry, I adhered my photos. I cut the title using the Cricut, along with some of the stars. The rest of the stars were punched. I stamped both the lines for the journaling and the teal star outlines to add some depth to my embellishments. 
 

Monday, April 27, 2026

Fall Sweet Fall- Lasting Memories Guest Designer

Hello! It is my final week as guest designer for Lasting Memories. This week's challenge is: THIS-use never before used pieces of paper or THAT: use all scraps. 

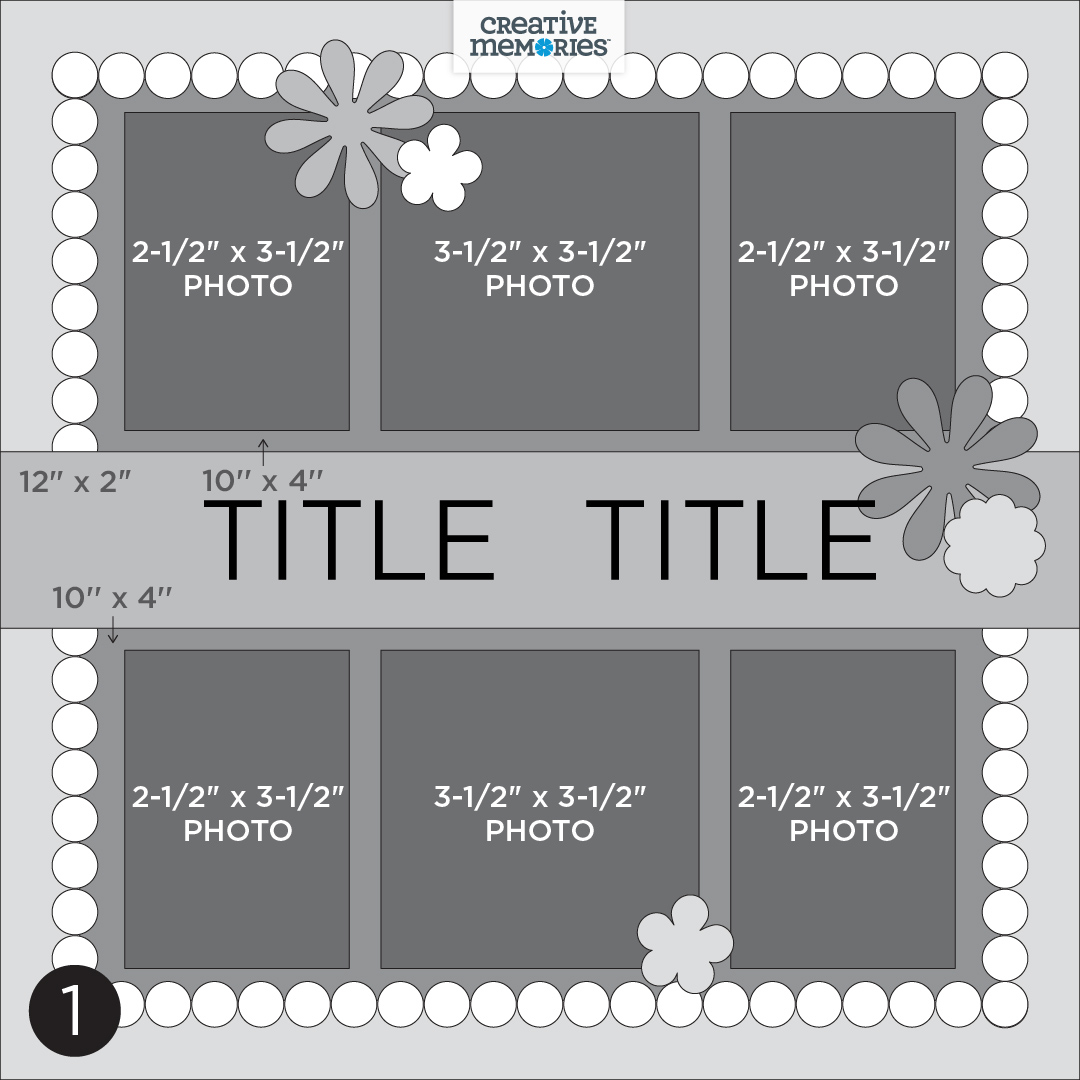
I ended up using all scraps for my layout (except for the base cardstock). Most of the papers I used are from Creative Memories, which is also where I got the sketch that I based this layout on (see below). I stuck pretty close to the sketch, adjusting it a bit to work with the size and shape of my photos. I cut my title useing the Cricut. To embellish the page, I used some stickers, die cut flowers, and fussy cut leaves.
Here's the sketch I based the layout on:


Sunday, April 19, 2026

Love Bug- Lasting Memories Guest Designer

Lasting Memories is back with another challenge this week: THIS: use stars on your layout OR THAT: use hearts on your layout. As you can see below, I chose hearts!

 I started by cutting a heart background using my Cricut. I spread the heart outlines around my background. Then I sprayed the insides of the hearts with Distress Mica Stain to add some shimmer and a little different color. I then spread those between the other hearts. I found a coordinating piece of patterned paper to mat my photos on. I used my Cricut to cut the title as well. Since the polka dots on the patterned paper were light blue, I used that color for my journaling spot and embellishments. I was excited to use the blue felt trim that I've had forever, I thought it worked perfectly! I finished off the page with paper sequins cut from glitter paper.

Sunday, April 12, 2026

Dance Layouts- Lasting Memories Guest Designer

Hello! I'm back with my layout for this week's challenge at Lasting Memories: THIS: Use alphabet stickers for your title OR THAT: Create your own title using die-cuts or stamps.

I chose THAT and used my Cricut to die cut my title. I also used my Cricut to cut the backgroud. I used scraps of gold glitter cardstock to back some of the holes in the background. The leaves are a stamp and matching die. The flowers are a die.


 I just finished another dance layout, so I figured I would include it in this post as well. I used this month's single page sketch from Stick It Down:
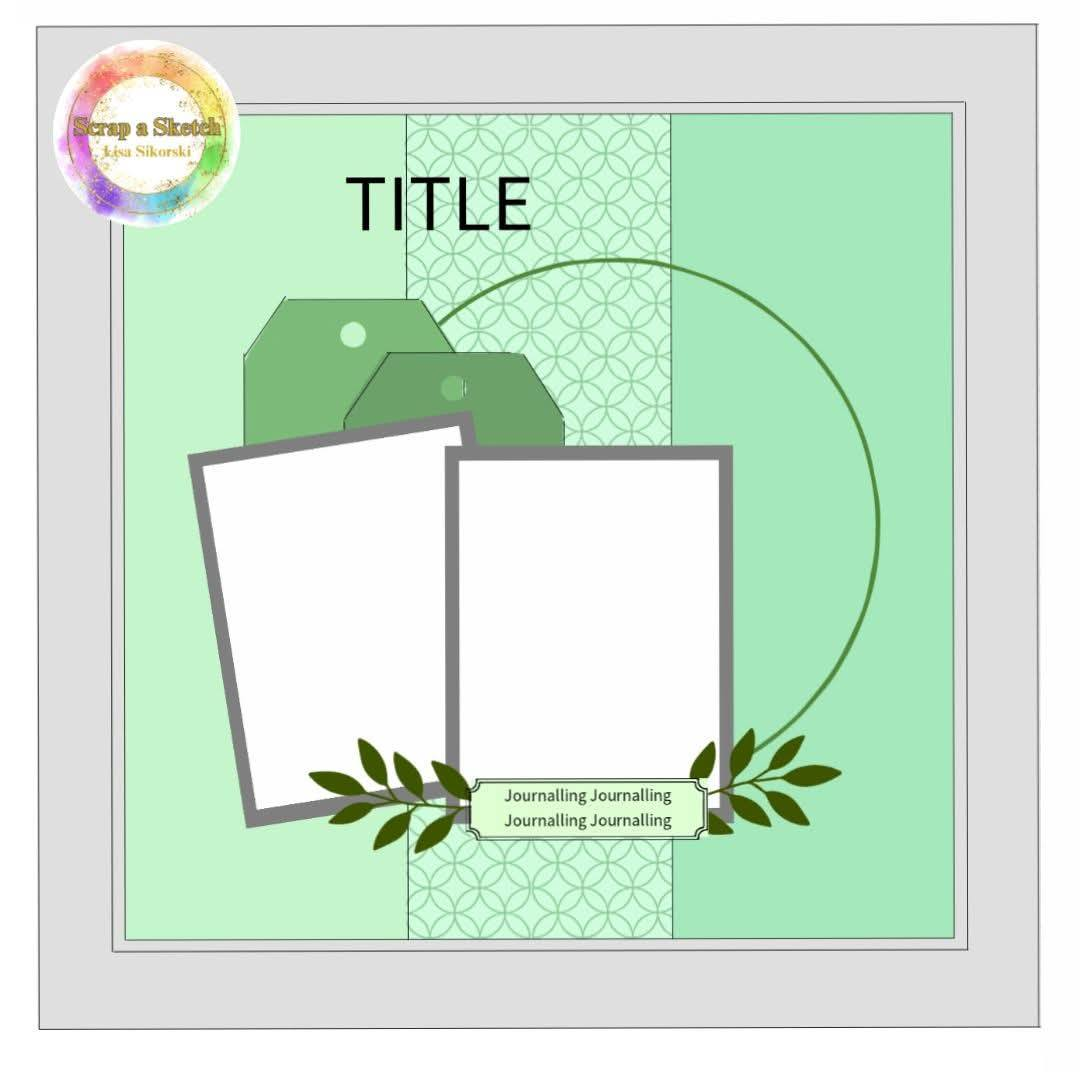
The brick wall in the sketch went well with the photos I was going to use, so I kept that. I cut a piece of kraft card stock and ran it through a brick embossing folder. I then took a couple of ink pads and rubbed them over the texture to add depth. I used my Cricut for the background circle cut and the title. To add further texture to the layout, I used some old mulberry paper to mat my photos. I really like all the texture on this layout!

Monday, April 6, 2026

A Week in Illinois- Lasting Memories Guest Designer

Hello! I'm here to share exciting news today! I am guest designing for Lasting Memories for the month of April! This month's challenge theme is "This or That." This week's challenge is THIS: Use a sketch OR THAT: Scraplift one of the Design Team's layouts. I decided to use this sketch from the March PageMaps:

I started with two different colored sheets of cardstock and went to work finding patterned papers that went with my photos. I adjusted the photo spots a bit from the sketch to work with the photos I was working with. I also moved the journaling area because my photo on the bottom right was bigger than the one in the sketch. I used my Cricut to cut the title, large blue train, the tracks and the railroad crossing sign. I also used some stickers, die cuts, and dimensional embellishments from various collections to embellish the page. To bring the dark blue to the right hand page, I used a couple of pieces of blue washi tape in the embellishment clusters.
I hope you play along with this challenge and the rest of the challenges throughout the month!
 

Thursday, January 29, 2026

Splish Splash

Hello! I have a new layout to share today! For this one, I started with this sketch from Lasting Memories:


I did another layout for my daughter's dance album, so my photos are a little larger than what is shown in the sketch. I first found some patterned papers that went with the colors in the photos. I cut those up and layered them on the background. I then cut some circles from acetate, vellum and sheer yupo paper. I inked them with two colors of blue alcohol inks. Once those were dry, I added them below the photos. I used my Cricut to cut the title and the ducks. To add dimension, I used foam tape behind the ducks and some puffy stickers to embellish the page. A journaling spot with the info on the dance finished off the page.


Friday, May 30, 2025

Lasting Memories Guest Designer- Week 4

My last layout went up on Sunday at Lasting Memories. Here is the tic-tac-toe board for week 4:

I was also inspired by this sketch from Sketches In Thyme:

I broke the photo spots into multiple spots so I could get more photos on my layout. I then went to work with some fun papers. I used my Cricut to cut the title and the circles. I scattered the circles around the page like the hexes on the sketch. I added some pieces of washi tape around the page as well. I finished off the page with some enamel dots. I used the top left to bottom right diagonal on the tic-tac- toe board: 2+ papers, circles, and blue.

 Thanks for stopping by and following along this month!

Thursday, May 29, 2025

Lasting Memories Guest Designer- Week 3

Hello! The week 3 tic tac toe board from Lasting Memories looks like this:


I started with a rainbow lined piece of patterned paper for my background. Then I found some patterned papers to back my photos. I used a coordinating color of cardstock for the center strip. I used my Cricut for the stars and letters. For the journaling spots and the word "Hello", I used some stickers. To frame the center, I used some washi tape and sewed over it with my my sewing machine. To embellish the page, I once again used some school die cuts and stickers. I finished things off with a few enamel dots.

 This layout was inspired by this sketch from last month's Creative Memories crop on Facebook:


Sunday, May 11, 2025

Lasting Memories Guest Designer- Week 2

Hello, I'm back with my layout for this week's challenge at Lasting Memories. We started with this tic tac toe board:


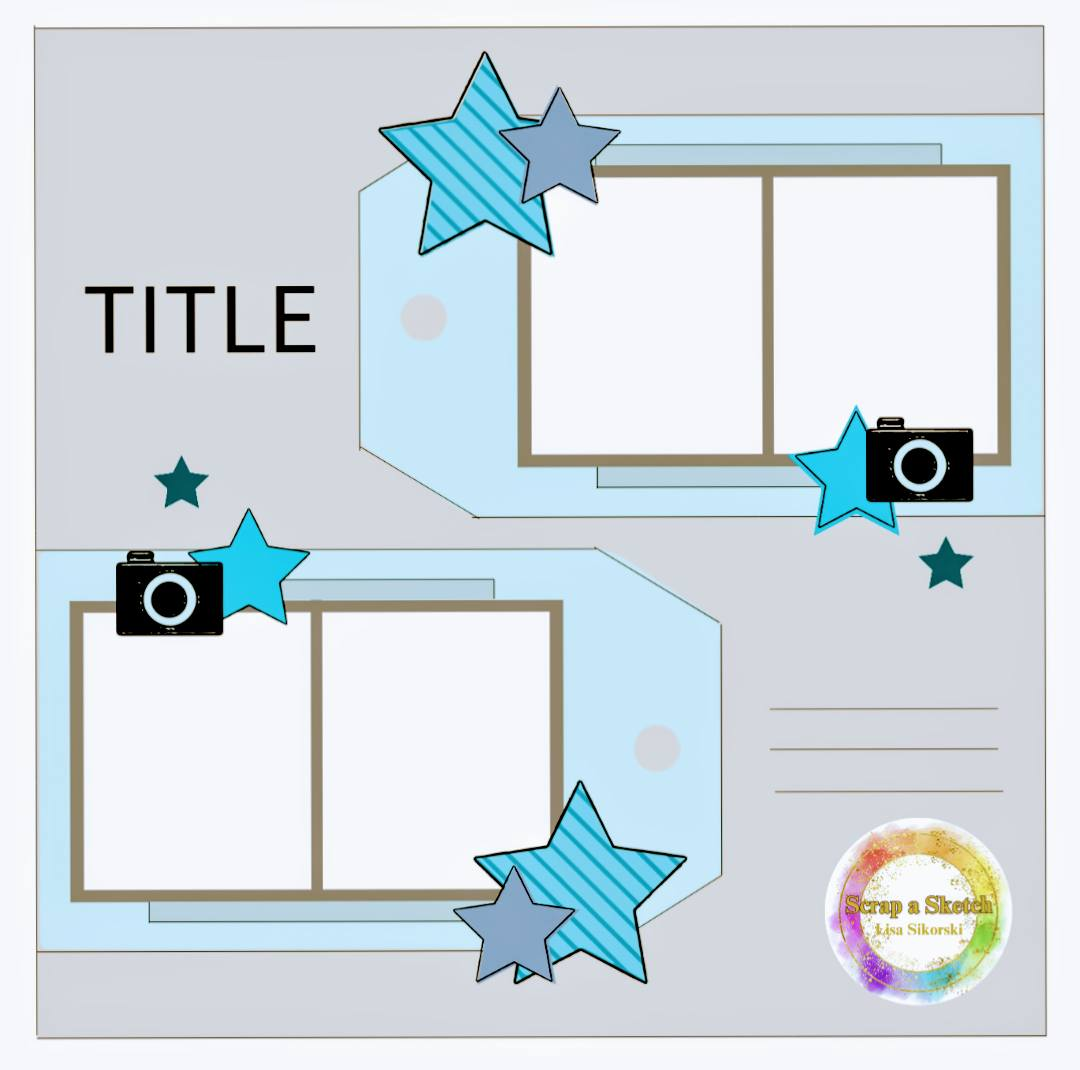
This week I used the center column to inspire my layout. I started with the three photos from Halloween 2015. I then found two patterned papers that brought out the colors of my daughter's costume. I cut those into large tags. For the background, I stamped snowflakes with white pigment ink. I used my cricut to cut the title and snowflakes. I stamped and heat embossed the journaling spot. To finish things off, I used a few silver star puffy stickers and a epoxy flair.


I used a sketch from Scrap a Sketch again for this week's layout:
 

Sunday, May 4, 2025

Lasting Memories May Guest Designer- Week 1

Hello! I'm excited to share that I am a guest designer at Lasting Memories this month! Each week, we will be working with a tic tac toe board. Here is this week's board:


I used the top row to inspire my layout. I started with two photos of my son making art when he was younger. I then used these fun watercolor style papers for my background. I used a punch for the banners and then my Cricut to cut the letters and blobs. For the journaling spot, I stamped the journaling area and wrote my journaling with a white gel pen. To embellish the page, I used a pack of school die cuts and found the artsy ones. For the metal, I used two metal brads on my tags. 

 I used a sketch from Scrap a Sketch as the starting point of my design.


Saturday, April 26, 2025

May Calendar Page

Hello all! I have my May calendar page today. I used this sketch from Lasting Memories because I worked best with the photos I had:
I divided some of the photo spots into smaller spots so I could get more photos on my page. I used a new collection of paper I found at my local scrapbook store from a company called Paper Rose out of Australia. The colors and designs are so beautiful, I look forward to using this one more! I used strips of cardstock for my journaling. For the title, I used my Cricut. I had a scrap of paper that I had done the smooshing technique on with colors that worked with the colors of the papers on my layout, so I cut "May" from that and found coordinating cardstock for the flowers. This collection has a die cut butterfly pack, so I used some of those to scatter around my page. I decided a couple of the clusters needed a little more, so I splattered some yellow and orange ink on the background. I finished things off with some washi tape and enamel dots.


Sunday, March 16, 2025

Cross the Line- Dance Layout

Hello! I have another layout to share today! I only have one left to make before I am caught up on these, at least until she take photos for this year!

One of the challenges this month at Lasting Memories is to make a wreath on your layout using punched or die cut circles. This dance made me think of pom style dance, even though they didn't use poms, so I punched a bunch of scalloped circles to create the wreath of "poms" around my page. I then stamped the starbursts around that. I cut the title with my Cricut and wrote the journaling on a small journaling spot. I finished off the page with some clear iridescent sequins.


Tuesday, February 25, 2025

Wild One

Hello, I'm sharing another layout from the Creative Memories virtual crop today! I started with this sketch:

I used some photos from my son at the zoo. I started by selecting my papers and then cut the zebra border with my Cricut. I had cut another border for the bottom, but it didn't cut well, so I used the leopard print ricrac instead. I cut and adhered the title. Then I went to work embellishing. I pulled out a couple of printed chipboard pieces that worked. I then searched Design Space for some animals to cut and add to my layout. I finished things off with some homemade green enamel dots. 


 I am also entering this in the Lasting Memories band design challenge.

Thursday, January 9, 2025

January Calendar Page

 Hello! I have my January calendar page to share today! I started with this sketch from Page Maps:


I used a few different winter collections with blues and reds for this layout. I printed all of my photos as 3x3's and laid them out over the patterned papers. Once everything was adhered, I used journaling strips and a journaling sheet to add information to my page. I ended up using some old letter stickers and a journaling sticker for my title. I embellished the page with ribbon, stickers and brads.
I am entering this in the Deliberate Designs: Sketches challenge at Lasting Memories this month.

Thursday, August 8, 2024

August Calendar page

Hi all! I am finally getting around to posting my August calendar page using the last challenge from July at Lasting Memories: use the letters in Autumn to create a layout.

Here's how it worked out for me:
A- aqua
U- upper case letters
T- tag
U- uneven number of photos
M- mica spray
N- numbers (in my journaling)

I started with a sketch from Page Maps. I added a couple more photos to my layout. I used the collection I recently picked up at a garage sale recently again. I just love the fun, bright colors of this one! I used my Cricut to cut the title letters three times from pink cardstock. I stacked them up for dimension. I used some banner punches to make the little banner at the top on either side of my layout. The green and pink rick rack is a border stickers and the lower border is yellow ribbon. I used some preprinted die cuts and stickers for embellishments. I added some ink splatters, sequins, and puffy stickers to finish off my clusters.

 Thanks for stopping by to check out my layout!

Sunday, July 21, 2024

A Day at the Zoo- Lasting Memories

Hello! I have my Week 3 layout to share today for Lasting Memories! This week's challenge was to use something for each of the letters in SUMMER- sequins, upper case letters, Mica Stain, mask, enamel dots, rub ons.

I found this collection kit at a scrappy garage sale recently and wanted to use it. I love the colors and patterns! I started with the pink background paper and found the ready made strip for across the bottom. I decided to use a similarly colored Mica stain and a mask to add some subtle leaves to the background. I also used some stamps and Distress Oxide inks to add a bit more texture, but those ended up mostly being covered by embellishments. I then layered my papers and photos on. For my title, I used some chipboard letters. They were patterned, but the colors didn't match the rest of my project, so I covered them in patterned paper to match the rest of my page. I used rub on letters for the smaller words. I also used some rub ons for the embellishment cluster on the right side of the page. I wrote my journaling on a premade journaling piece and added that on the left. To finish things off, I added a canvas flair piece, homemade enamel dots (made from perler beads), and sequins.

 I used the April sketch from the Creative Scrapbooker group on Facebook.


Saturday, July 20, 2024

Confessions- Dance Layout

Hello! I have a new layout to share today! I started with this sketch from Rochelle Spears:

My photos weren't two squares, but I made them work with the sketch. Since the costumes in these photos are black and grey, I stuck with black and white papers. I cut the papers and layered them up. For the tag, I found a journaling card with this bracket shape and fussy cut it. I added the mesh ribbon with a staple and wrote with a white pen. I cut the title using my Cricut and attached it with foam tape for dimension. I added some grey ink splatters for some interest, along with some silver Nuvo drops. A rub on border, a piece of washi tape and a chipboard piece completed this layout.


 This was also my Week 2 layout for the month at Lasting Memories. The challenge was to use something for each letter in SPRING- sketch, polka dots, ribbon, ink splatters, Nuvo drops, and grey.

Sunday, July 7, 2024

July Calendar Page- Lasting Memories Guest Designer

Hello! I am excited to share that I am guest designing for Lasting Memories this month! Here is my take on the first challenge of the month! I started with this sketch from Stick It Down:
I wanted to include more than four photos on my layout, so I adjusted the sketch and made it work for eight. I started by adding the patterned paper to my white cardstock. I added some stitching with my sewing machine. I matted the photos to make them stand out a bit more on the busy background. I then decided I wanted a little more interest in the white parts, so I cut the stars using my Cricut. I used my computer to type up and print the journaling strips. For my title, I used a couple of sets of letter stickers. I then added some gold ink splatters around it. To finish off the page, I used some flair, puffy stickers and banner stickers. 

 The first challenge this month is to use something that starts with each of the letters in "WINTER." I used:

W- white 
I- ink splatters
N- navy
T- typed journaling
E- Echo Park
R- red

You can see how the other designers interpreted this challenge here.

Saturday, April 20, 2024

Dance layouts

I've had time to do some scrapping this week! I got a couple more dance layouts done for my daughter's album.

For the first layout, I used this sketch from Lasting Memories:


I started by finding some papers that went with my photos. I then cut them into strips and created banners. I then adhered my photos over that. I had the idea to have a "shattered" style font for the word "Glass" and I found this one. I used my Cricut to cut the title. For the journaling, I just used one of the pieces I cut off one of the banners, ripped the long ends and wrote on it with a white pen. To embellish this page, I cut some squares from washi tape and used some black pearls. For the x's, I used actual x's from a Thickers set. I added black glitter to them for some sparkle and stuck them in my clusters. I cut a couple of the "legs" of them at a different angle to make them look a little less like a letter. I finished off the layout with a black transparency heart by the title. 


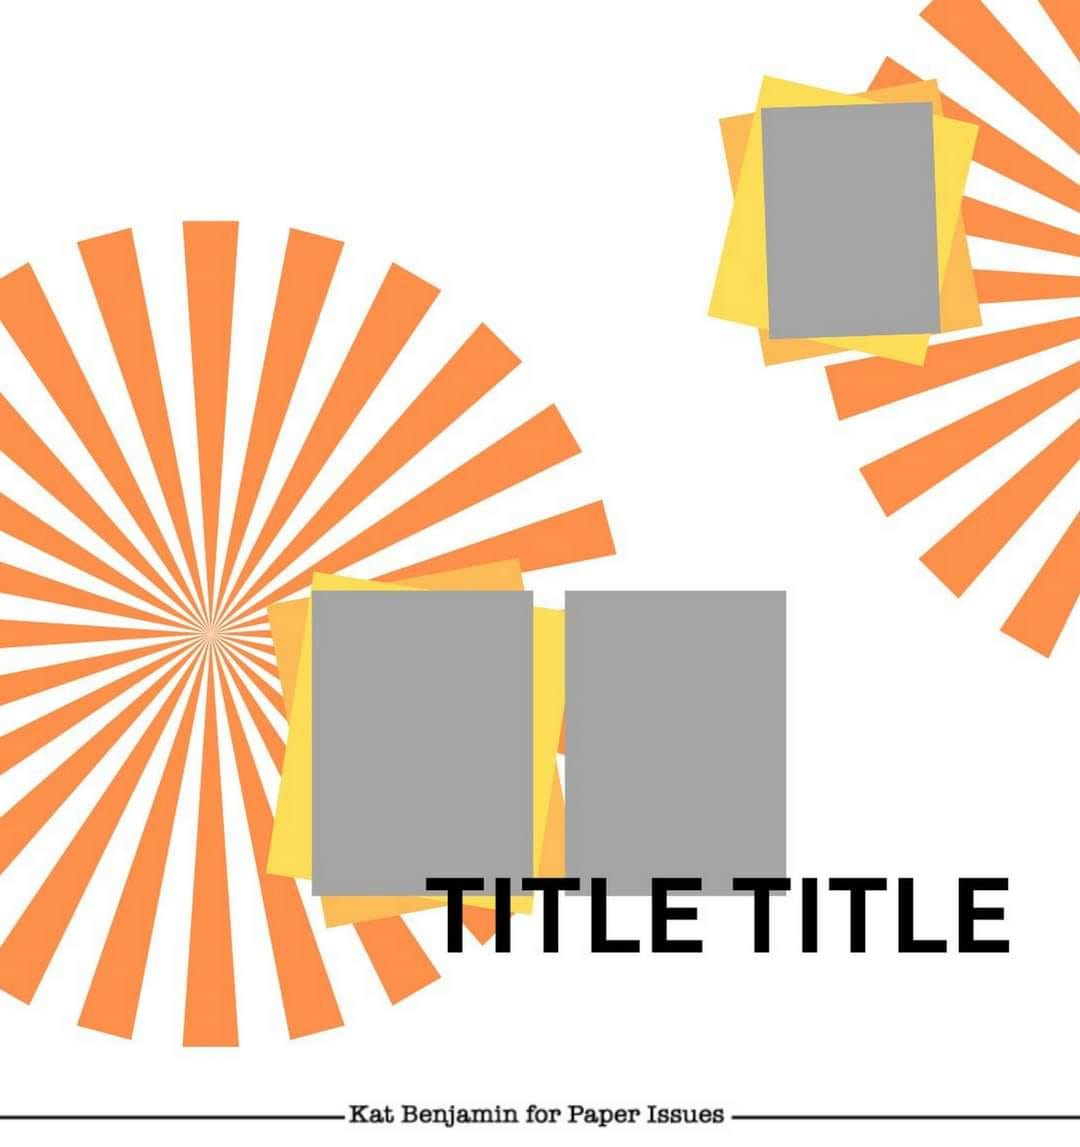
For my next layout, I used this sketch from Paper Issues:


I found these beautiful outline roses in Cricut Design Space and cut them from red cardstock in place of the circles on the sketch. I then layered my photos over them. I used some gold glitter cardstock and black cardstock to mat the individual photos. I used my Cricut for the title. I added strips of rub ons around the photos to highlight them and used black puff paint to add the dots in the leaves.

Thursday, March 28, 2024

What I Like About You

Hello! I have another new layout to share! I discovered teh Creative Scrapbooker Magazine Sketch Group on Facebook recently and I decided to used the January Sketch for this layout:


My photos are bigger than what is prescribed in the sketch, but I made it work. For my background, I used a mask and spray inks to create the pattern. I didn't have an ink that matched the color of these costumes, but the mix of these two worked quite well! I collected some patterened papers from my stash that had similar colors and used my Cricut to cut the hexagons in different sizes. I matted my photos with gold cardstock to bring in the gold of the costumes. To use a little less, I cut the mat for one of the smaller photos from the center of the mat of the larger photo. I also used my Cricut for the title. For my journaling, I punched a tag from lined patterned paper and matted it on the glitter cardstock. My final little embellishments were some eyelets (haven't used those in a while!) and some gem stars.
I was also inspired by Lasting Memories Challenge #693- create a layout with at least 4 hexagons and add some stenciling to the background.