Thursday, May 11, 2023

A Day at Como Zoo- Sketches In Thyme

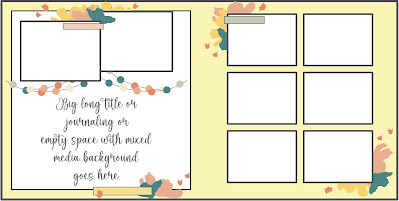
Hello again! I have another new layout to share today! I started with this fun sketch from Sketches In Thyme:


I took inspiration from this sketch, but definitely changed it up! I had three photos to work with instead of two, so I arranged them in a diagonal and then I made a bunch of different sized circles and layered those under my photos. I just had that scrap of wide striped paper left in my stash and I felt it would be fun behind all the other papers and photos, so I added that too. I used my Cricut to cut the title and the seal and hedgehog. I found a couple of flair buttons that worked with my layout and added those. To finish things off, I used some washi tape, a rub on, acetate heart stickers, and some enamel dots.


 I love how fun and colorful this one turned out! Thanks for stopping by!

Wednesday, May 10, 2023

Official Teenager card

Hello again! I have a new card to share today! I made this one for my drum playing nephew whose 13th birthday was yesterday. I started with the current Tic Tac Toe challenge board for inspiration:


I used the far right column: die cut, free and birthday. I made my background by blending yellow and orange Distress Oxide inks on watercolor paper. I then inked up the funky square background stamp wiht red Distress Oxide ink. I misted that with water and then stamped it on my background. I think I may try this technique again with darker colors in the background and lighter on the stamp to see if I get a more interesting effect. I added some black ink splatters to my background. I used my Cricut to die cut the drummer. I attached that to my background and then added the sequin stars (which appear as the different colored spots on the background-  glue dried clear, but reacted with the inks...). I used glossy accents to fill in the notes for a fun effect. I was going to stop there, but felt it needed more. My daughter suggested putting something on the drum. I just just looking for the number 13, but found this writing Cricut file, so I went with it. I cut it out and attached it to the drum. I then decided to add a bit of string across the bottom for a bit of interest.


Tuesday, May 9, 2023

Terri's Shower- Lasting Memories Tic Tac Toe

 Hello! I have a new layout to share today! I started with this tic tac toe board from Lasting Memories:


I used the middle column: flowers, feminine, and 2 patterned papers. I used some photos from my sister-in-law's bridal shower several years ago. I ended up digging into my scraps and older stash to find all these yellow and grey goodies. Both sheets of patterned paper are October Afternoon. I pulled out my flowers and used some big ones since I had the space for them. I used chalk to add the yellow. For the journaling, I had a little notebook of journaling spots that I chose this one from. I used the invitation and a tag from a favor at the shower on my layout. I created my title using my Cricut. To finish off the page, I used some rubons and gems from some extra swirls and shine.

Thanks for stopping by to check out my layout!

Monday, May 1, 2023

Play Hard

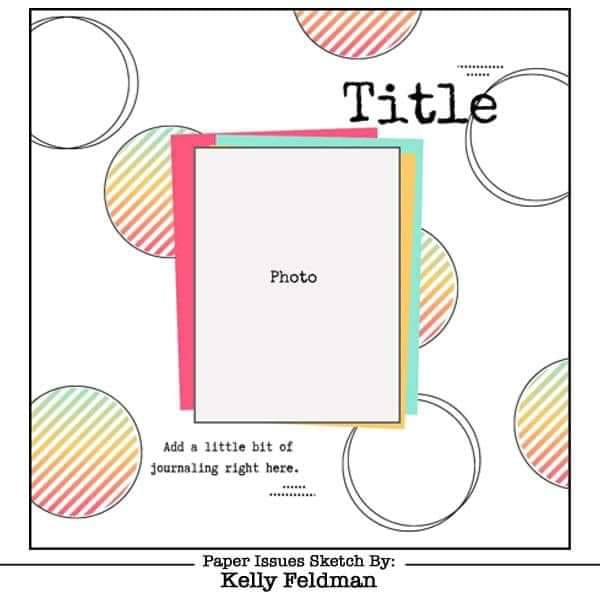
Hello, I have a new layout to share! I went off the rails from the sketch, but this is where I started:


As I was looking for paper to use, I found this circle paper and decided to start there- so circles, but not how they are in the sketch. Instead of circles scattered around my layout, I went with stars. I fussy cut a bunch from patterned paper and then used a stencil to make a few outlines. I used my Cricut to cut the title. I embellished my layout with some cut apart pieces, washi tape, puffy stickers, flair buttons, and enamel arrows. 

 The sketch definitely inspired this layout, but I took lots of liberties as my creativity got going!

Sunday, April 30, 2023

A Couple of Cards

Hello! Can you believe it is the end of April already? I wish our weather would help me believe it a little more! I have a couple of cards to share today. 

First up is a First Communion card. I used the current card sketch from Stick It Down:


I knew I wanted to make the chalice and host using my Cricut and then would go in the place of the circle in the sketch. I then looked for some paper options to layer underneath. I found this cracked, aged patterned paper and decided to use that as my base and then I took a piece of gold polka dot acetate to go over the top. The white card base was a little stark around the edges, so I inked the edges with dark brown ink.

Next up is a quick birthday card using a bunch of scraps. I started with the balloon paper and the bunny on the bicycle. I found a coordinating piece of patterned paper and then matted everything with the green cardstock. I fussy cut the sentiment for a sheet of different sentiments. I finished off the card with a few sequins.


 Thanks for stopping by!

Monday, April 24, 2023

May Calendar Page- Stick It Down

Hello! I have my May calendar page to share today! I started with the current double page sketch at Stick It Down:

I started by finding a patterned paper to go on my left hand page. I thought this striped paper would be fun. I then added my photos. I fussy cut the flowers and butterflies from a few different sheets of patterned paper and added them to my layout with regular adhesive and foam adhesive for dimension. I cut my title with my Cricut from patterned paper and chipboard and layered the pieces together. For my journaling, I typed it up on the computer and then printed it on vellum, cutting it into strips. I adhered the strips to the photos that they related to and the extras went below my title. I finished off my layout with some enamel dots, puffy stickers, and a canvas flair button.


 I am alse entering this in the Use Your Stuff layering challenge. I layered up those flowers and butterflies!

Sunday, April 16, 2023

Kid Zone

 Hi all! I have a layout to share today! I started with the sketch from Sketches In Thyme:


I had these fun photos of my son from the Children's Museum that were close enough in size to use the sketch. I found some patterned papers in bright colors to go with them. For the journaling, I found a 4x6 journaling card and layered it partially under my largest photo. I wanted to add a little interest behind the smaller photos on the bottom so I used a mask and blending brush and created a trail of stars across the paper. I found some letters in my stash to make my title. I got a little creative with the letters for "zone" because that set is down to very few letters. The "o" was a "q" that I cut the tail off of, the "n" was an "m", and the "e" was an "f" that I added the extra piece from the "m" to. That font was DIY Thickers, which I usually use glitter to color, but I didn't think that was appropriate for this layout, so I used some chalk to color the adhesive to match my papers. I embellished my page with some stickers, puffy stickers, washi tape, and epoxy flair. For the "smile" circle, I took a circle sticker and stamped the smile sentiment. 


Thanks for stopping by to check out my layout!