Monday, February 28, 2022

Use Your Stuff- Birthday

Hello! I have some new layouts to share! I had the opportunity to get away this past weekend and do some scrapbooking. Paper Issues had a virtual crop going on, so I participated in the awesome challenges there. There are also always lots of other challenges going on around the web. 

For this layout, I was inspired by the Use Your Stuff Birthday challenge and the mood board challenge at Paper Issues. You can find the mood board here.

This was such a pretty color pallette to work with! I pulled out some papers from various kits and collections and went to work layering them under my photos. Once the papers and photos were stuck down, I created my title with my Cricut. For embellishments, I used some die cuts from a Project Life kit and cut some words from a sheet of text patterned paper. I few gems placed around my clusters finished the page.

 Thanks for stopping by! I will be sharing more layouts in the next few days!

Sunday, February 20, 2022

Grow Baby

Hi all! I have a new layout to share. Sometimes I have time to sit down and a layout comes together quickly. Other times, a layout comes together in short bursts over a week. This was the second kind. 

I started with this sketch from Rochelle Spears:


I needed to make this a two page layout, so I started with the sketch for the left hand page and made a coordinating design for the second page. I pulled a bunch of coordinating patterned papers and cut strips. Some were shorter, so I cut them and put the gaps behind the photos (a little tip to get the most out of those scraps!). I decided to use my Cricut to cut the title and numbers for how old my son was in each photo. I typed and cut stips for the journaling with the milestones he reached each month. To finish off the page, I used some chipboard pieces, washi tape and stickers.


 I used the top left to bottom right diagonal from the bonus challenge from Scrap with Stacy:


Thursday, February 17, 2022

March Calendar Page- Stick It Down Guest Designer

Hello, I have fun news to share! I am the guest designer at Stick It Down this month. I got to work with this fabulous two page layout:


I used the Vicki Boutin Color Study collection for my layout. I found this triangle cut file in my collection and cut it from matching green cardstock. I used some pink inks and did the packaging technique on my background. I thought it went well with the mixed media feel of the patterned papers. I filled some of the triangles with patterned paper to add interest and color to the cut. I cut the title from black cardstock 3 times and layered it up to create some dimension. I used embellishments from several places to finish off this layout. 


 Thanks for stopping by to check out my layout!

Friday, February 11, 2022

More Paper Issues Sketch Layouts

Hello all! I have a few more layouts to share using the Paper Issues sketches from January. I love a good sketch and there are so many good ones!


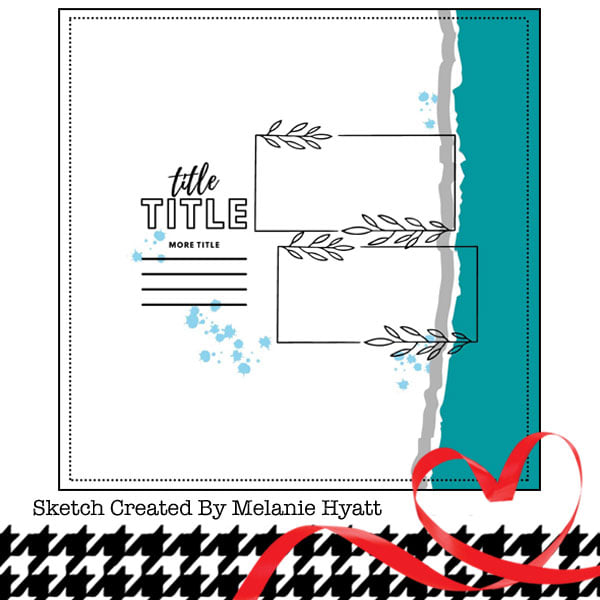
I used the above sketch to make this layout. I moved things around a little- moved the title to the top left, journaling to the center, a couple more photos. I pulled the green background paper from my stash where it has been for MANY years. I trimmed it a bit so the black cardstock made a nice frame around it. I found a 3x3 card to go in the center of my layout and pulled colors from there for the rest of my embellishments. I also used that card for my  journaling. I added lines of stitching between my photos with my sewing machine. My Cricut cut the circle, banner and title. I fussy cut a few words from patterned paper for embellishments, I also used a die cut, epoxy flair, chipboard pieces and puffy stickers to embellish the layout.

Next up is a sketch that I used for the left hand page of a two page layout.


I tied the two pages together by having the top layer of patterned paper spill over to the second page. I had a bunch of 3x4 action shots from the party. I decided to make a collage of the photos, matting each one with a different patterned paper. I put the center photo on foam to give a little dimension. To add interest to the left hand page, I stamped some flowers. I used my Cricut to cut the title from silver cardstock and patterned paper. I finished off the layout with some chipboard pieces, a flower, and Nuvo drops in pink.


I've had this colored core cardstock in my stash for a long time and decided to use it on this layout because it matched my daughter's jacket in the photos. I wanted to make use of the colored core, so I tore the edges of the paper and used my scoring board to created the lines in the background and then sanded the lines to make them stand out. I adhered that cardstock to a plain piece of black cardstock. Rather than splattering ink on my background, I used some splatter stamps and white pigment ink. My Cricut went to work cutting the word "Ariel" and the little shell in the bottom right corner. I used a few stickers and gold iridescent stars to embellish the layout. 


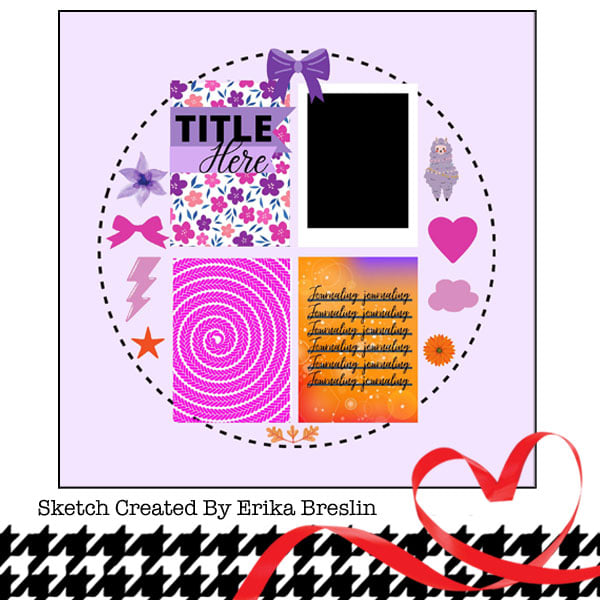
I used this sketch for another Halloween layout, this time for my younger daughter. I ended up using a collection that was not specifically for Halloween. I fussy cut the flowers from a sheet of patterned paper. I used my Cricut to cut some large leaf outlines and my title. I added a few candy corn stickers and a bunch of sequins to embellish my layout.


I used this sketch for another two pager and another Halloween layout. I cut a pumpkin for the circle element and filled some of the open spaces with patterned paper. The second page of my layout was pretty simple since I had lots of costume photos I wanted to include. I used my Cricut again for the word "Party". The word "halloween" was a sticker from a Halloween collection. I used a few other stickers and some sequins to embellish my layout.


Saturday, January 29, 2022

Birthday Card- Sketch Saturday

Hello! I have a new card to share today! I was inspired by this card sketch from Sketch Saturday:


The little squares in the top left corner made me think of windows, so I worked from there. I decided I wanted to have a little boy in the window holding a balloon. I was able to find a cut in Design Studio of a boy holding a flag, so I used that cut, cut off the flag and cut a balloon to add in its place. With the window theme, I cut the squares from blue vellum. Once the squares and the boy were adhered to the background, I decided one of the other squares needed something, so I cut out a cake. I added a "5" to the balloon because that is how old my nephew is turning (I also made 5 candles for the cake).

 Thanks for stopping by to check out my card!

Friday, January 28, 2022

Cards With Embossing

Hello! I have a couple of new cards to share today! I am entering these in the Use Your Stuff Embossing challenge. 

First up is a sympathy card. I made the background using alcohol inks and glossy cardstock. I used lots of blending solution to soften the colors. Once it was dry, I stamped and heat embossed the candle and sentiment. At that point, I decided the background needed a little more interest, so I splattered some blending solution. I also used some white pearlized ink to color the candle. I finished off the card front with some Liquid Pearl dots around the flowers.

Next is a Baptism card for my niece. I was looking through photos of past cards I've made and saw one where I had used a stencil to make dots on the backgrround and then used an embossing folder to make different sized dots that I sanded to make the core of the paper show through. I decided to try that technique again. I started with a script background stamp that I stamped in blue. I then used a swirl embossing folder. Once that was done, I sanded the swirls to make the pink show. I used my Cricut to cut the cross from rose gold cardstock and vellum. I love the dimension the vellum gives! I stamped and heat embossed the sentiment and wrapped the ends of the vellum around my card front.


 Thanks for stopping by to check out my cards!

Thursday, January 27, 2022

February Calendar Page- Stick It Down

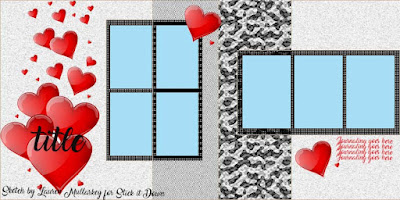
Hi all! I'm here today with my calendar page for February. I started with the double page sketch on Stick It Down this month:


I split a couple of the photo spots to fit more photo, but otherwise I stuck pretty close to the sketch. The photos on the left were swapped when I was gluing stuff down and I just left them. For the top and bottom strips, I used metallic watercolors and painted a sheet of floral paper from my "Just Add Water" stack. I love how watercoloring on these resist backgrounds is so forgiving! I did handwritten journaling. For my flower swag across the right page, I found a couple of flower cuts in Design Studio and cut them with my Cricut. I added a couple of other flowers there and around my page as embellishments. For the centers of my flowers, I used some gold Liquid Pearls and sequins. A couple of other stickers on my photos finished the layout off.