Tuesday, March 8, 2022

Always Smiling

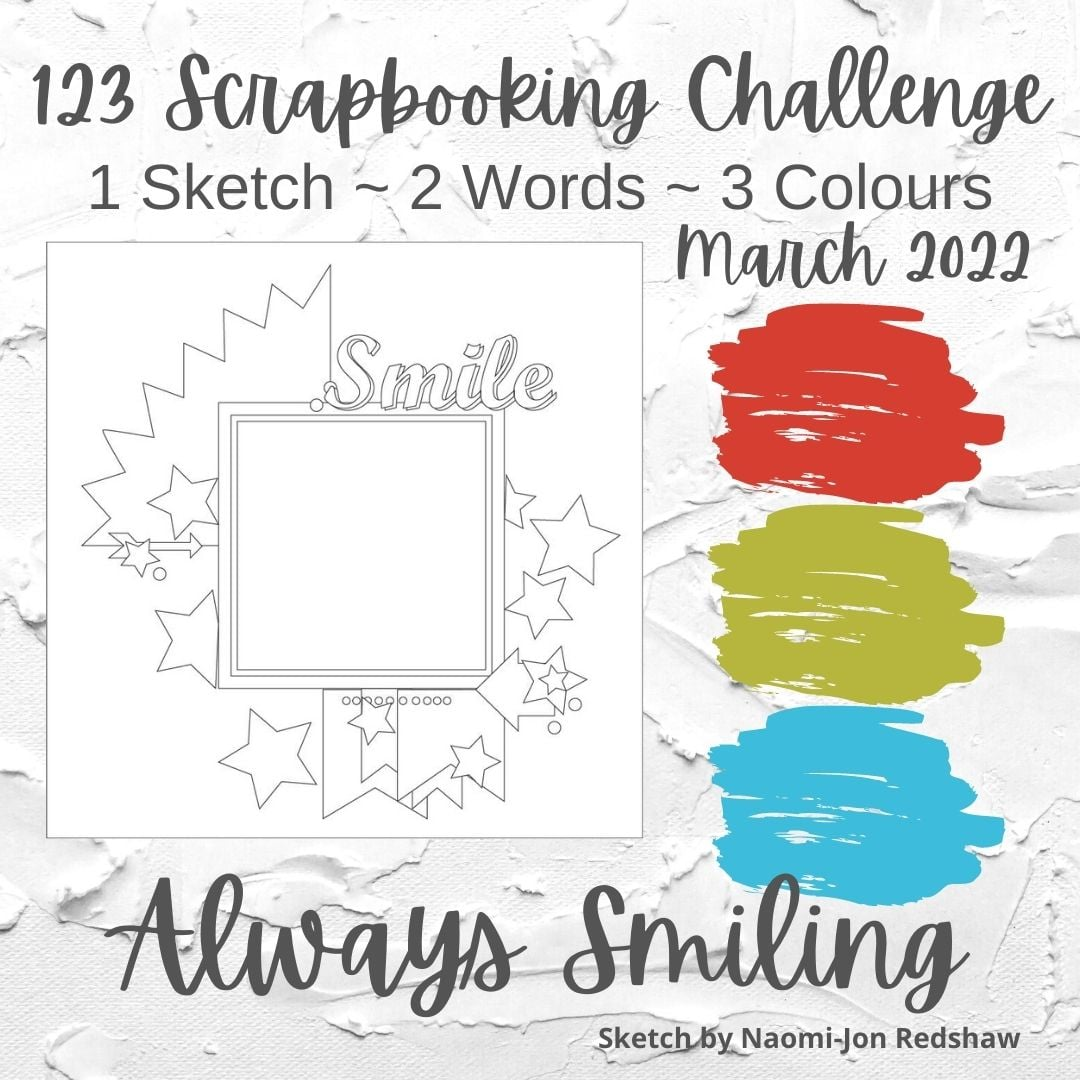
Hello! I have another layout to share today! For this layout, I was inspired by the current challenge from 123 Challenge:


I thought the color scheme would make for a great boy page, so I pulled some photos of my oldest son at some playdates. (The current challenge at Use Your Stuff is to make a masculine page too!) I made the photo area bigger to accomodate all my photos, which meant I had to move the banners to the side. I took the inspiration of the area in the top left a couple of ways, I added a circle and then a strip of paper cut with a pinking edge scissors (yes, I used a decorative edged scissors!). I had thought about die cutting some stars, but instead opted to use a mask and colored some molding paste blue to match my papers. I love the texture it gives to the page! I cut the title using my Cricut. I embellished the page with some puffy stickers, some things I fussy cut from patterned paper, a wooden button, letter stickers, and silver Nuvo drops.

 Thanks for checking out my layout!

Monday, March 7, 2022

Christmas is in the Air

Hello! I spent a few days this past week editing photos to be printed since I got so many scrapped last weekend. I did have time to get a layout done too! I was inspired by the current sketch by Rochelle Spears for my left hand page:

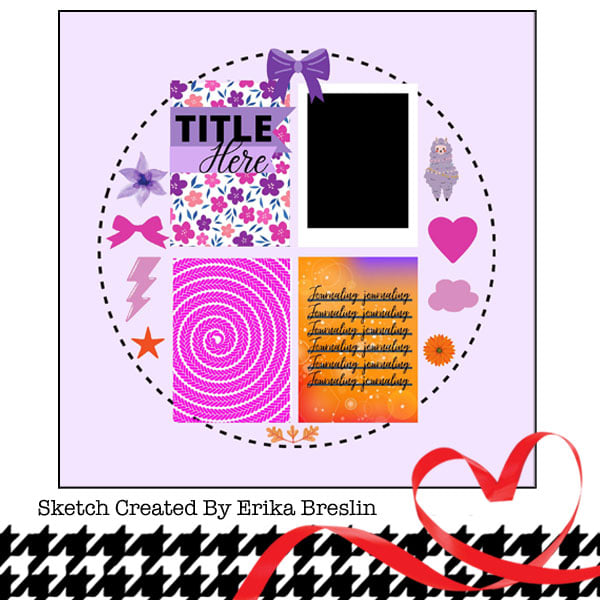
I was also inspired by the tic tac toe board from Scrap with Stacy:


For the sketch, I decided to cut a wreath with my Cricut for the circles. I left it the cream color, allowing the patterned papers and photos to take center stage on this layout. I stretched my patterned papers across both pages to tie them together and matted the group shots on each page to make them stand out. For the title, I again used my Cricut. I wanted the word Christmas to be a different color than the other words, but I couldn't divide the cut file to have them cut on different mats, so I cut my red down to size and put my gold right up against it. The red was a little too big and the tops of the letters of the bottom words ended up being cut from the red. I decided to go with the two tone letters and put in the effort to get the pieces lined up. I hand wrote my journaling on strips. I embellished the page with a fussy cut ornament, a flair button, a canvas deer, a brad and gold stars. For the tic tac toe challenge I did the bottom left to top right diagonal- long title; cirlces- the wreath, brad, and badge; and word strips for my journaling.


 Thanks for stopping by to check out my layout!

Tuesday, March 1, 2022

Paper Issues Crop Layouts

Buckle up, I have a bunch of layouts to share today! These are the layouts I completed over the weekend for the Paper Issues Spa Crop. I am so excited that I was able to complete so many layouts!

First up is the layout I completed for the Seaweed Wrap challenge. The challenge was to make a monochromatic green layout. I also based my layout on this sketch from Sketches in Thyme.

I started by pulling out all the green papers I could find. I then decided to create a background. I pulled out a piece of light green cardstock and a polka dot mask. I blended Crushed Olive and Lucky Clover Distress Oxide inks over my mask. I then layered my papers and photo on top. I found some cute tags with saying in my stash so I used those, along with some wood veneer stars, gem stars, and Cricut die cuts to embellish my page. A few stickers and handwritten journaling finished off this layout. 


 Next up was the Highlights challenge, which was to use one color of ink, watercolor, etc. on a white background. I had a lot of fun smooshing orange inks onto my background. Once it was dry, I layered patterned papers on top, along with my photos. To embellish the page, I used some stickers, chipboard, and brads. I cut my title with the Cricut. I cut it three times and layered it up for some dimension. That was a labor of love with this title since each letter is individual, but the outcome isgreat! I finished off the layout with a few Dirty Bronze Nuvo Drops scattered around the page. 

I made this cute layout for the Manicure challenge, which was a this or that challenge. I also based my layout off of this PageMaps sketch that was a challenge at Lasting Memories last month. I cut the patterned papers and laid them out with the photos. I chose to use stamps on the layout, so some swirls and snowflakes to add interest to the background. Once my papers and photos were adhered, I cut the title with my Cricut. I went with a large title. I cut this word three times from white cardstock and layered it for dimension. For added interest, I covered it in Stickles and Glossy Accents to give it a candy appearance. I finished off the layout with some pink ink splatters and puffy stickers. 


I did this layout for the Massage challenge, which was to use felt or fabric on your layout. I used some sparkle ribbon. I pulled out a rainbow of colors and decided to make a rainbow for this Rainbow Loom page. The patterned paper was leftover from another layout and I wanted to use it as a whole piece and decided it would work perfectly for this. I continued the rainbow theme with my title. I cut it with my Cricut from black and white cardstock. I ink blended a rainbow on the white cardstock. I embellished the page with stickers, puffy stickers and sequins.

This layout was for the Pedicure challenge: use 10 tiny photos or 10 small embellishments. This layout has 12 photos, but 10 are smaller. In case that wasn't good enough, I used 10 gold stars to embellish the layout. I did some ink splattering with gold and then ink blended red through a star mask in the title area and one either side of the large photo on the right page. To add interest to the photo on the left page, I cut a wreath with my Cricut and colored the berries with a red sparkle pen instead of trying to attach tiny cut berries. I also cut the title with my Cricut. 

This layout started out to be for the Highlights challenge, but I forgot the detail about only using one color on the background and I used 3. I used a brush and streaked metallic watercolors across the background and added a few splatters. I cut the leaves from glitter cardstock. I layered the photos and some patterned paper over the top. I used a preprinted piece of paper and letter stickers to make my title. I embellished the page with printed chipboard and brads. I finished off the layout with some twine for the Up Do challenge.

The next layout came together pretty quick for the Facial challenge. This challenge was about using a photo of yourself. I used a photo from our 10th anniversary party to go with the cards we received. I made three pockets on the page to hold the cards. I used washi tape around the edge of the pockets to give th page a finished look. I cut the title and embellishment words with my Cricut. I finished this one off with light pick Nuvo Drops. 


I have a set of die cut felt that I pulled out for a second go round with the Massage challenge. I started by smooshing pink inks on my background. I found some green and pink papers to go with the cake in the photos. I found the word "Birthday" in my stash of words that were already cut and it matched my layout, so I just cut the word "Party" with my Cricut from holographic paper. I punched a few stars from the same paper to bring it around the page. I cut some of the words from text patterned paper. I finished of this layout with some sequins for a little more sparkle.


Whew! There they all are! Thanks for checking out my layouts! Now I'm off the edit some photos to print since I scrapped most of the ones I had printed!

Monday, February 28, 2022

Use Your Stuff- Birthday

Hello! I have some new layouts to share! I had the opportunity to get away this past weekend and do some scrapbooking. Paper Issues had a virtual crop going on, so I participated in the awesome challenges there. There are also always lots of other challenges going on around the web. 

For this layout, I was inspired by the Use Your Stuff Birthday challenge and the mood board challenge at Paper Issues. You can find the mood board here.

This was such a pretty color pallette to work with! I pulled out some papers from various kits and collections and went to work layering them under my photos. Once the papers and photos were stuck down, I created my title with my Cricut. For embellishments, I used some die cuts from a Project Life kit and cut some words from a sheet of text patterned paper. I few gems placed around my clusters finished the page.

 Thanks for stopping by! I will be sharing more layouts in the next few days!

Sunday, February 20, 2022

Grow Baby

Hi all! I have a new layout to share. Sometimes I have time to sit down and a layout comes together quickly. Other times, a layout comes together in short bursts over a week. This was the second kind. 

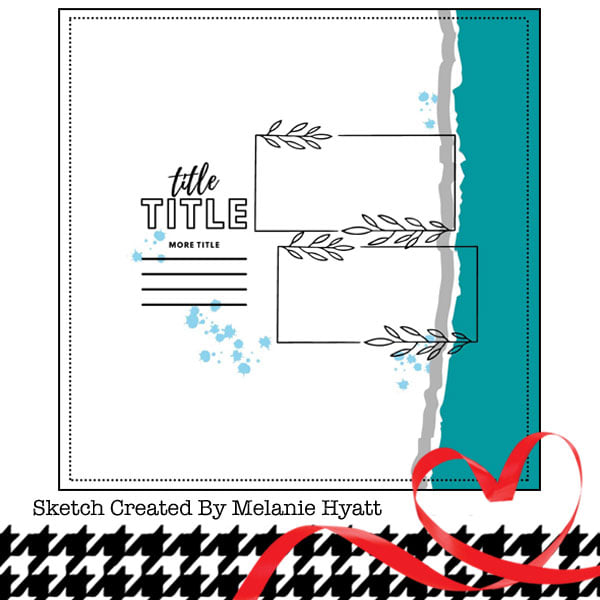
I started with this sketch from Rochelle Spears:


I needed to make this a two page layout, so I started with the sketch for the left hand page and made a coordinating design for the second page. I pulled a bunch of coordinating patterned papers and cut strips. Some were shorter, so I cut them and put the gaps behind the photos (a little tip to get the most out of those scraps!). I decided to use my Cricut to cut the title and numbers for how old my son was in each photo. I typed and cut stips for the journaling with the milestones he reached each month. To finish off the page, I used some chipboard pieces, washi tape and stickers.


 I used the top left to bottom right diagonal from the bonus challenge from Scrap with Stacy:


Thursday, February 17, 2022

March Calendar Page- Stick It Down Guest Designer

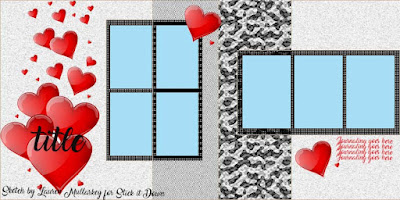
Hello, I have fun news to share! I am the guest designer at Stick It Down this month. I got to work with this fabulous two page layout:


I used the Vicki Boutin Color Study collection for my layout. I found this triangle cut file in my collection and cut it from matching green cardstock. I used some pink inks and did the packaging technique on my background. I thought it went well with the mixed media feel of the patterned papers. I filled some of the triangles with patterned paper to add interest and color to the cut. I cut the title from black cardstock 3 times and layered it up to create some dimension. I used embellishments from several places to finish off this layout. 


 Thanks for stopping by to check out my layout!

Friday, February 11, 2022

More Paper Issues Sketch Layouts

Hello all! I have a few more layouts to share using the Paper Issues sketches from January. I love a good sketch and there are so many good ones!


I used the above sketch to make this layout. I moved things around a little- moved the title to the top left, journaling to the center, a couple more photos. I pulled the green background paper from my stash where it has been for MANY years. I trimmed it a bit so the black cardstock made a nice frame around it. I found a 3x3 card to go in the center of my layout and pulled colors from there for the rest of my embellishments. I also used that card for my  journaling. I added lines of stitching between my photos with my sewing machine. My Cricut cut the circle, banner and title. I fussy cut a few words from patterned paper for embellishments, I also used a die cut, epoxy flair, chipboard pieces and puffy stickers to embellish the layout.

Next up is a sketch that I used for the left hand page of a two page layout.


I tied the two pages together by having the top layer of patterned paper spill over to the second page. I had a bunch of 3x4 action shots from the party. I decided to make a collage of the photos, matting each one with a different patterned paper. I put the center photo on foam to give a little dimension. To add interest to the left hand page, I stamped some flowers. I used my Cricut to cut the title from silver cardstock and patterned paper. I finished off the layout with some chipboard pieces, a flower, and Nuvo drops in pink.


I've had this colored core cardstock in my stash for a long time and decided to use it on this layout because it matched my daughter's jacket in the photos. I wanted to make use of the colored core, so I tore the edges of the paper and used my scoring board to created the lines in the background and then sanded the lines to make them stand out. I adhered that cardstock to a plain piece of black cardstock. Rather than splattering ink on my background, I used some splatter stamps and white pigment ink. My Cricut went to work cutting the word "Ariel" and the little shell in the bottom right corner. I used a few stickers and gold iridescent stars to embellish the layout. 


I used this sketch for another Halloween layout, this time for my younger daughter. I ended up using a collection that was not specifically for Halloween. I fussy cut the flowers from a sheet of patterned paper. I used my Cricut to cut some large leaf outlines and my title. I added a few candy corn stickers and a bunch of sequins to embellish my layout.


I used this sketch for another two pager and another Halloween layout. I cut a pumpkin for the circle element and filled some of the open spaces with patterned paper. The second page of my layout was pretty simple since I had lots of costume photos I wanted to include. I used my Cricut again for the word "Party". The word "halloween" was a sticker from a Halloween collection. I used a few other stickers and some sequins to embellish my layout.