Wednesday, December 4, 2024

Dance Layout- Sketches in Thyme

 Hello, I have a new layout to share! It is another dance layout for my daughter's album. I started with this sketch from Sketches in Thyme:

My second photo was a little larger and landscape, but I made it work with the sketch. Since the costumes in these photos are white, I was able to play with color a bit. I found the strip I used across the top and worked from there, finding some coordinating papers. I used my Cricut to cut the title and layered flowers. I found some spray inks in coordinating colors and splattered those over my background. To give the layered flowers some depth, I edged them with purple ink. I used the same ink and lightly rubbed it over the large white flowers to highlight the raised areas. I used some printed vellum as another layer for both of my clusters, leaving it as a large strip for the lower cluster and trimming it into a leaf for the upper one. I stamped and heat embossed the journaling spot. To finish off the layout, I used sequins for flower centers, found a couple more premade flowers and added some thread behind some of the flowers.


Tuesday, December 3, 2024

Dance Layouts Using Sketches

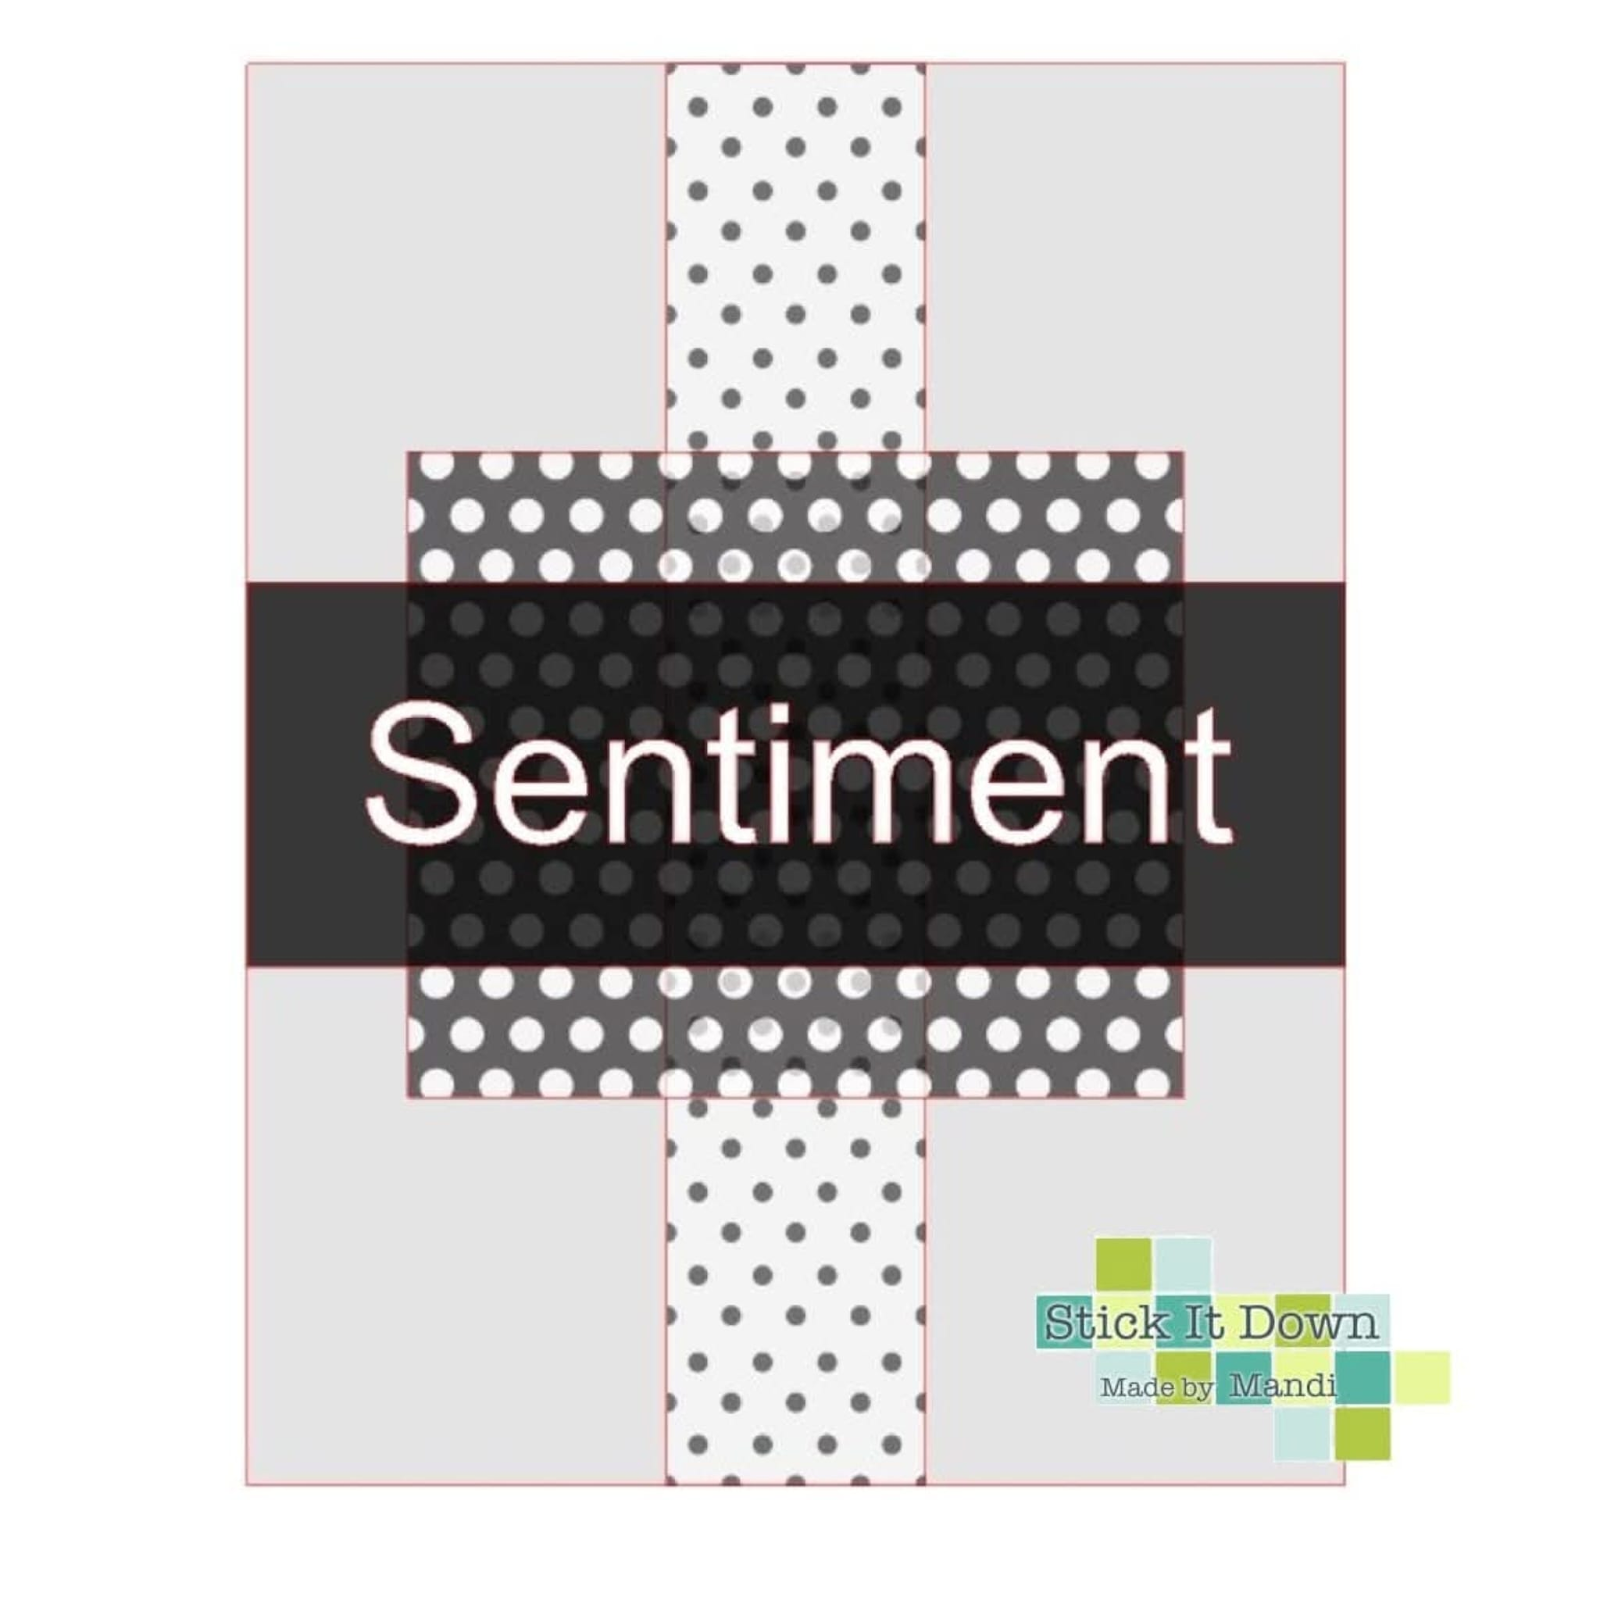
Hello! I have two new layouts I created this weekend using my daughter's dance photos. For my first layout, I used the November single page sketch from Stick It Down:

I started with a watercolor background paper and used the big corner scroll stamps to add some interest. I then used a couple of coordinating patterned papers to create some strips underneath the photo. I cut the title with my Cricut. To embellish the page, I used some die cut flowers and silver Nuvo Drops.
Next I scraplifted this fun layout from Paper Issues:
I love the distressed wedges of the circle, so I started by finding some patterned papers to create them. I then cut a half circle and folded it in half and then in half again to use as a template. I traced the template onto the papers and cut out the wedges. I used a distressing tool to rough up the edges and curled them up a bit by hand. I used my Cricut to cut some of the stars and punches to cut the other from the same papers. I also used the Cricut to draw and cut the letters. I then went to work layering the stars, popping some up with foam adhesive. I finished things off with sequins.


Monday, December 2, 2024

Christmas Layouts

Hello! I am sharing my last three layouts from the scrapbook retreat last weekend. I used papers from the Simple Stories Christmas warehouse box (from two years ago) for all of these layouts. 

First up is this layout for my second oldest. I started by finding a full sheet of patterned paper that I could run across both of my pages to draw them together. Then I found a few other sheets of patterned paper to add the other sections. I cut the title with my Cricut. I initially put it directly onto the patterned paper, but found it got a little lost, so I found some vellum to make it stand out a bit more. I embellished the page with die cuts, chipboard, metal rimmed enamel dots and sequins. I added my journaling to a tag and stapled a scrap of ric rac to the top.
My next layout was a page kit, so the patterns were all printed already on the background and there were directions on how to assemble the page, so this design is not mine. I did change a few things up, like the sizes of the photos in the large block and a few of the embellishments. This kit made this layout come together very quickly though!
I mentiong the sketch booklets by Creative Memories yesterday, and this layout was inspired by one of those sketches. This design is great for 6x6  or 6x8 (which is what I used) paper pads. I added brads to the top of the photos and cards across the top of the layout. I found a cute chipboard frame to go around the horizontal photo of my kids on the bottom. For the title, I used a die cut and a foam word sticker. I used some border punches to go across the center of the page. I embellished the page with some die cuts, stickers, and metal rimmed enamel embellishments. 

That wraps up the layouts from my scrapbook weekend. I was very happy to get so much accomplished and it was fun to scrapbook again after not having time for the last several months!


Sunday, December 1, 2024

Two Layouts, One Design

Hello! I have a couple more layouts to share. Creative Memories has sketch booklets with several sketches and different levels of embellishment. I used a few of those sketches for layouts I created last weekend at the crop. These two layouts were inspired by one of those sketches.

I started by finding some coordinating patterned papers and punched the top edges and layered them up. I used a thin strip of patterned paper across the bottom of the page and then used a photo and a journaling card for the middle section. I had all of that adhered down when I decided I wanted to use my Cricut and a pen for the title, so I stuck the whole layout on the cutting mat and made sure the line up my drawing exactly. The Cricut did the outline and then I colored the letters and the outline of the banner in by hand. I stamped my daughters' friend's name in coordinating ink to finish off the title. At that point, I decided I needed something over the seam between the middle section and bottom patterned paper, so I punched the party had border. To embellish the page, I used some washi tape, stickers, and flair.

 Since I had the same photos for my other daughter's book, I made both of these layouts a once, just mixing up a few details.