Hello! I've been creating again but not posting, so I need to catch up! Today I'm sharing a couple of dance layouts.
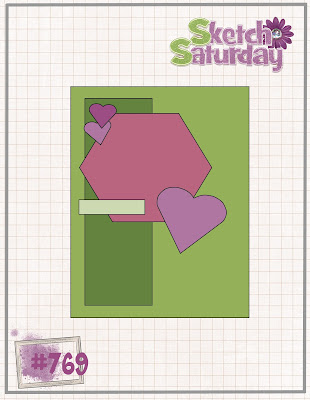
For the first, I was inspired by this sketch from Paper Issues' January daily sketches:
I started by using a 6x6 background stamp and stamping it 4 times on my background. I did my best to line it up to make the seams unnoticeable. It helps that my photos are big and cover most of it up. I splattered some silver and red ink in the corners. I then matted the group photo on glitter cardstock and adhered all my photos to the page. I cut the title and bow tie using my Cricut. I didn't do much for embellishments since the background is pretty busy. I added a journaling sticker and cut the "2" off of a 2007 sticker to add the little "007" detail under the bow tie.
Two weeks ago I discovered there is a
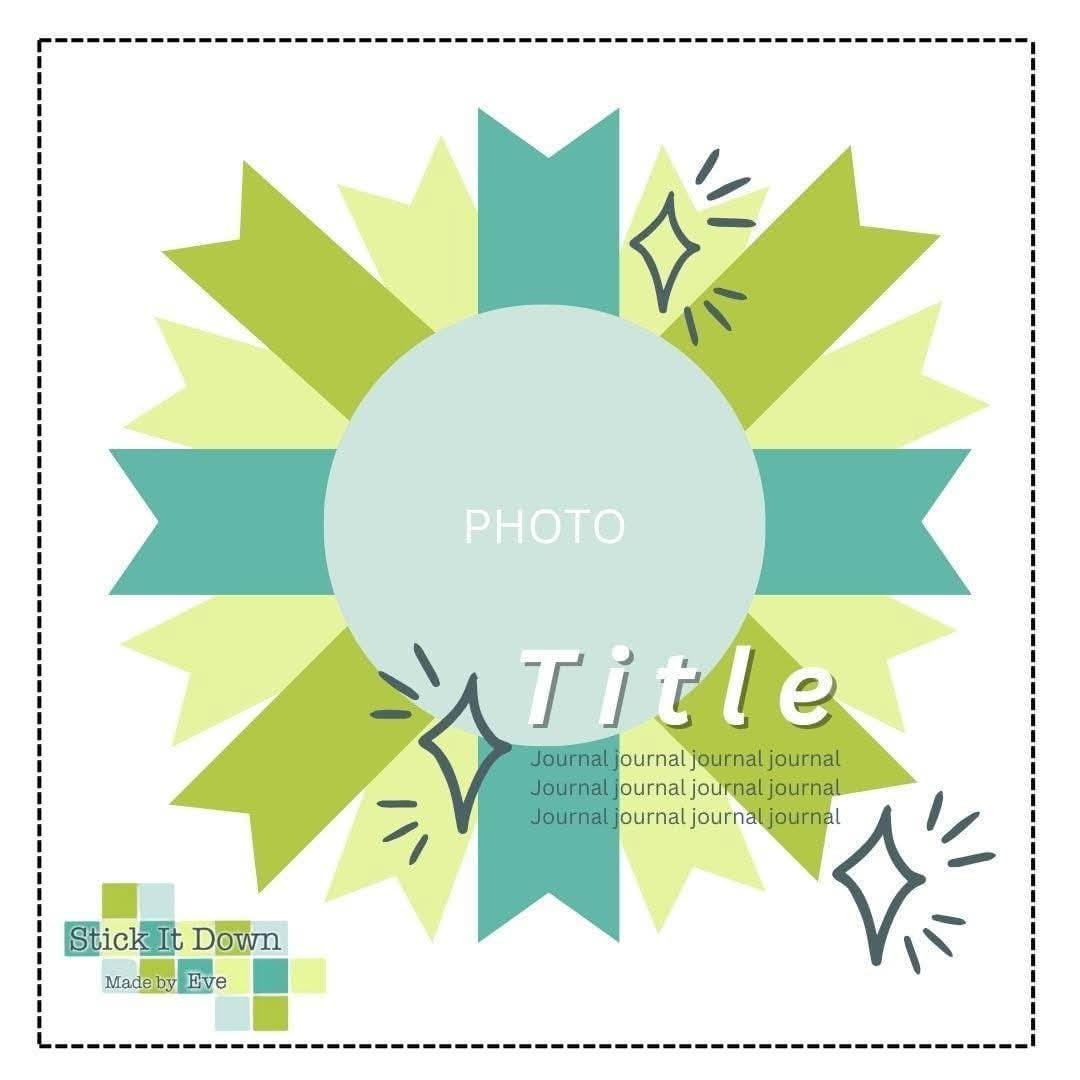
Creative Memories group on Facebook that hosts a virtual crop each month. They post 4 sketches and you get to create with them! I started with this sketch:
I moved things around a bit on this one. I flipped the circle placement so the largest piece would be visible. My photos are larger. Instead of a full border across the top, I used my sewing machine to create flying trails for my bees. For the embellishment clusters, I stamped flowers with coordinating ink and then layered flowers that I cut with my Cricut over them. I used gems and buttons for my flower centers. The title was cut with the Cricut and I finished everything off with some puffy bee stickers.