Pages

Tuesday, April 30, 2024

Outside- Rochelle Spears Sketch and Tic Tac Toe Challenge

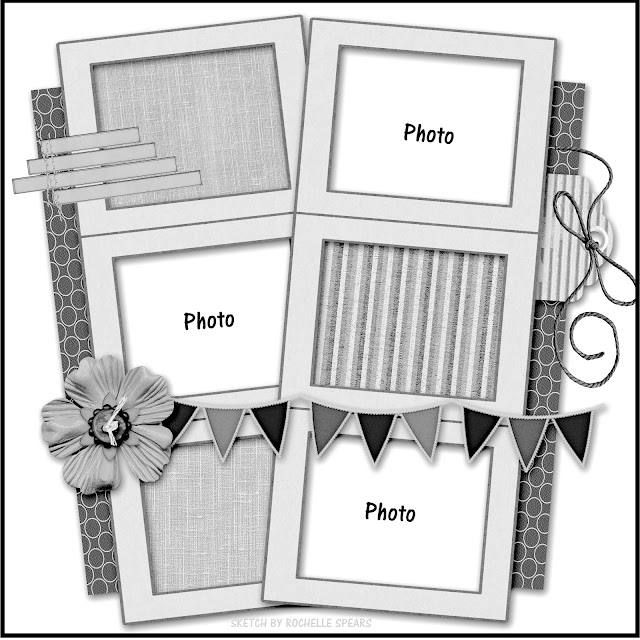
Hi all! I have a new layout to share today! I started with this sketch from Rochelle Spears:

I used the sketch for the left hand page of this two page layout. I had a lot of photos for this layout, so I did a basic grid for the second page. I had fun putting this one together. I found some colorful, outdoorsy papers and went to work cutting the various pieces. I used a punch to create the banner on the left hand page. I wanted the banner to stand out a bit more, so I stuck each one onto navy cardstock (which was the same cardstock I used to cut the title) and fussy cut a slim mat for each banner. I added those to my layout with foam tape and ran a piece of twine over the top to connect them. I used washi tape to cover the seams on my layout. I embellished the page with some stickers, chipboard, epoxy flair, and enamel dots. 

I also completed the tic tac toe challenge from Scrap with Stacy:
I used the left column- enamel dots, banner, and 3 or more photos.
 

Saturday, April 27, 2024

Scrapping with Sketches In Thyme

Hello again! I have a couple of layouts to share today using Sketches in Thyme sketches. First up is a dance layout using this sketch:
I started by finding blue patterned papers that coordinated with the color of the costumes in these photos. The papers I used were scraps of various sizes, so then I had to figure out how to make them fit. Once I got those and the photos adhered, I cut the title with my Cricut. I cut it once from patterned paper and three more times from white cardstock for dimension. I found a coordinating journaling circle and added the main info. I wanted add a little more info so I just wrote directly on the layout with that. To embellish the page, I used some stickers. I wanted a little more in the upper left corner of my photo, so I peeled up my photo and added some stamping. I finieshed off the layout with some blue gems.

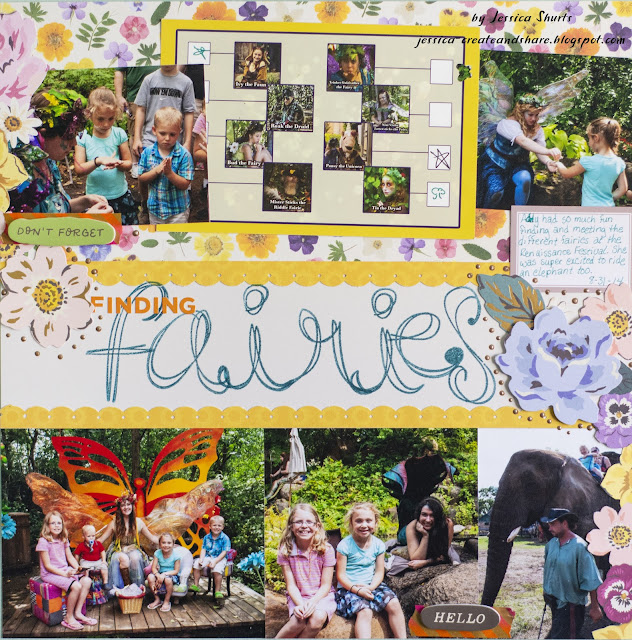
Next up, I did a layout using this sketch:

My photos didn't fit the sketch perfectly, but I made them work. I started by lining up the 4" tall photos across the bottom. Then I layered the last two photos and postcard over some patterned paper on the top. Instead of the strips used in the sketch, I fussy cut some flowers from another sheet of patterned paper. I stamped the word "fairies" and used letter stickers for "finding." I added some die cuts on either end of the title. To embellish the page, I used some foam word stickers and washi tape. To finish things off, I used Dirty Bronze Nuvo Drops.


Friday, April 26, 2024

Birthday Cards

Hi all! I have a couple of cards to share with you today. First up is a birthday card for my niece who turns one tomorrow. I started with the current color challenge at Color Dare:


Aren't the colors pretty? I ended up going with the lighter pink, orange, and green. I started by dry embossing my pink cardstock with a polka dot embossing folder. I then stamped and heat embossed the fish on the orange paper. I then went to work layering everything up. I added sparkle to the background and the fish with a white Wink of Stella glitter pen. I stamped my sentiment on the green strip. The rest of the strip looked so bare, so I ended up stamping the loopy border stamp along the rest of the strip. To finish off the card, I used some Glossy Accents to add bubbles to my fish and accent a few more dots on my background. 


My second card went together pretty quickly. I had colored this background a while ago, so that was ready to go. I cut the sentiment with my Cricut and adhered that down. I finished off the front with some Liquid Pearl dots.

Sunday, April 21, 2024

May Calendar Page- Stick It Down

Hi all! I have my May calendar page to share today! I started once again with the double page sketch from Stick It Down:

The photos took up most of the page for this one, so I started there. I had the beautiful rainbow stripe paper that I cut into strips to go on either side of my vertical columns of photos. To add some interest to the center part of the layout, I stamped some swirls with Distress Oxide ink. I matted my center photos on a coordinating yellow patterned paper. I fussy cut the butterflies from another sheet of patterned paper. For my title, I found a patterned paper with colors that went with what I already had on my layout. I used cardstock strips for my journaling. To embellish my layout, I used some foam stickers, a die cut phrase, and a transparency flower die cut. To add a little more interest to the swirls, I added some tiny light blue gems ( leftover from a Diamond Art project).

 Thanks for stopping by to check out my layout!

Saturday, April 20, 2024

Dance layouts

I've had time to do some scrapping this week! I got a couple more dance layouts done for my daughter's album.

For the first layout, I used this sketch from Lasting Memories:


I started by finding some papers that went with my photos. I then cut them into strips and created banners. I then adhered my photos over that. I had the idea to have a "shattered" style font for the word "Glass" and I found this one. I used my Cricut to cut the title. For the journaling, I just used one of the pieces I cut off one of the banners, ripped the long ends and wrote on it with a white pen. To embellish this page, I cut some squares from washi tape and used some black pearls. For the x's, I used actual x's from a Thickers set. I added black glitter to them for some sparkle and stuck them in my clusters. I cut a couple of the "legs" of them at a different angle to make them look a little less like a letter. I finished off the layout with a black transparency heart by the title. 


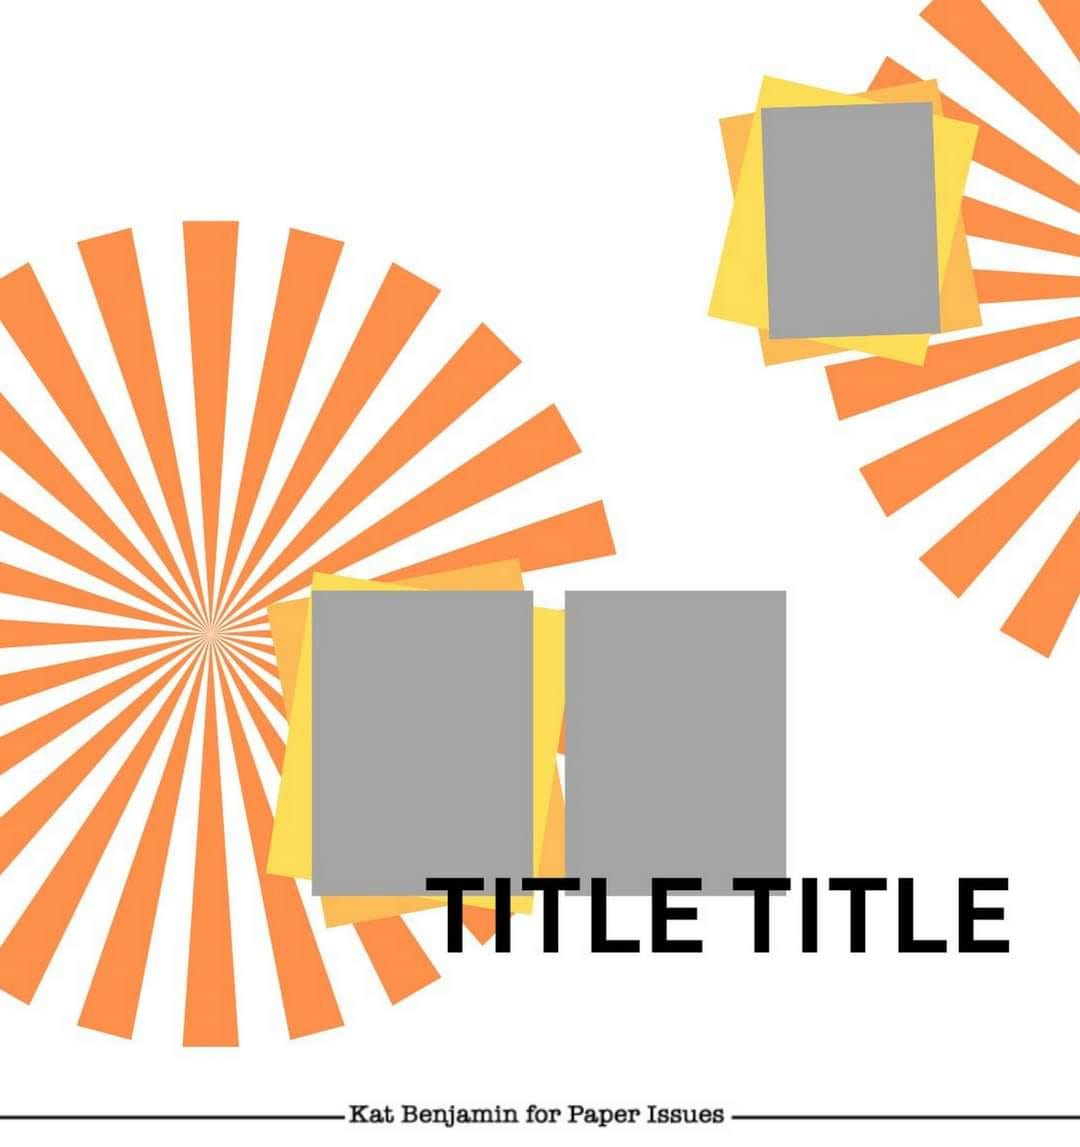
For my next layout, I used this sketch from Paper Issues:


I found these beautiful outline roses in Cricut Design Space and cut them from red cardstock in place of the circles on the sketch. I then layered my photos over them. I used some gold glitter cardstock and black cardstock to mat the individual photos. I used my Cricut for the title. I added strips of rub ons around the photos to highlight them and used black puff paint to add the dots in the leaves.

Monday, April 15, 2024

First Communion Cards

Hello again! Today I have three First Communion cards to share. I started by cutting the three chalices and hosts using my Cricut and red, kraft, gold, rose gold, copper and cream cardstocks. Once those were cut and assembled, I went to work creating the backgrounds. 

For my first card, I found the blue and green paper and thought it would look nice. I then found the green vellum. I ran that through an embossing folder. I matted the whole thing on blue cardstock. For the sentiment, I again used my Cricut and cut "Blessings" from coordinating green cardstock.


For my next card, I used a leaf mask and some green inks to ink a background. Once that was done, I found a coordinating patterned paper to mat the ink blended piece. I cut the sentiment from a coordinating yellow patterned paper.
 For my last card, I found a pretty pink background patterned paper and a pattened vellum for an extra layer. I scored the vellum so it would wrap around the patterned paper and adhered it to the back. I used the same color of cardstock for the sentiment on this card as I used for the wine layer.
 

One final note, for the host, I cut a 1" circle and used my scoring board to create the cross in the middle. I put the circle in the corner and scored at the 1/2" line and then turned it a quarter turn to make the other line.

Sunday, April 14, 2024

Birthday Cards

Hello! I've gotten behind on sharing again! Today I have several birthday cards and tomorrow I'll have some First Communion cards.

First up is a birthday card from my 2-year-old niece. I started by doing the smooshing technique on a piece of watercolor paper.  Once I was done layering the colors, I used the butterfly Turnabout stamp from Concord and 9th to stamp the background. I used regular ink for the first three impressions and then used Versamark for the last and heat embossed it with pearl embossing powder. I stamped the large buterfly and a couple of small butterflies from the set and fussy cut them. I added some Stickles to the large butterfly for some interest and Liquid Pearls for the bodies of the small butterflies. The sentiment is the inside pieces from the cut for this card. I mounted it on dark purple cardstock and then on a white card base.

I had extra of the butterfly background, so I used that for this card. I paired it with the same dark purple cardstock, but this time I used an embossing folder to add some texture. I used some washi tape to cover the seam between the two papers. For the sentiment, I used my Cricut to cut the frame and flower. I stamed the sentiment. The butterfly was left over from another project and the colors matched so I added it to this card.

When I was doing the ink smooshing for the above cards, I had another piece of watercolor paper that I used as well. I took that and the card sketch from Stick It Down to create my next card.

I used a flower background stamp and three colors of ink to stamp this background. The blue stamped piece of cardstock was a scrap that worked with the colors on this card. I also had a piece of watercolor paper with similar colors on it and I used that for the cake and sentiment panel. The cake was stamped in pink and then heat embossed with clear glitter embossing powder. The sentiment was stamped in Versamark and heat embossed with white. I added a pink mat to make it stand out a bit from the background. I finished off teh card with some bold pink puffy heart stickers.
I went with different colors for my last card. I started by stamping and heat embossing the circle background on pink cardstock. I then ink blended pink, orange and yellow inks over it. I cut the cute bird using my Cricut. I also used my Cricut to write the sentiment and cut the tag. To add some fun to the bird, I added some googly eyes. I finished off the card front with some sequins.