Pages

Saturday, March 30, 2024

Fairies in the Forest- Stick It Down

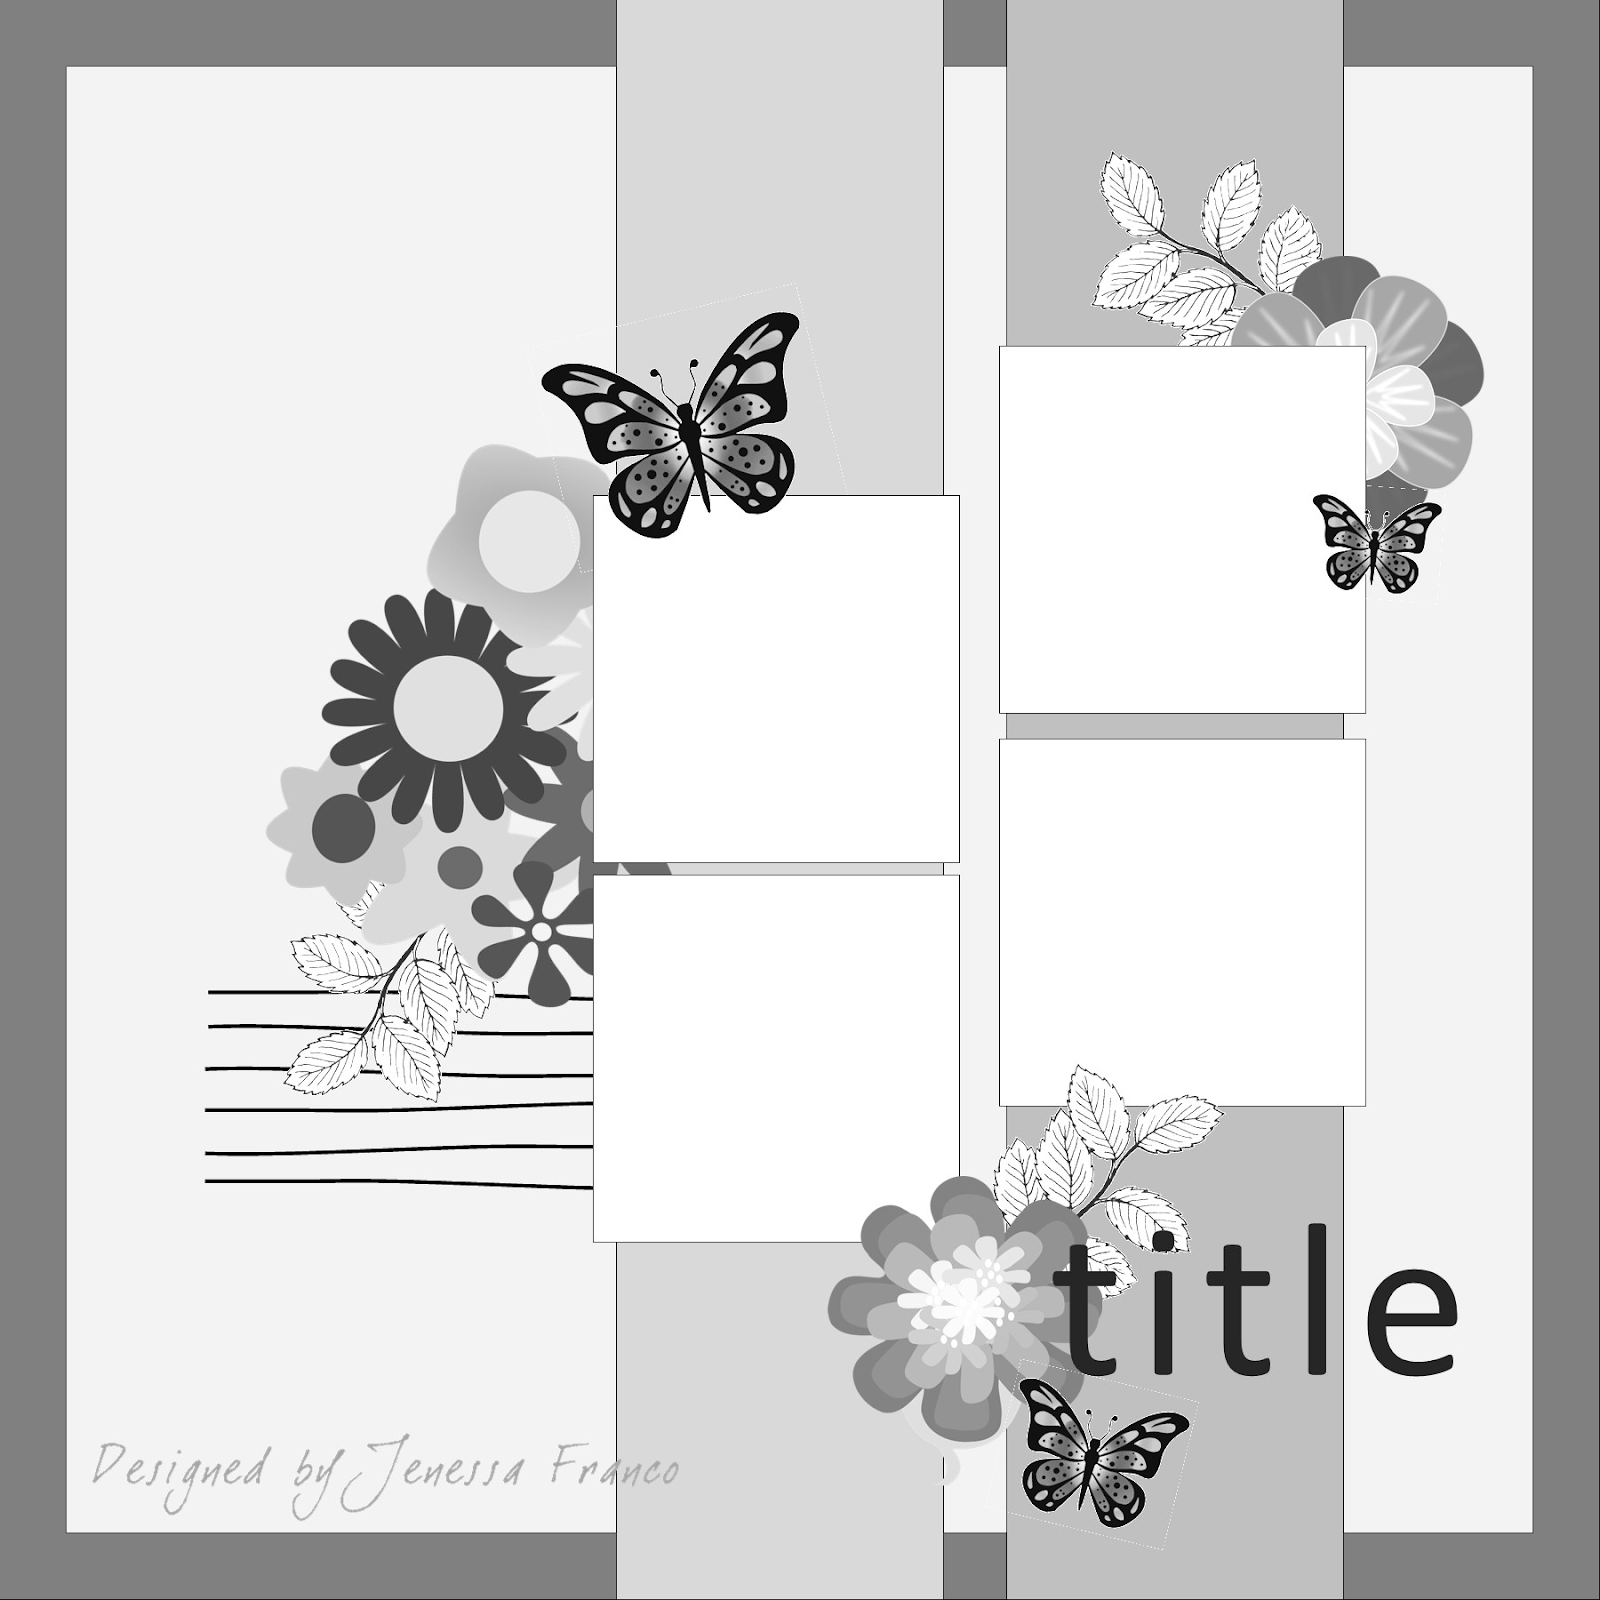
Hello! I'm back today with another layout! When I saw this sketch from Stick It Down, I knew I had to use it:

Isn't it fun? I found these three photos to work with. Then I went to work figuring out what my large shaped element would be. I found this partial sheet of shaped paper and thought it worked well with my photos. I used a sheet of yellow patterned paper for the film strip element. I didn't have an actual film strip cut for my Cricut, so I used a border punch to give a similar effect. I laid the photos and papers out on my background paper and decided the left side needed something. I ended up pulling out my large swirl mask and went to work with a blending brush creating the large swirls. I cut my title with my Cricut. To embellish the page, I used some stickers and a canvas flair by Scrappin Happy Studio. I added some stamped flowers to my swirls and added tiny gems to the centers of the blue ones to finish off the page.


Thursday, March 28, 2024

What I Like About You

Hello! I have another new layout to share! I discovered teh Creative Scrapbooker Magazine Sketch Group on Facebook recently and I decided to used the January Sketch for this layout:


My photos are bigger than what is prescribed in the sketch, but I made it work. For my background, I used a mask and spray inks to create the pattern. I didn't have an ink that matched the color of these costumes, but the mix of these two worked quite well! I collected some patterened papers from my stash that had similar colors and used my Cricut to cut the hexagons in different sizes. I matted my photos with gold cardstock to bring in the gold of the costumes. To use a little less, I cut the mat for one of the smaller photos from the center of the mat of the larger photo. I also used my Cricut for the title. For my journaling, I punched a tag from lined patterned paper and matted it on the glitter cardstock. My final little embellishments were some eyelets (haven't used those in a while!) and some gem stars.
I was also inspired by Lasting Memories Challenge #693- create a layout with at least 4 hexagons and add some stenciling to the background.


Layouts From Sketches


Hello! I'm back with my last couple of layouts from the last few weeks. These both used sketches.

First up is this sketch from Sketches In Thyme:

I had a lot of fun with this sketch. I started with a sheet of white cardstock for the background and the sheet of yellow chevron paper. I cut the patterned paper and marked on my background where it would be. I then used the plastice packaging technique to add some yellow and grey inks to the background. I dried that most of the way and added some black splatters. Once that was all totally dry, I adhered the patterned paper and photos. I cut the title from the backside of the chevron paper and from black cardstock two more times. I layered the yellow on top of the black to give the shadow effect. To embellish the page, I used some washi tape, die cuts, and tiny enamel dots.

 Next is this sketch from Paper Issues:

I started by using my Cricut to make the big circular element with drawing and cutting. I added the photos and cut the title using my Cricut as well. I had these darker wood veneer pieces that went well with the paper I used for the background of my title, so I used those to embellish my page (the pieces on either side of my title were actually one piece that I cut in half and sanded the edges). I used a few other die cuts from my stash and some brown metallic Nuvo drops to finish off the layout.


Wednesday, March 27, 2024

Such A Dream

Hi all! Here is another layout I have done in the last few days. I used papers and embellishments from The Scrap Room's September 2023 Flavor of the Month kit.

The kit really made this come together quickly. I chose some papers and used them to highlight my photos. I wanted a little something on my background by the title and main photo, so I got out some old stamps and stamp the scroll background and flowers. The title was a foam sticker that was included in the kit, as were the other foam stickers and die cuts. I used some washi tape from my stash and some tiny gold foil stars to finish things off.


Tuesday, March 26, 2024

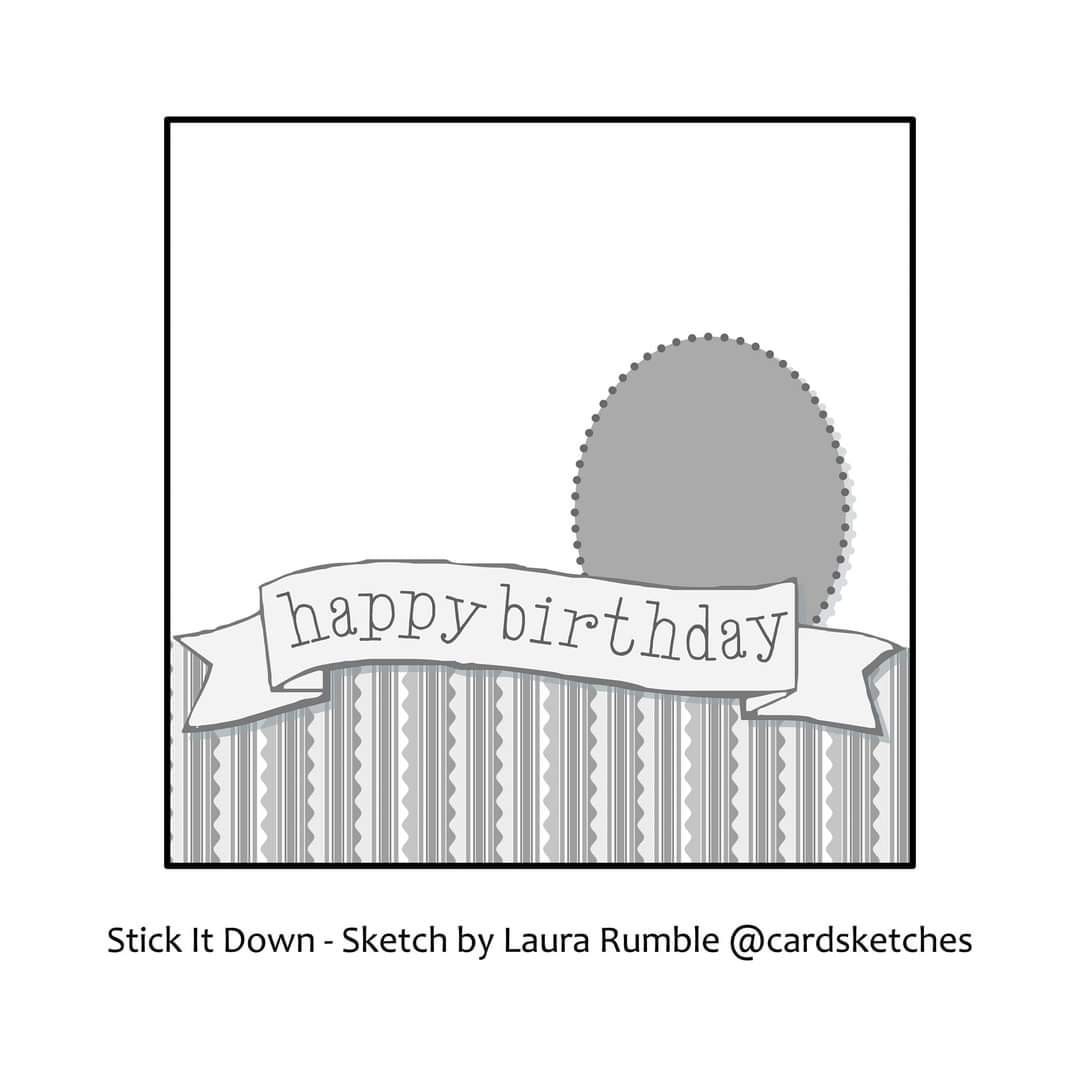
April Calendar Page and a Card- Stick It Down

Hello! I have been getting some scrapping done, but haven't been posting so I will be sharing some projects over the next few days. First up are a couple of projects for the sketches from Stick It Down.

First up is the double page sketch:


I loved the wave across this sketch, so I stuck very close to the sketch. I used paper from the "Serendipity" line from Photo Play. I have some yellow Stickles gel that I decided to swipe above the wave to add some interest around the photos. I used cardstock strips for my journaling. Instead of the butterflies, I used little word bubbles, which were fussy cut from a sheet of patterned paper. 

Next up is the card sketch:

I used my marble Turnabout stamp to create the background. I used an embossing folder on a piece of cardstock across the bottom. I stamped the sentiment banner and fussy cut it. I stamped the leaves and fussy cut those as well. I started with just five, but decided to add a couple more to give the card a little more movement. 


Sunday, March 17, 2024

Lake Life

Hi all! I have been busy creating and have another layout to share! For this one, I started with this sketch from Sketches In Thyme:

I made a two page layout this time, so I used the sketch for the left hand page and went from there. I started by finding a patterned paper that I had two sheets of to go on my background. Then I found papers and embellishments to go with it. I cut my title using my Cricut and coordinating colors of cardstock. I embellished th page with some die cuts, washi tape, stickers, and enamel dots. This layout came together pretty quickly and I love how colorful it is!


Saturday, March 16, 2024

Motown

Hello, I have a new layout to share today! It is another dance layout. I started with this sketch from Sketches in Thyme:


I played around with the sizes a bit to make it work with my photos. I started by finding black, white and blue papers in my stash. I then pieced the different papers together. I stamped and heat embossed the dot circles on the right side of the page above my smaller photo for some interest. To embellish my page, I used up some black flowers, blue buttons and blue gems. I used my Cricut to cut the title and music staff. 


 I am also entering this in the Color My Heart Color Challenge #591:

Not adding any metallics was a bit of a challenge, but I did it!


Tuesday, March 12, 2024

4th of July

Hello, I have another layout to share! This one has lots of photos again. I started by laying out the photos with patterned paper. Once that was set, I found a Cricut cut file for my title. I got that cut out and assembled and then stamped the subtitle on a strip of white cardstock. To embellish the page, I used some of the extra stars cut from the cut file, sequins, stickers, a tag, baker's twine, and enamel flair. 

 Thanks for stopping by to check out my layout!

Monday, March 11, 2024

Sympathy cards

Hello! I have a set of cards I made for some friends and family members (who are all related) that lost two family members this week. I used similar materials for all of them to keep things simple.

First up, I used some Whitewash Coredinations cardstock and ran it through an embossing folder. I took my sanding block and sanded off the raised areas to reveal the color. For the flower centers, I used a water brush and some yellow shimmer powder and painted it on. I finished off the card with a stamped and heat embossed sentiment.


For my next card (sorry this photo is not great), I started by stamping the flowers onto my background. I used the matching masks to color the flowers with ink and blending brushes. I finished off this card with a stamped sentiment that I matted on a coordinating green paper. 


I used another set of masks for this card. I used some blending brushes to add the ink to the masks and the blue around the edges. I finished off this card with a stamped and heat embossed sentiment. 


For my last card, I started by stamping and heat embossing the flower. I colored it in with markers. I used a blending brush and blue ink around the edges for some interest. I stamped and heat embossed the sentiment and glued a little bow onto the flower stem. 

I was inspired by the tic tac toe challenge for this card. I used the top row- CAS (clean and simple), Thinking of You, and Floral. 


Sunday, March 10, 2024

What a Thrill!

Hello, I'm back with another layout to share! I had six photos to work with on this one and wanted to keep it on one page. As I mentioned yesterday, I went on a scrapbooking weekend a couple of weeks ago, and one of the other ladies was getting rid of some paper and she had a "travel" paper pad, and the colors are perfect for boy layouts, so I grabbed it! It was so fun to play with some of those papers here. 

This layout came together pretty quickly. I started by laying out the photos and papers. Once that was down, I cut the title. I laid that out on the blue background, but it didn't stand out very well and actually messed with my eyes a bit. I decided to add some solid yellow behind the title to make it stand out more. I tore both sides of the paper to add some texture. For embellishments, I pulled some stickers and die cuts from my stash, as well as a little washi tape. (There was a arrow on both ends of the title, but I just noticed one is missing!)


Saturday, March 9, 2024

Grease

 Hello all! I haven't posted much lately, but I have been busy scrapping and organizing. I had a scrapbooking weekend a couple of weeks ago where I worked on wedding pages from my husband's siblings weddings. I spent the following week completing that album. There are a lot of pages, and they are a little different from my typical style, so I won't be sharing those here. 

I got back to scrapping with a dance layout. I started with this sketch from Rochelle Spears:


I started by rotating the sketch to make it work with my horizontal photos. I found some pink papers to go with the costumes. These papers were all in my scraps! I then went to work layering and cutting the papers. I found a free svg file online of the "Grease" logo, so I downloaded that and cut it with my Cricut. I used some shimmer paper for a little sparkle. Once everything was stuck down, I found a journaling sticker to add my info. I decided I wanted some ink splatters around where my embellishments clusters would be, so I used some gray spray ink and covered what I didn't want splattered.  Once that was dry, I dug through my stash for some embellishments. I found the cute phone flair and some "gromlets" to add to the page. The little prize ribbon also went well, but the brad that was with it did not, so I found a puffy heart sticker to put in the center instead. 


I also did the Scrap With Stacy Tic Tac Toe challenge. I did the diagonal from the top left to the bottom right- sticker, circles, and puffy sticker.

I am also participating in the Lasting Memories Circle challenge- create a layout with at least 4 circles, add buttons, brads or bling for an added twist.